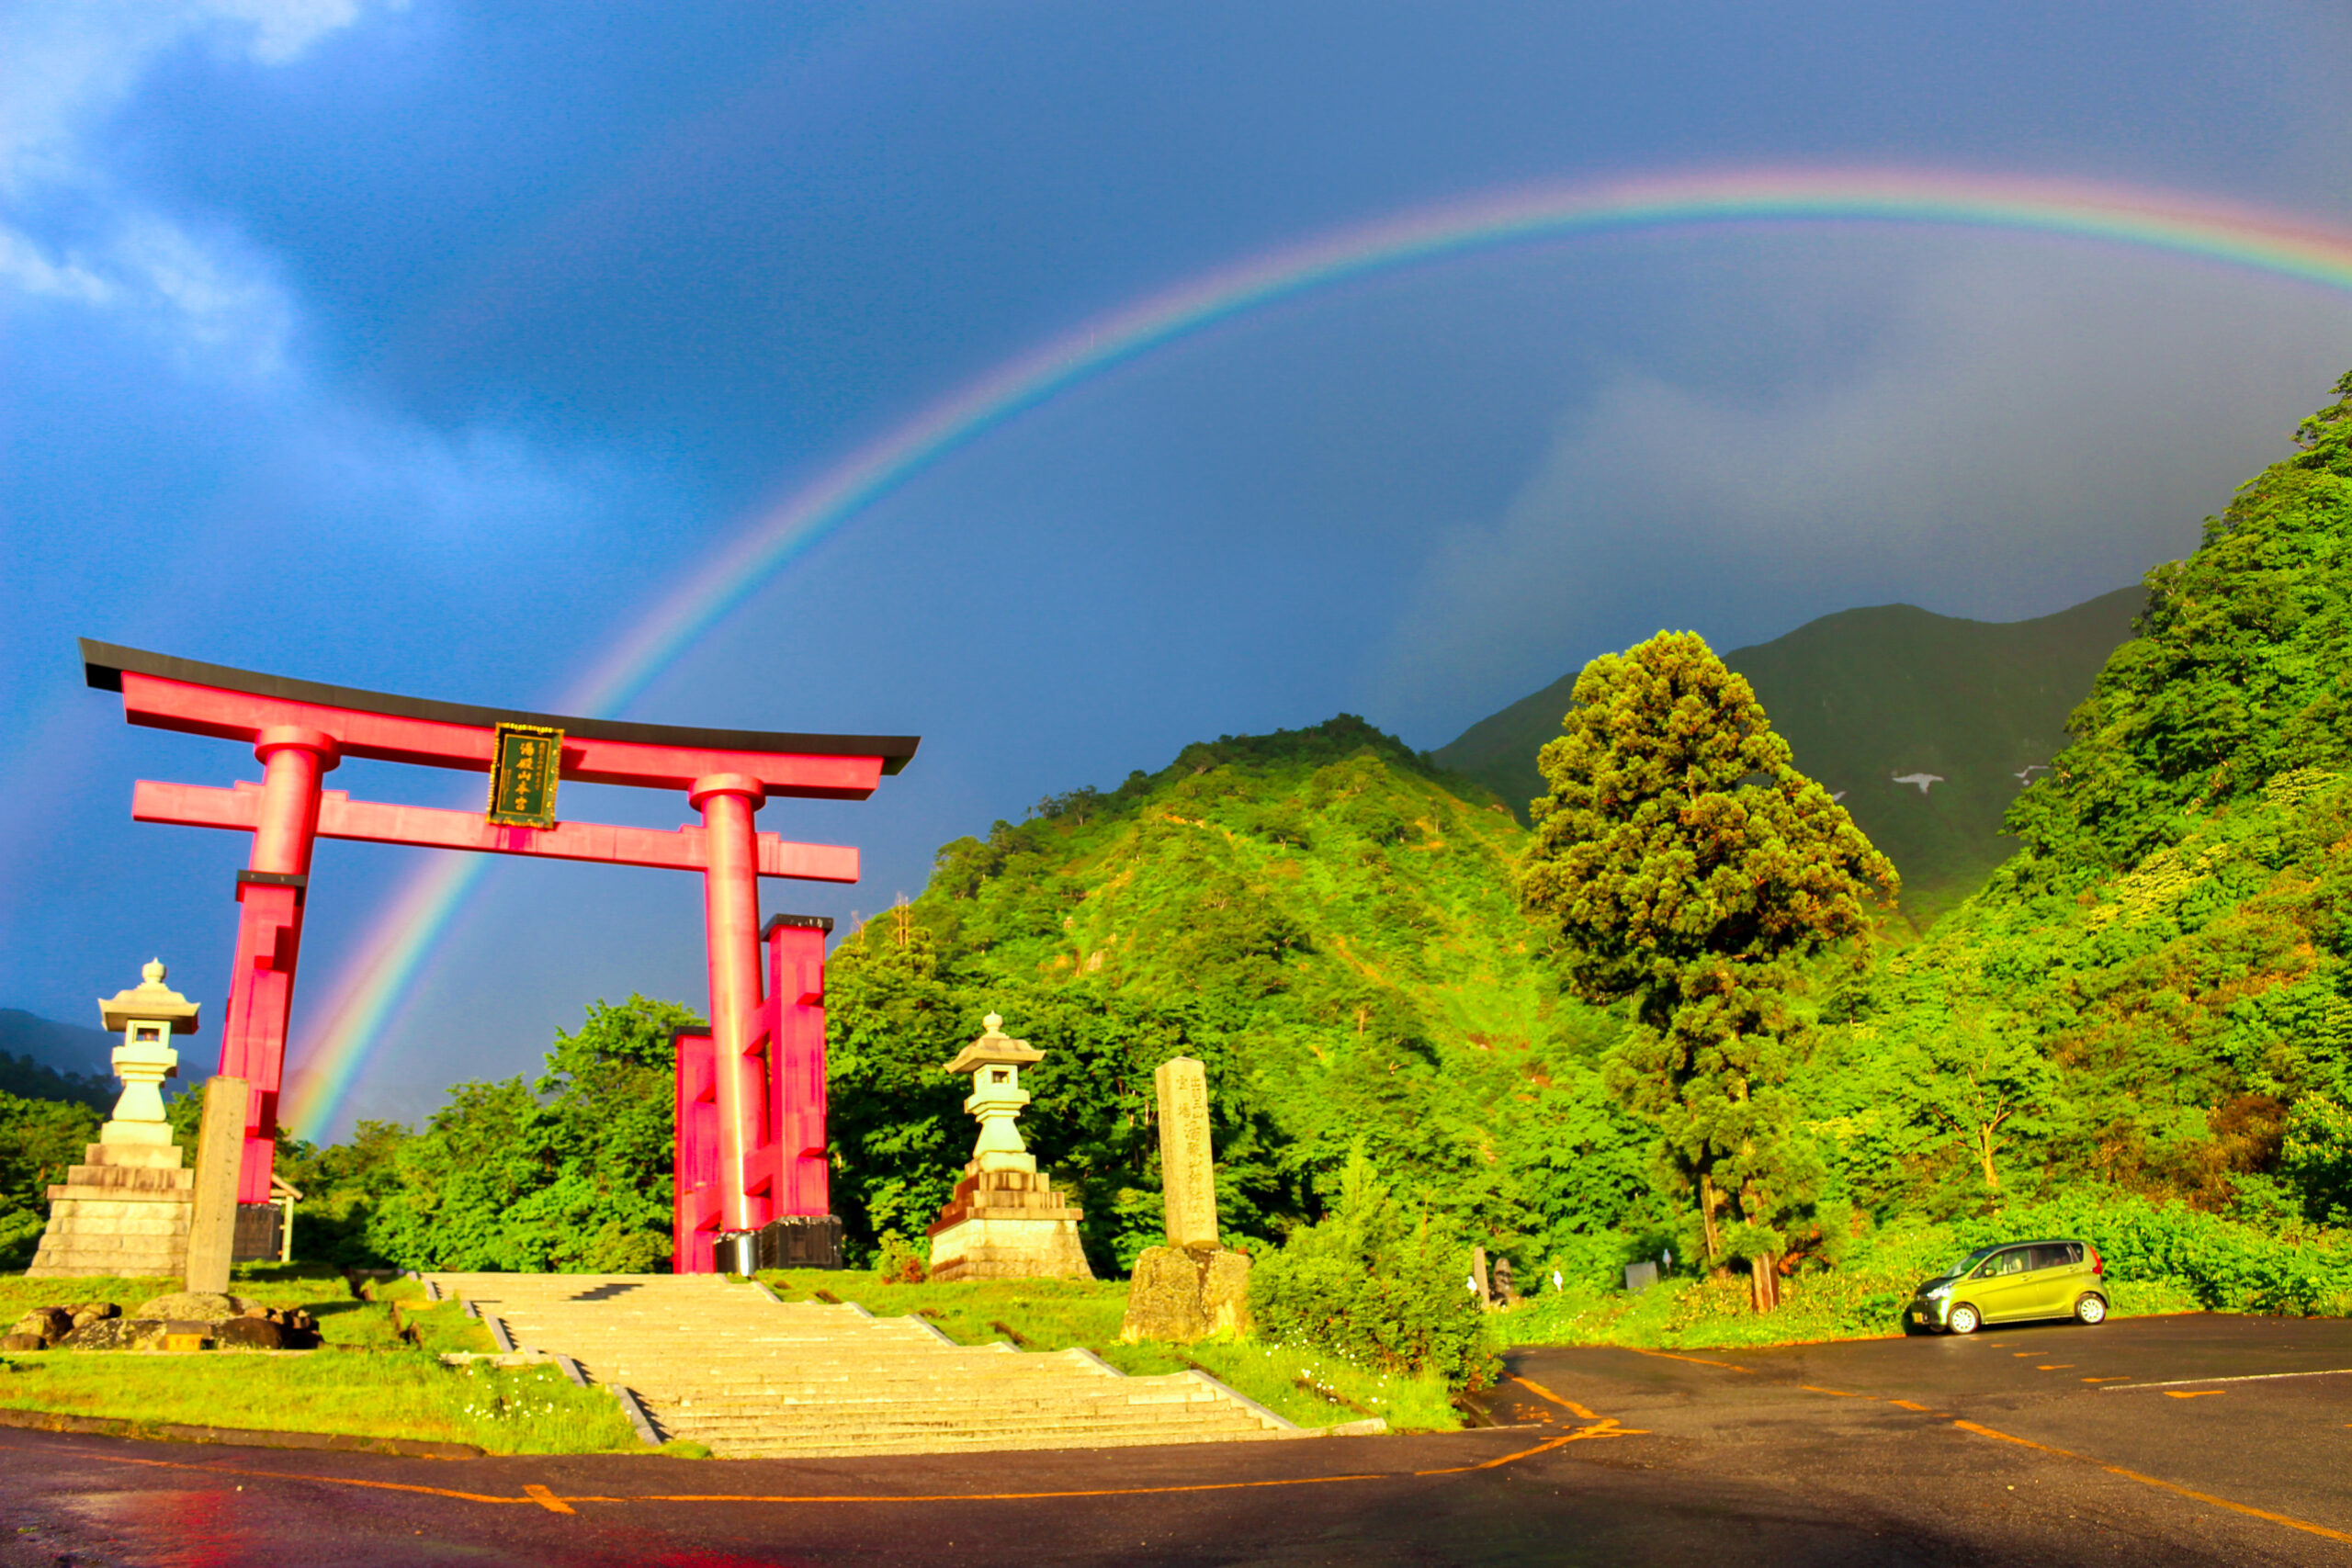

(Guided tour) Japan’s Volcano Trail in the Bandai-Asahi National Park
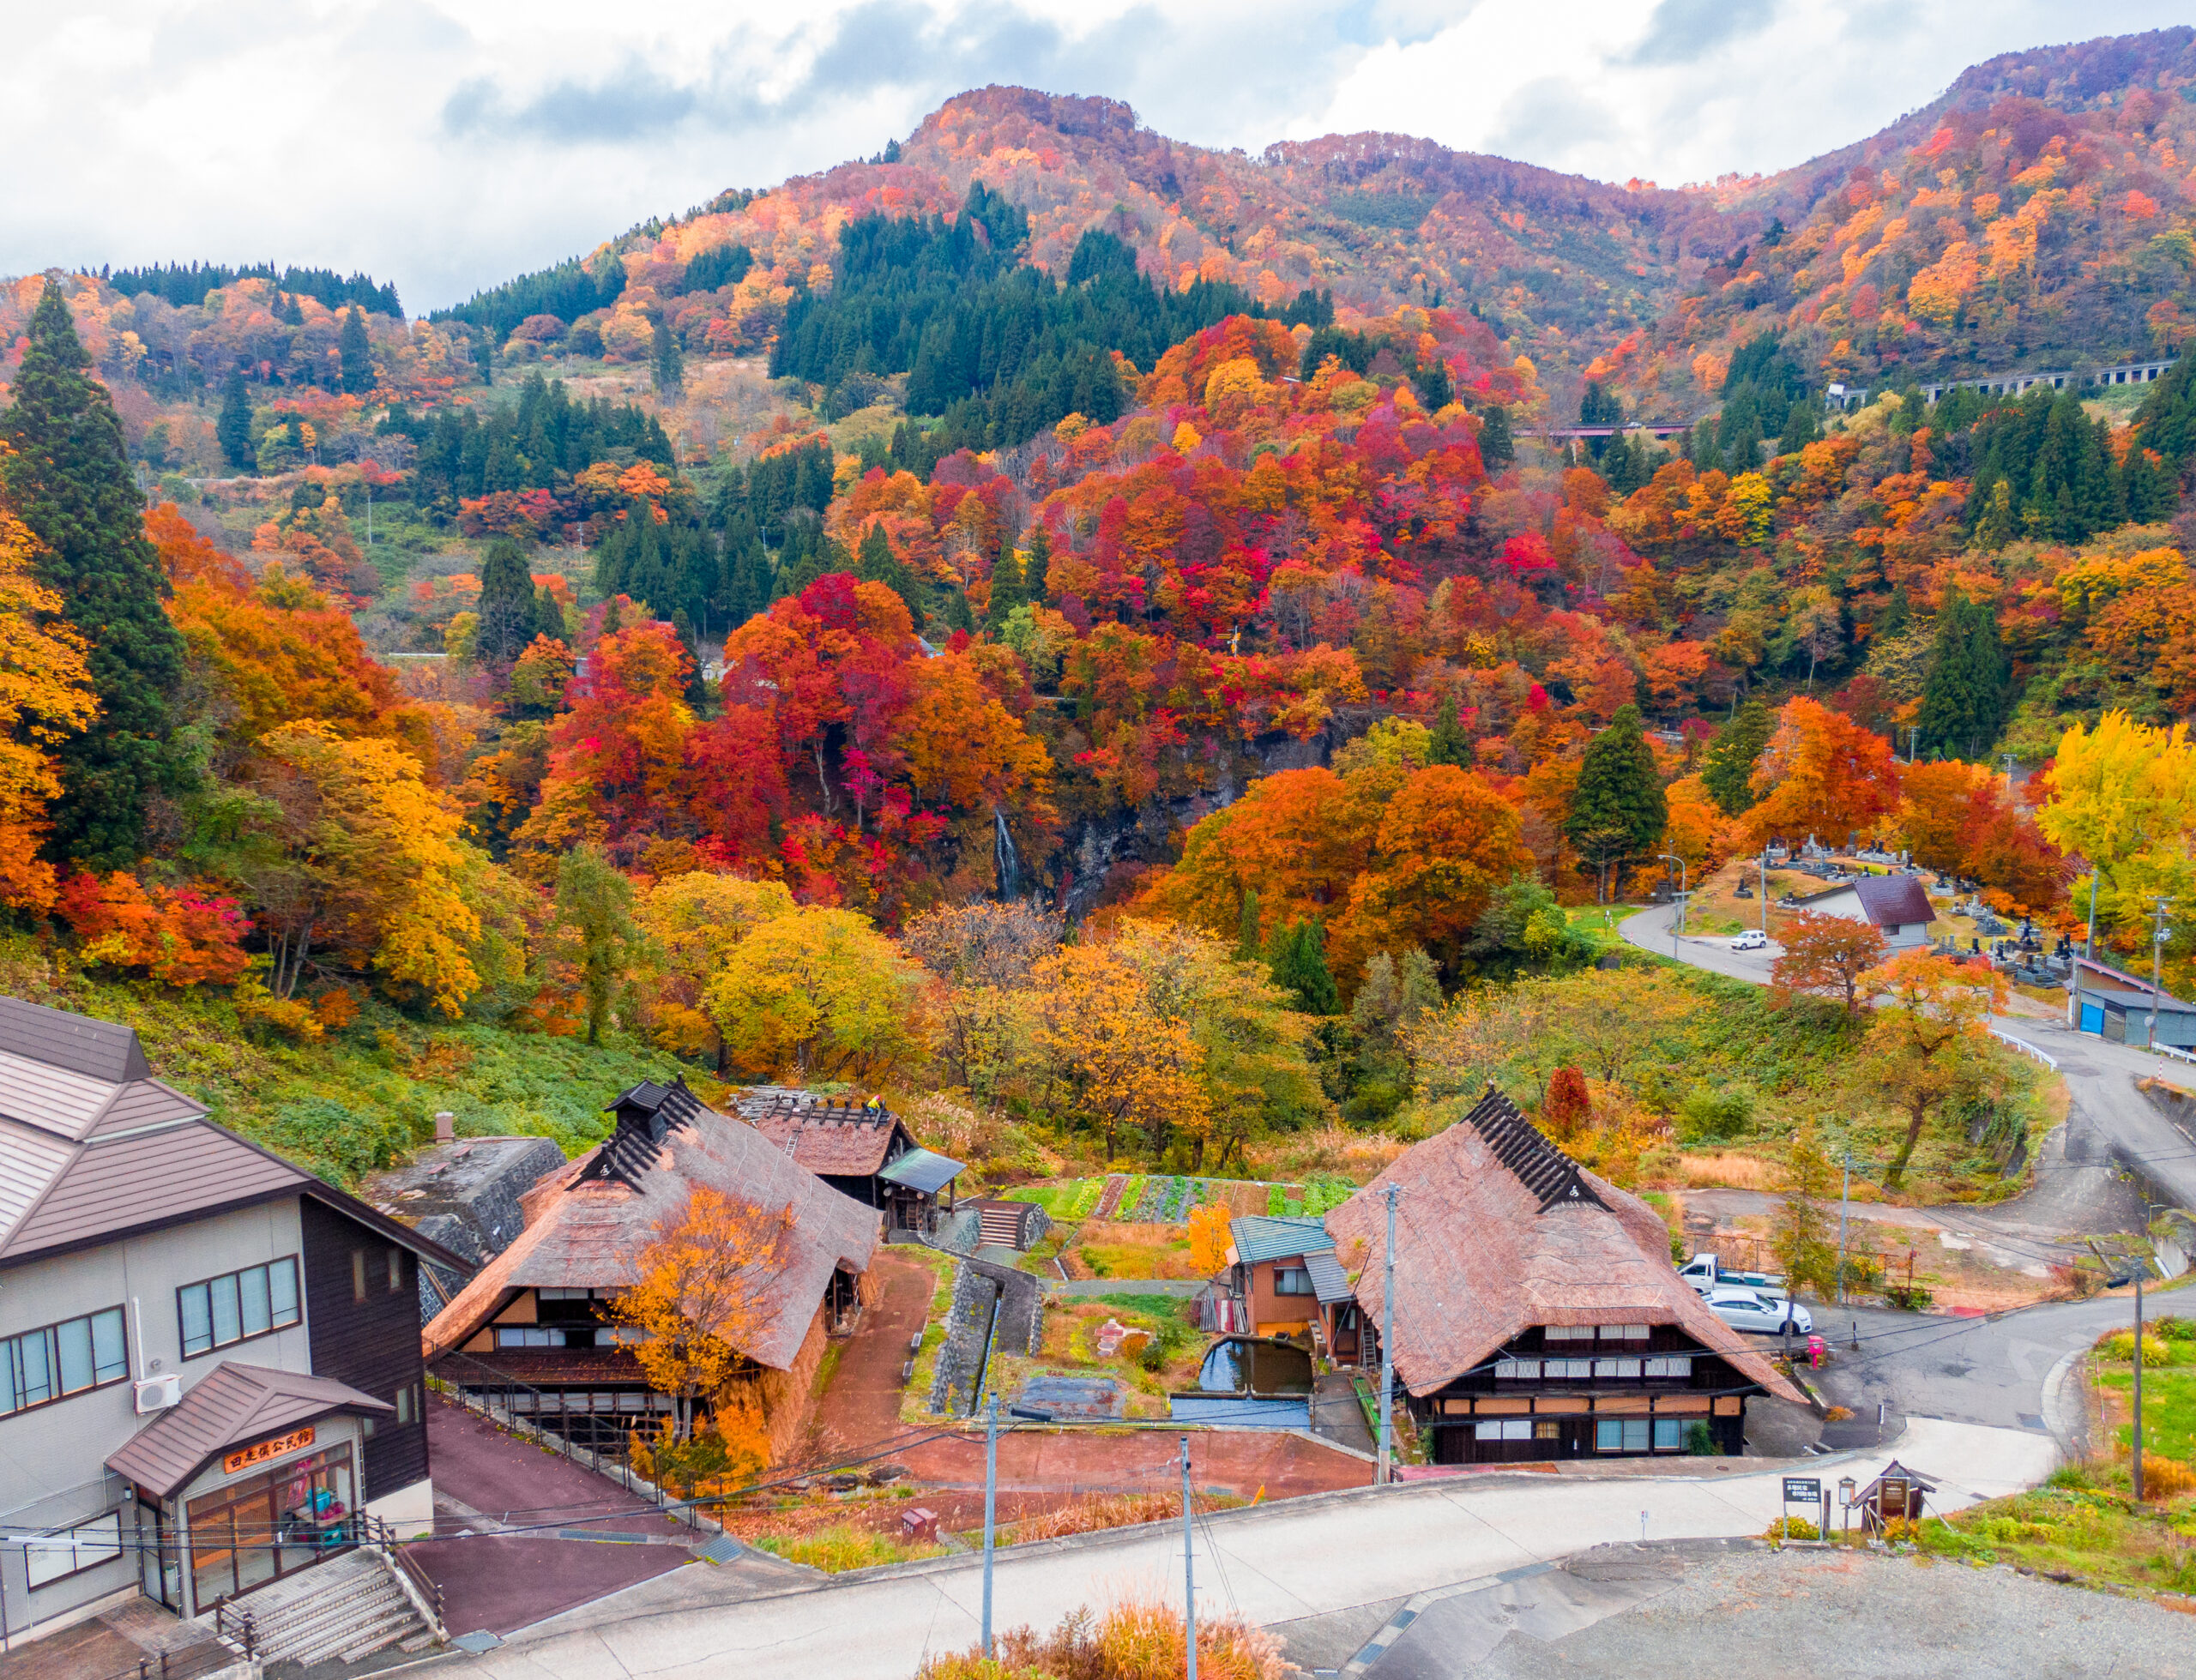
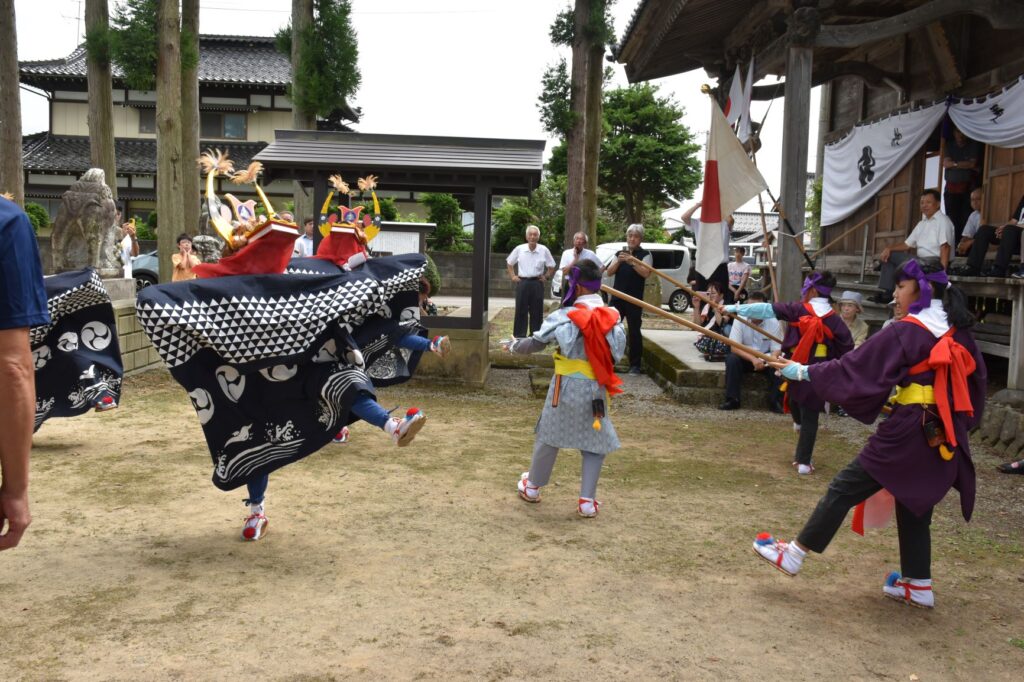
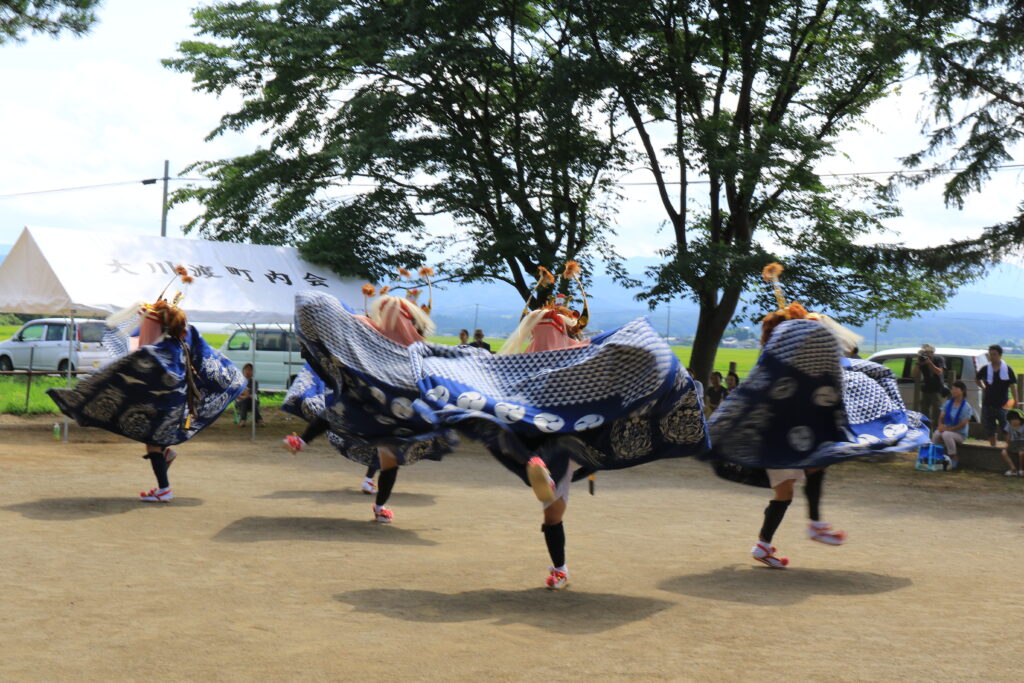
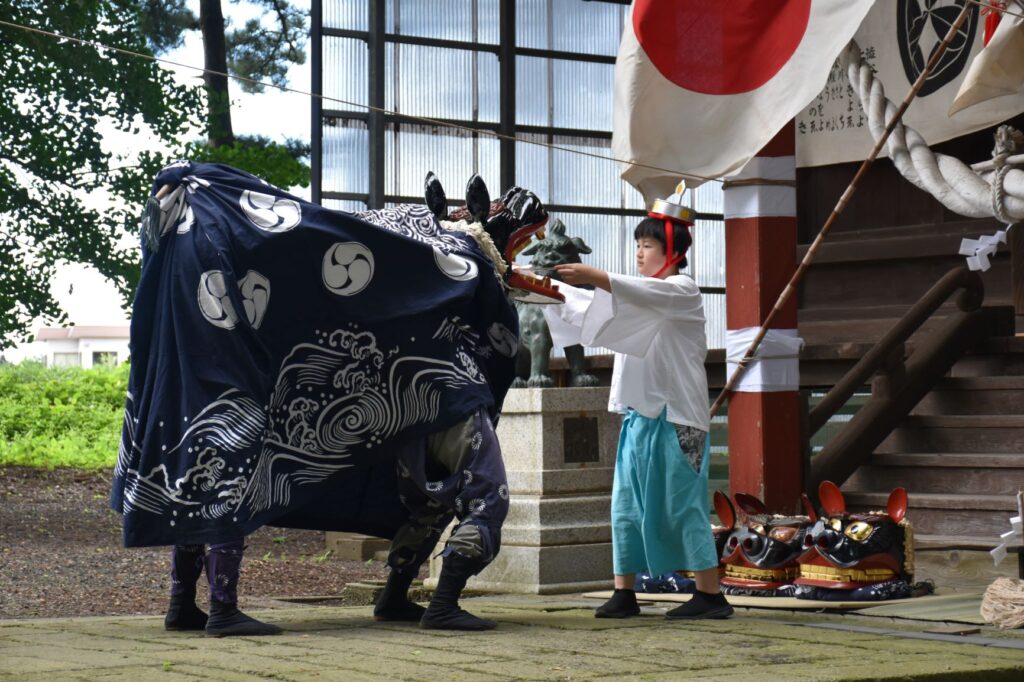
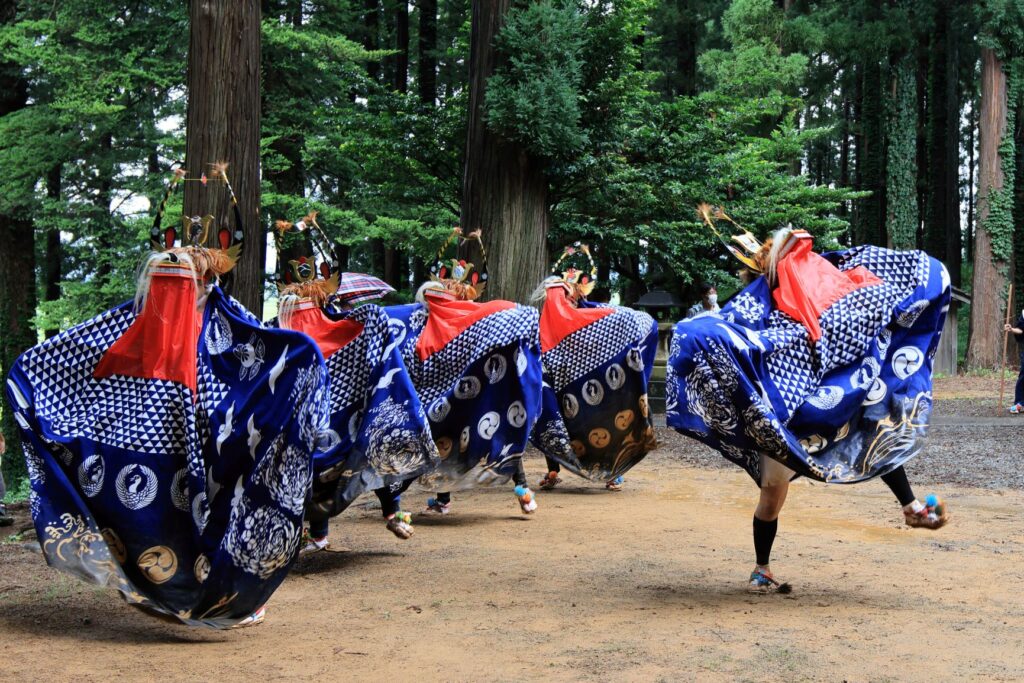
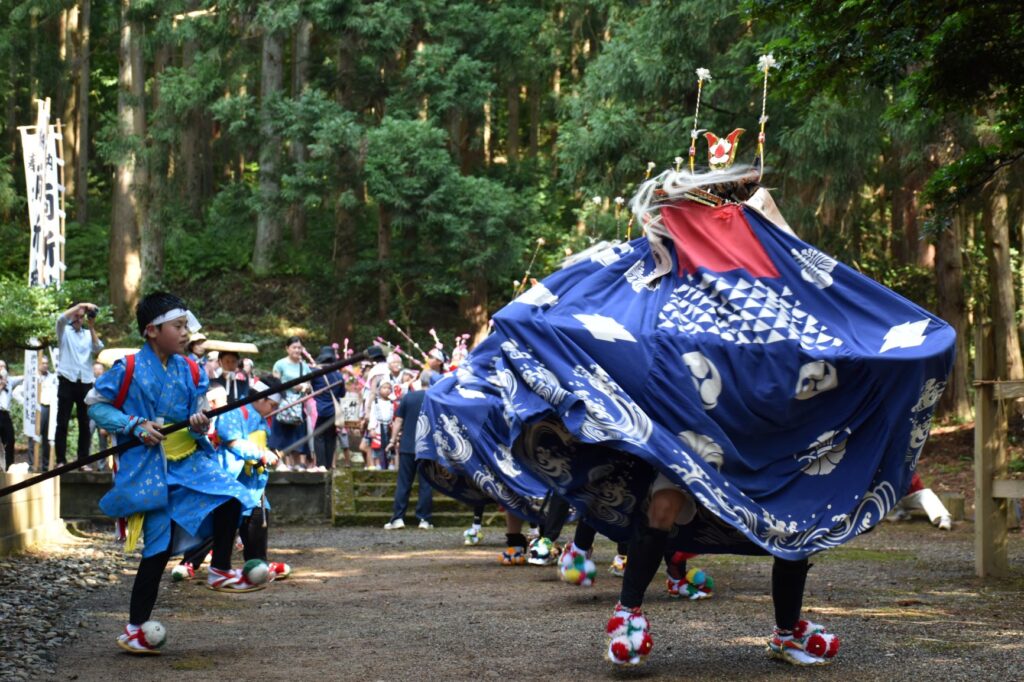
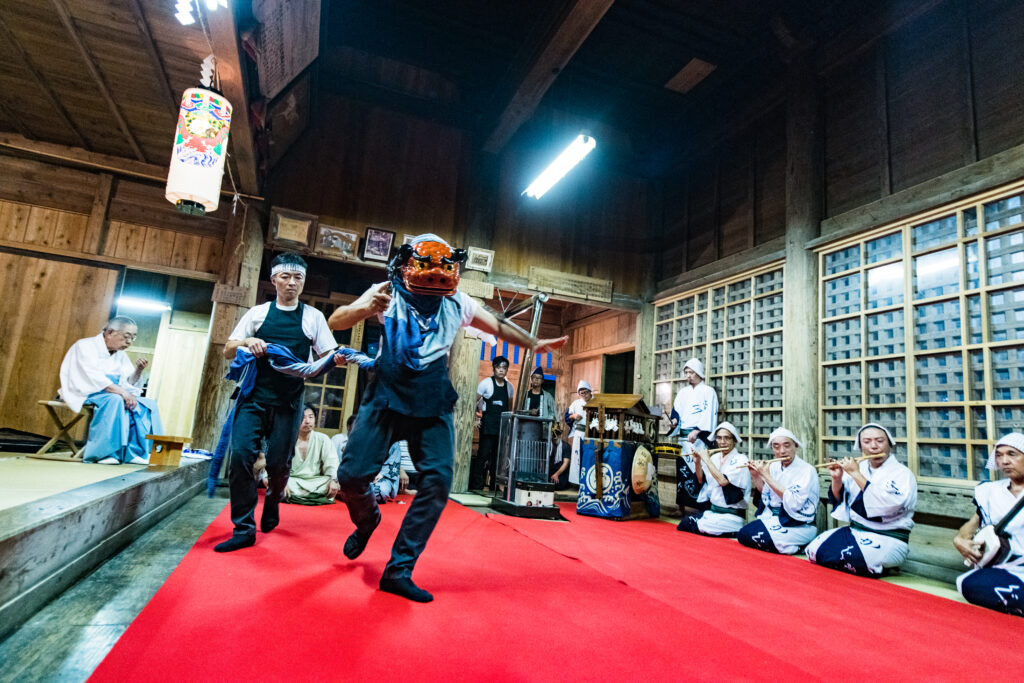
Japan is one of the most volcanic countries on Earth, and nowhere is this more felt than in Tohoku. Volcanic soil has shaped local agriculture, cuisine, and even faith—giving rise to unique mountain spiritualities (“sangaku-shinko”). Join us to discover how the people of Tohoku live in harmony with these powerful forces, from sacred beliefs and delicious local food to rejuvenating hot springs, in Japan’s second largest national park: the Bandai-Asahi National Park.
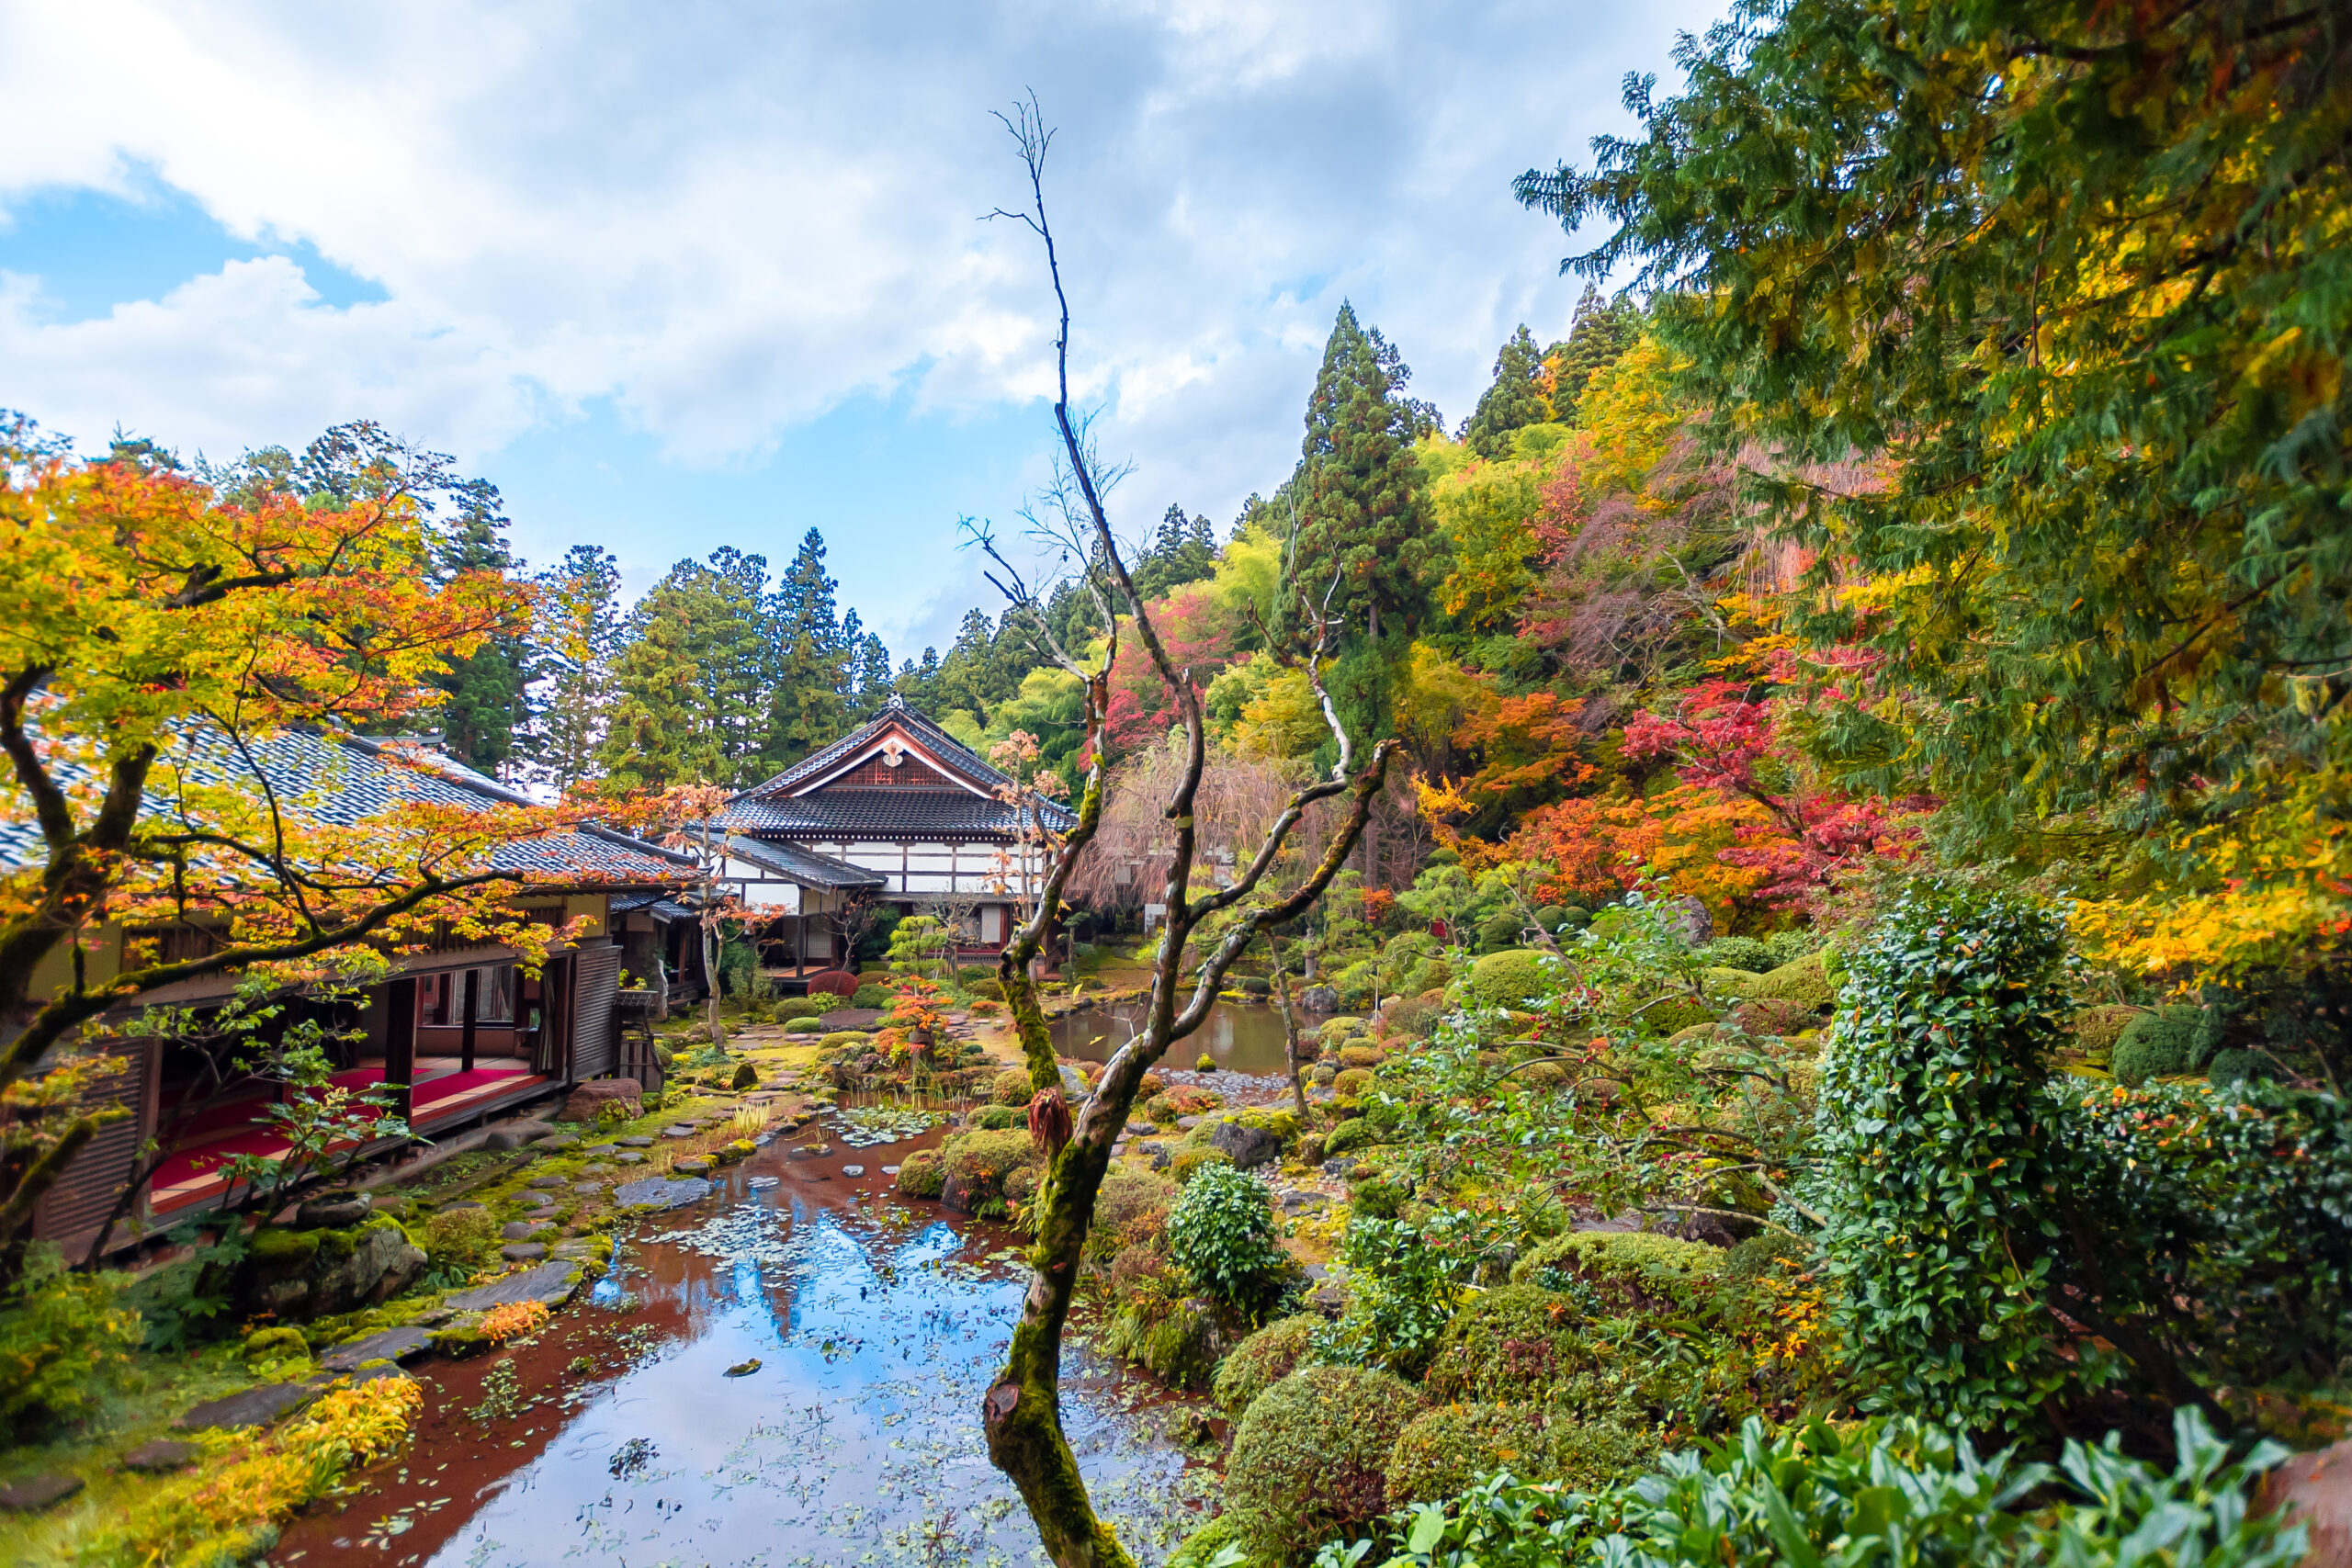
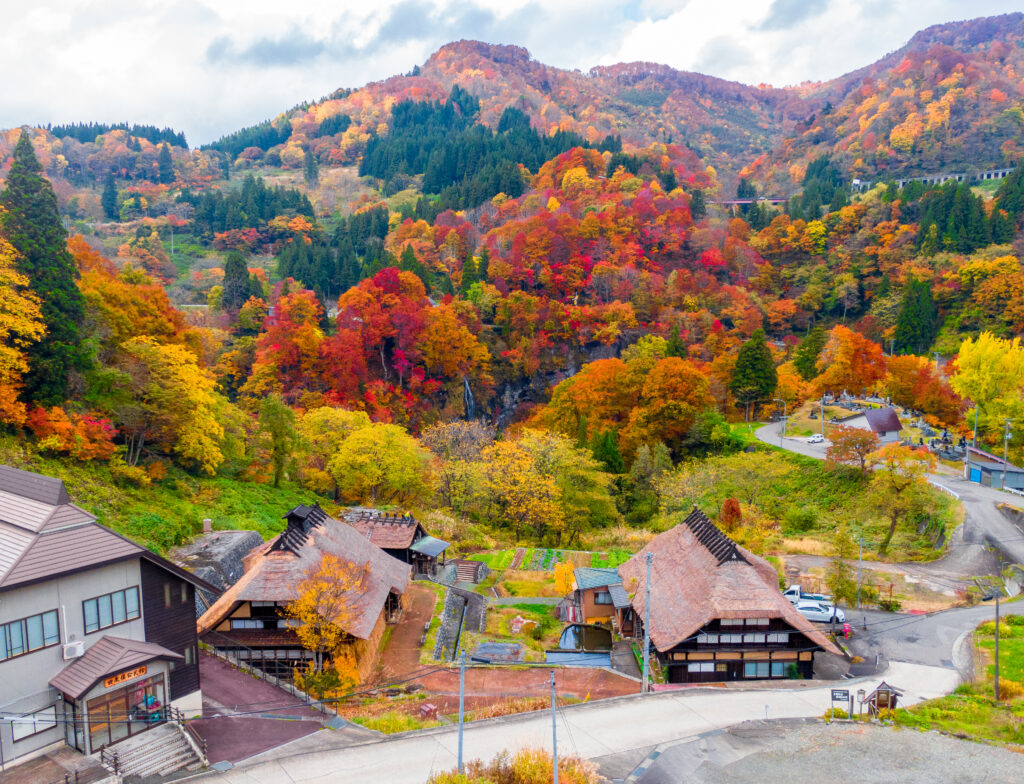
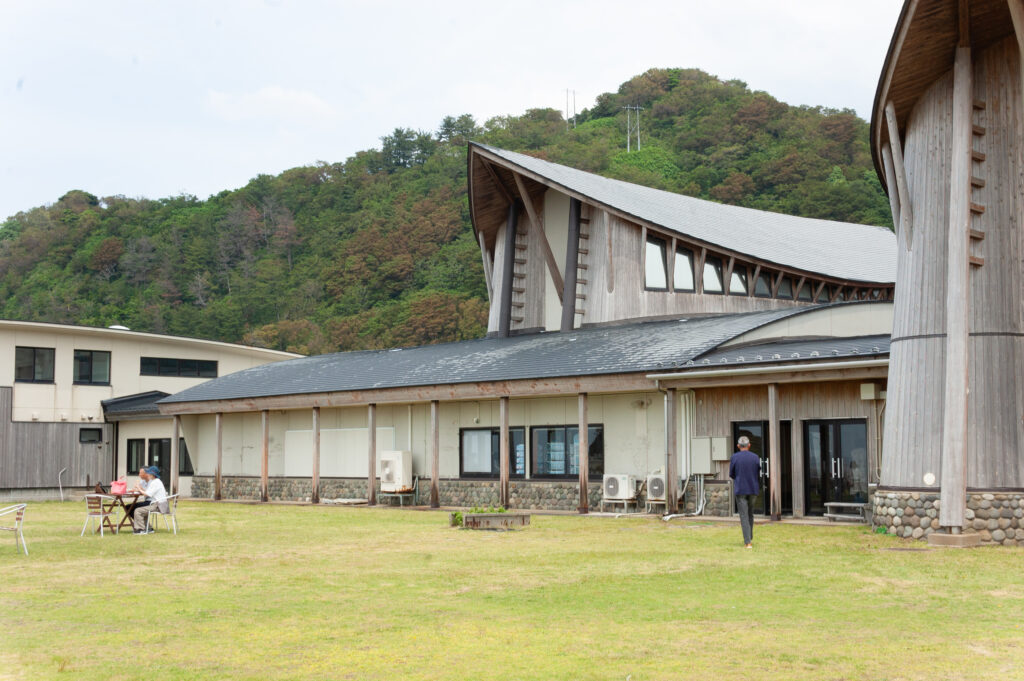
Day 1 – Fujishima City & Dake Onsen
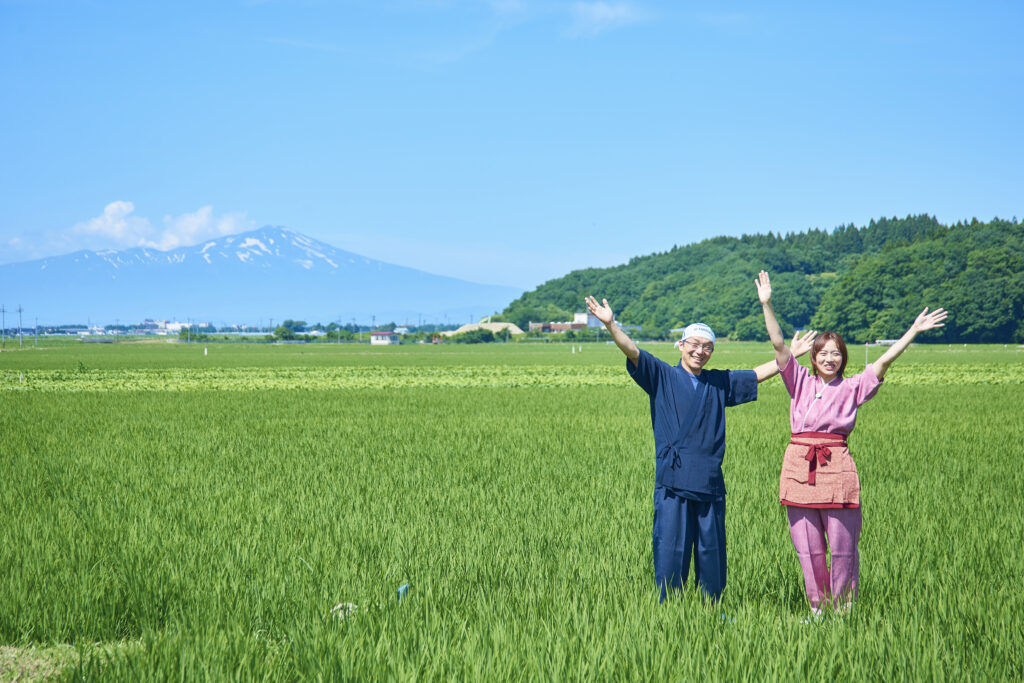
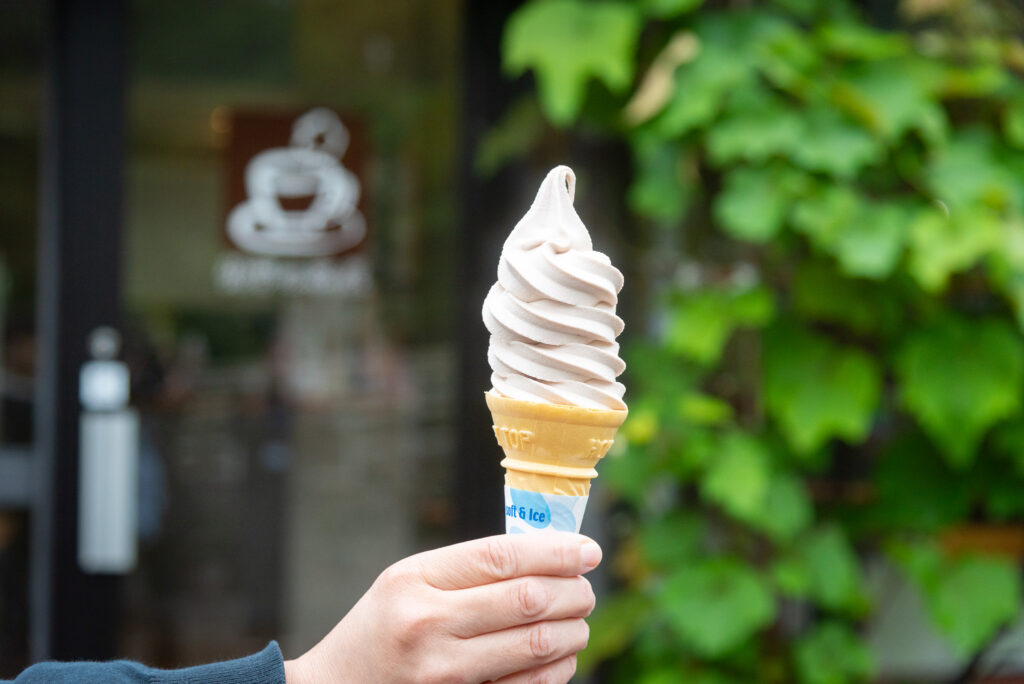
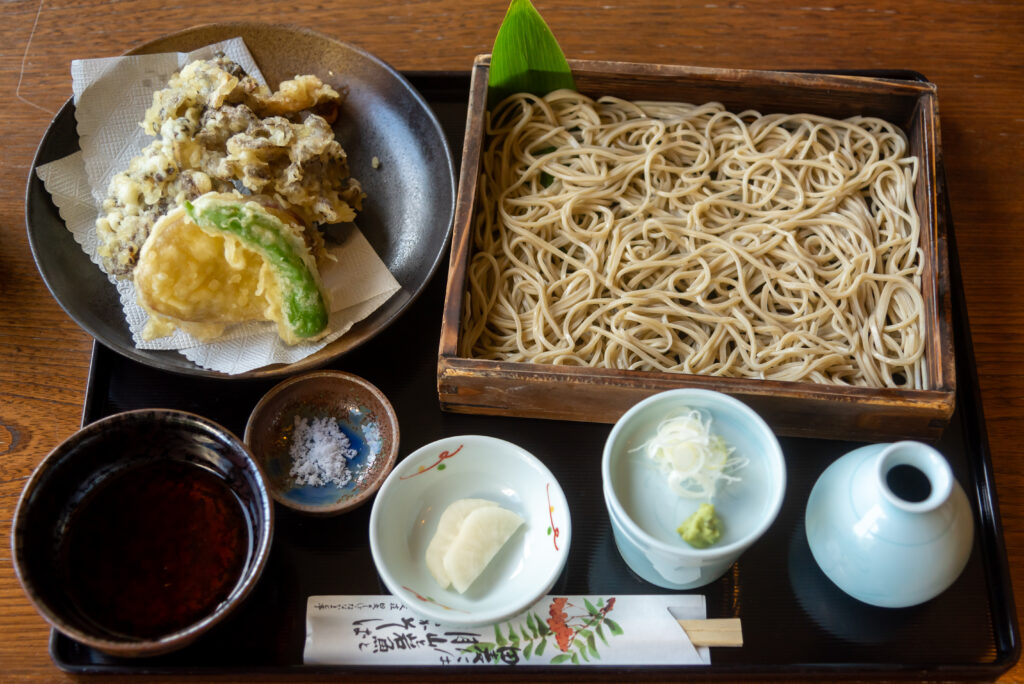
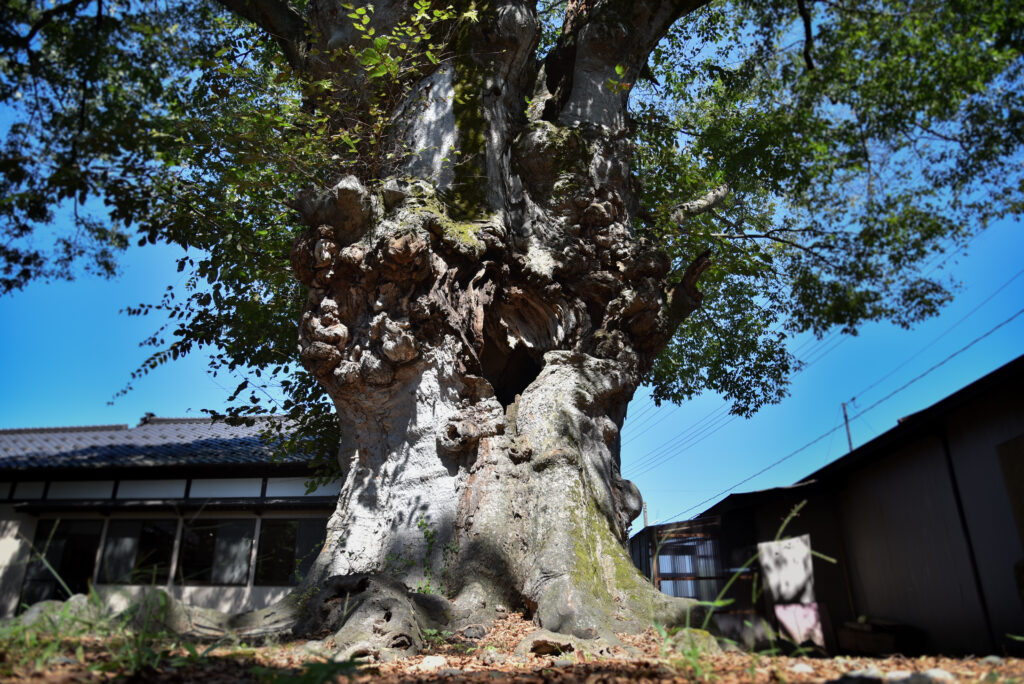
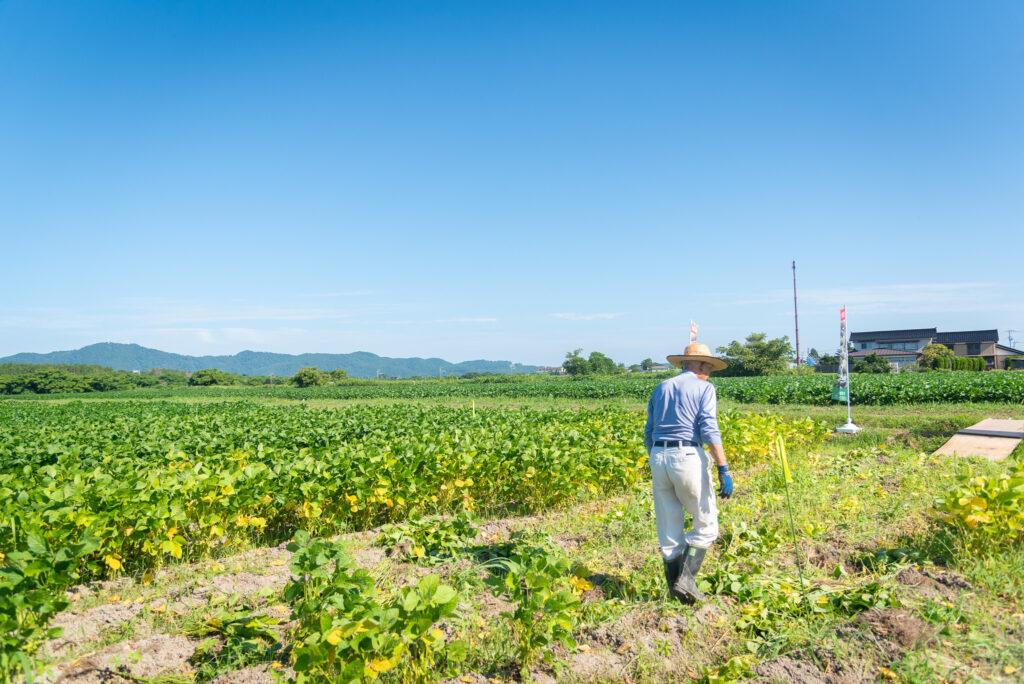
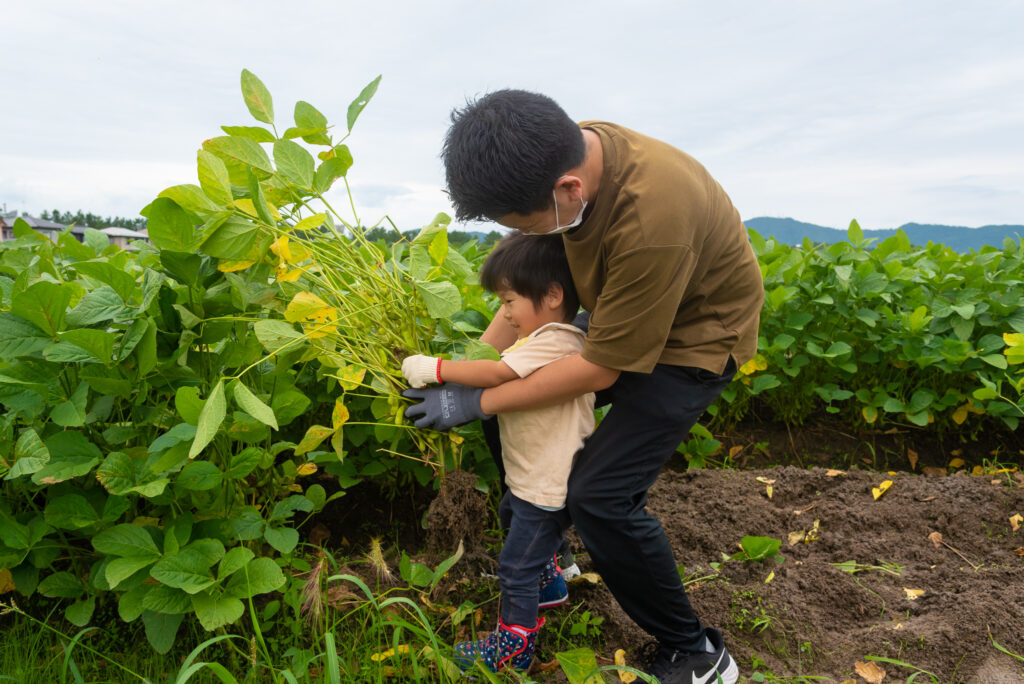
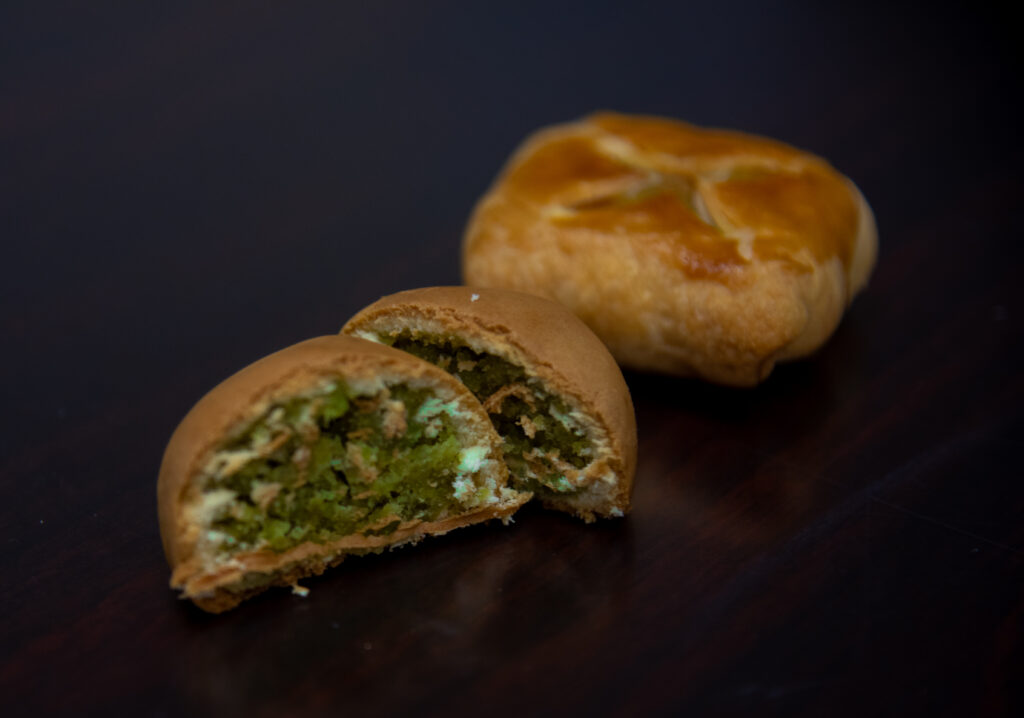
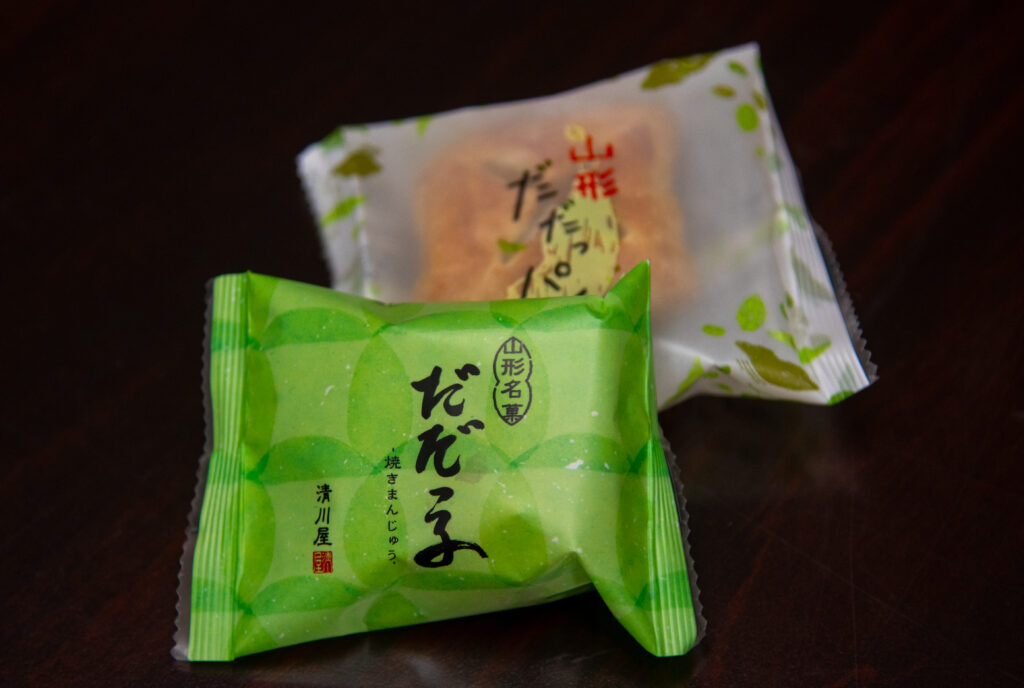
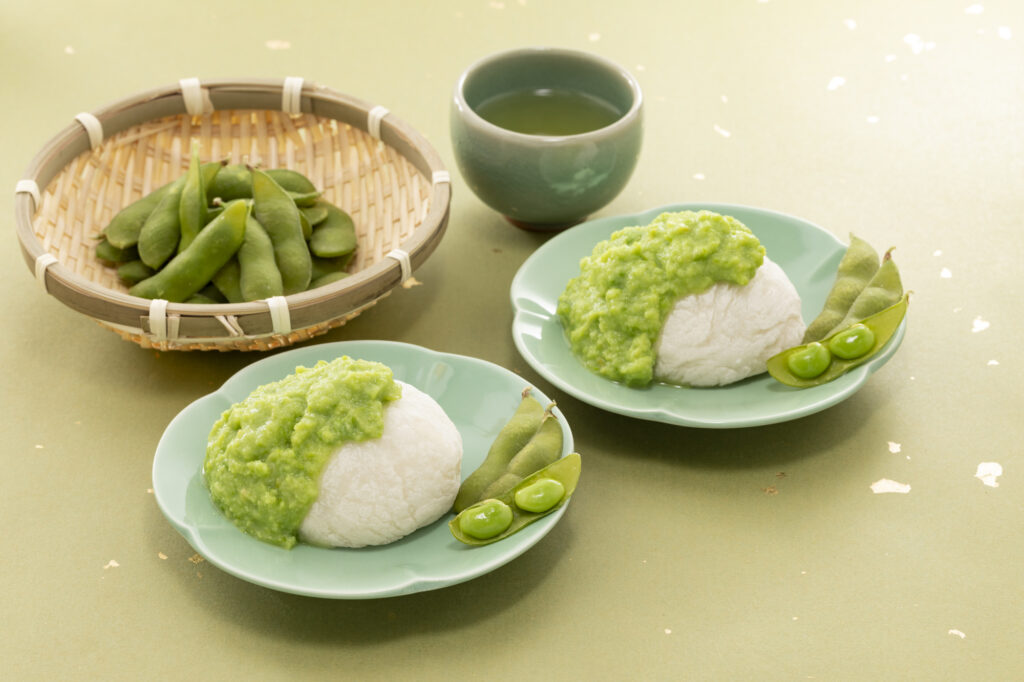
Enjoy a farmer’s lunch at Suzu with Yoshiyuki and Yuka Suzuki, young asparagus growers who’ve turned their family orchard into a farm-to-table haven. After a delicious local meal and a soak in hot spring foot baths, visit bonsai master Daiki Abe at the foot of Mt. Azuma. Discover his unique ‘Kukanyubi’ style—capturing the mountain’s spirit in each handcrafted Japanese White Pine.
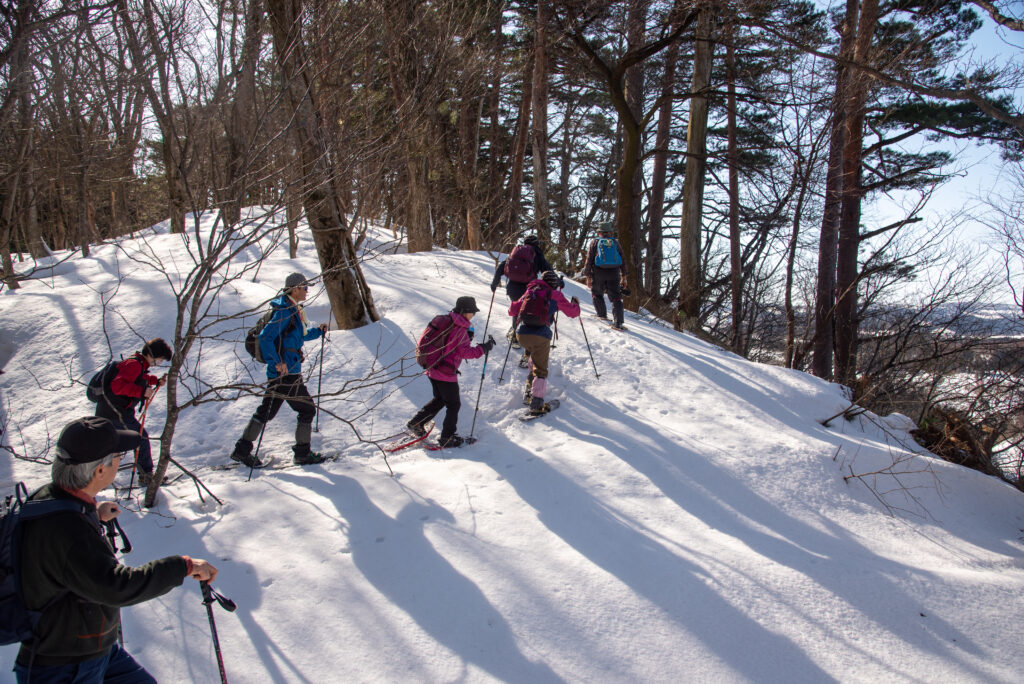
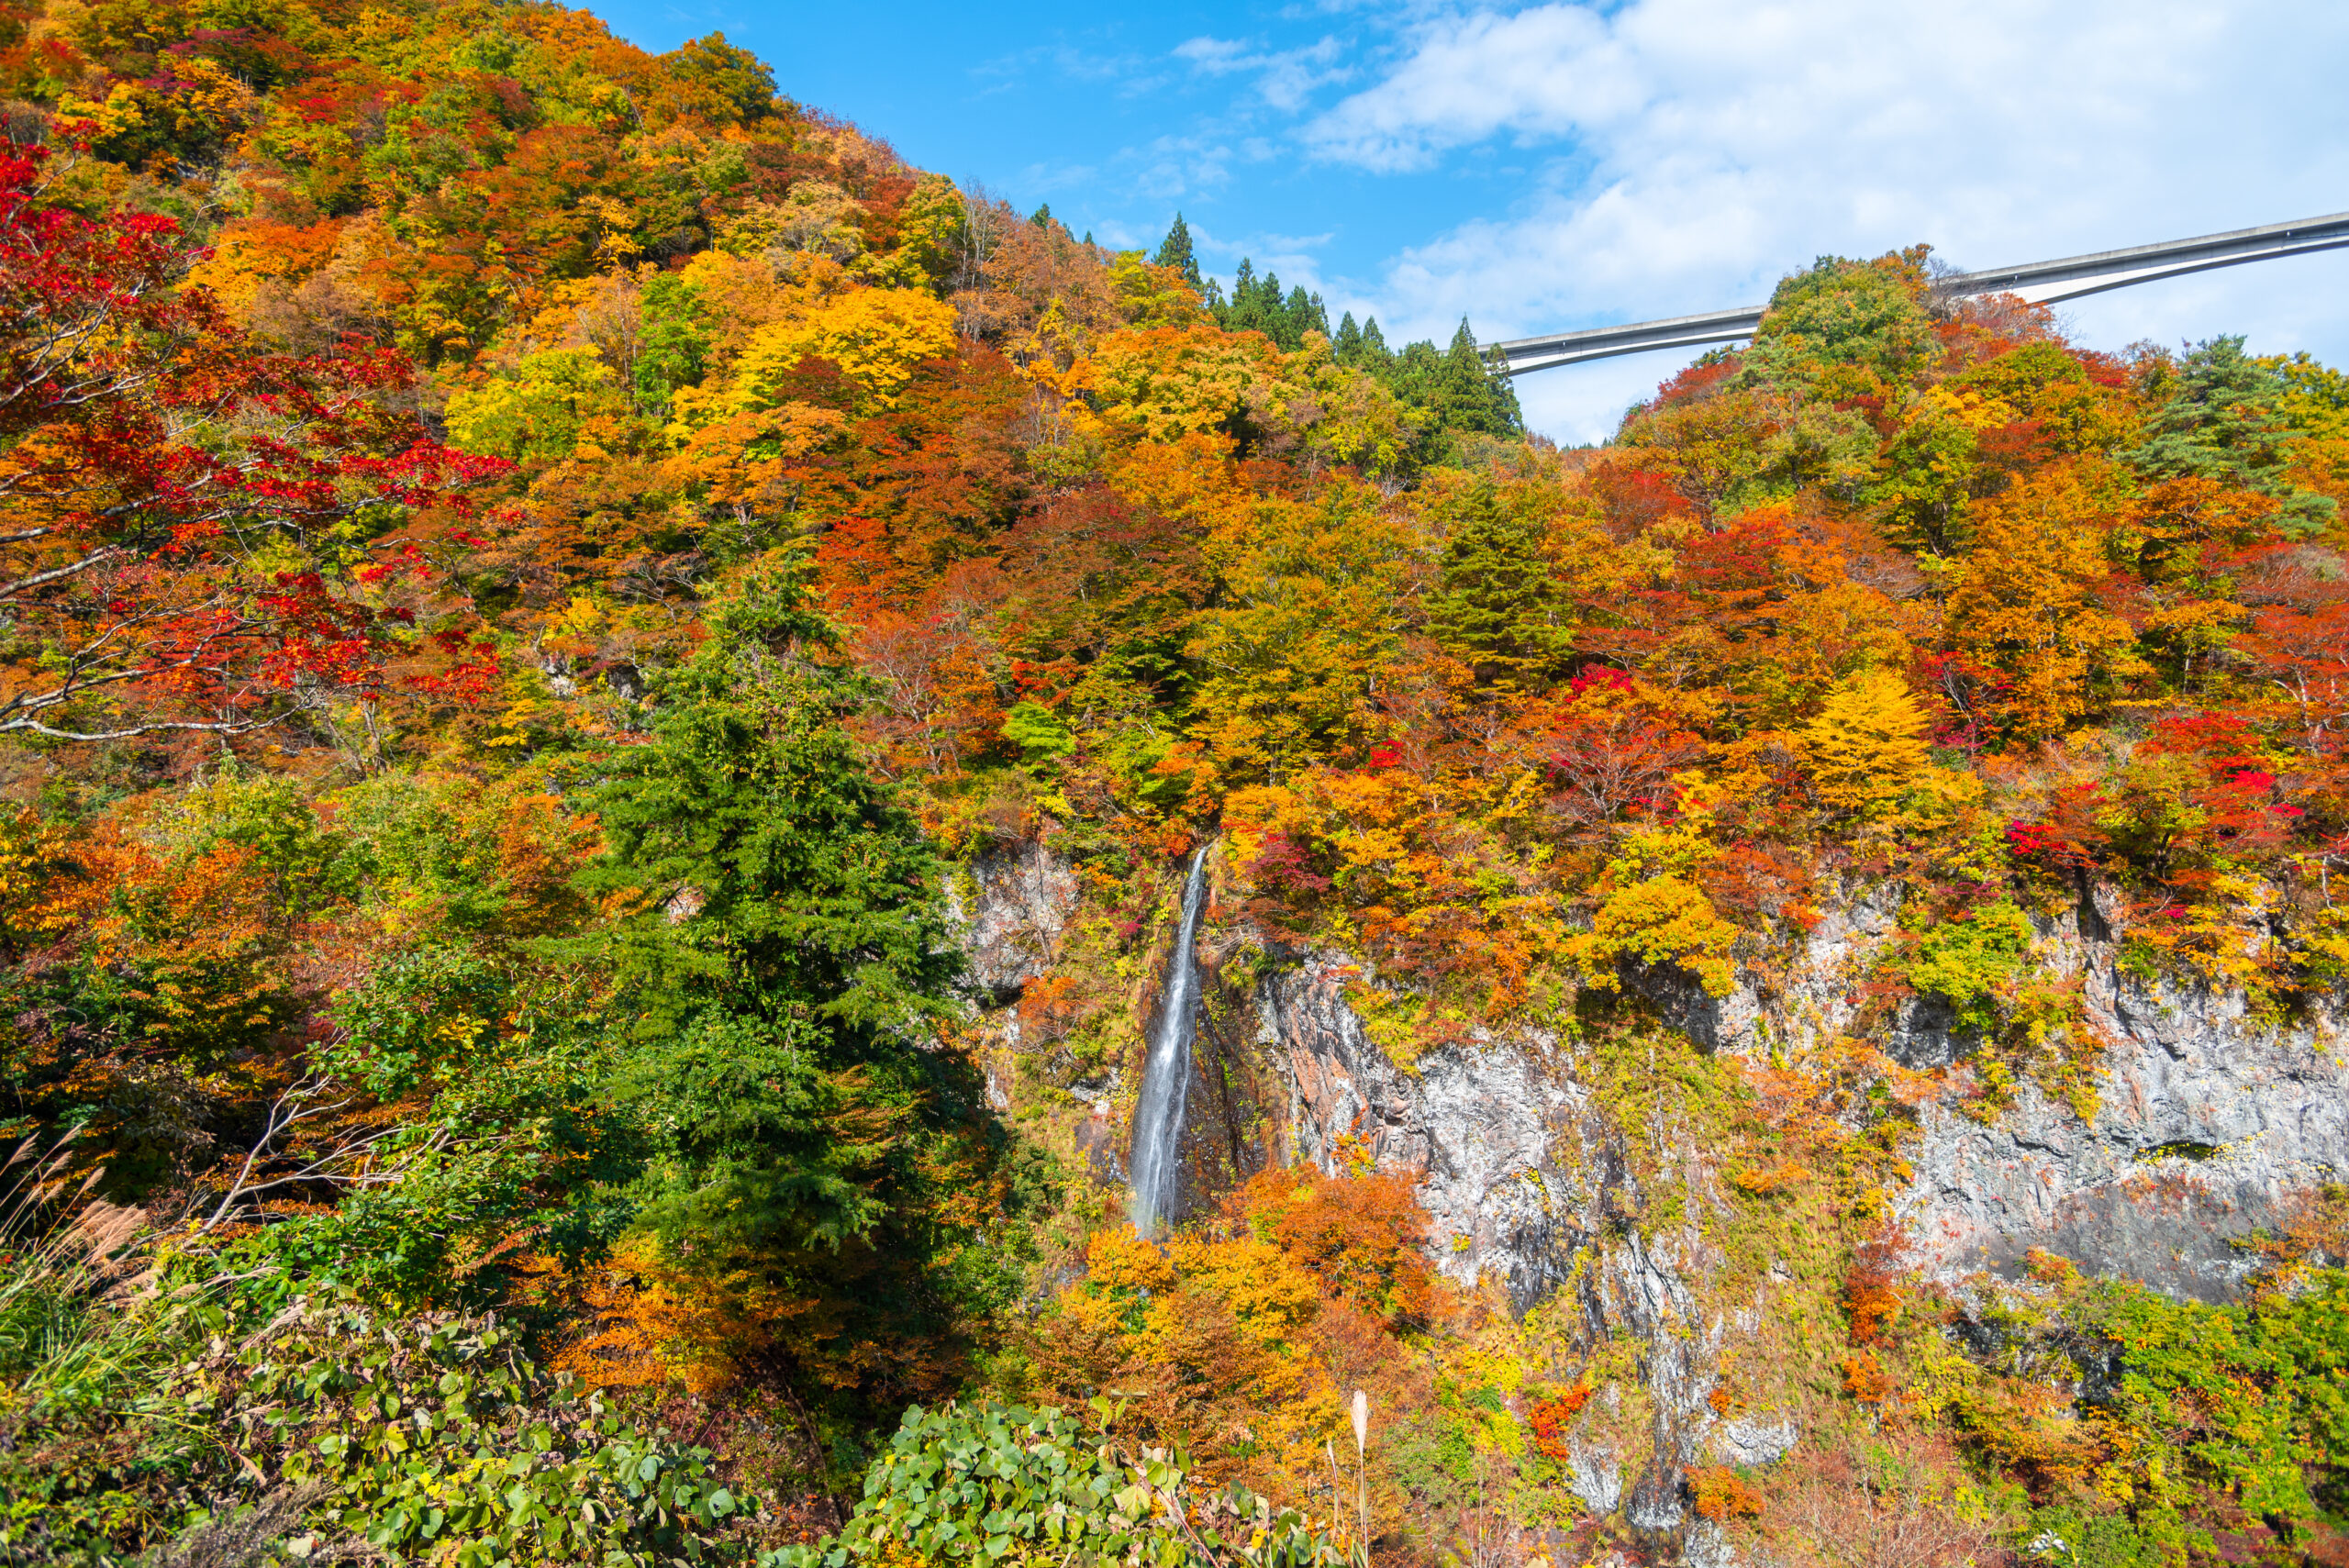
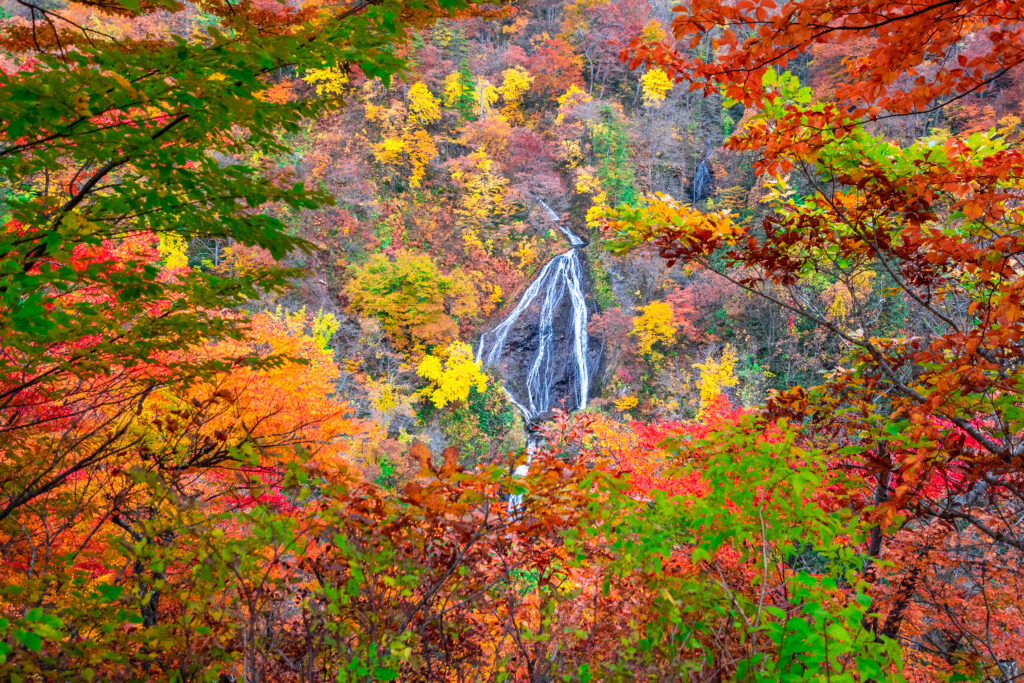
Day 2 – The “Little Fuji of Azuma”
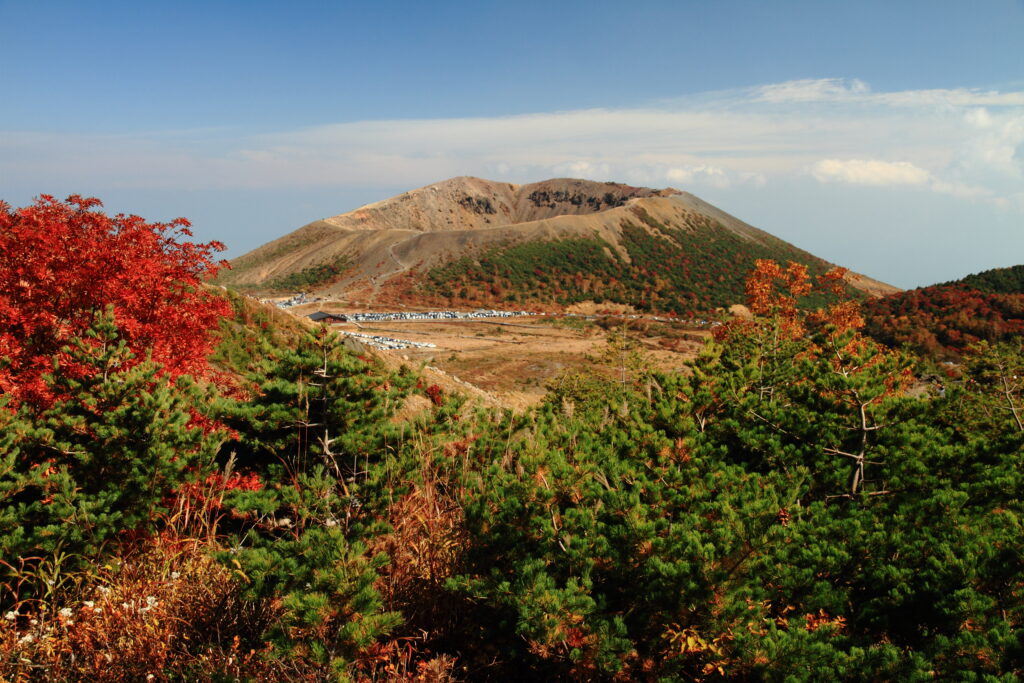
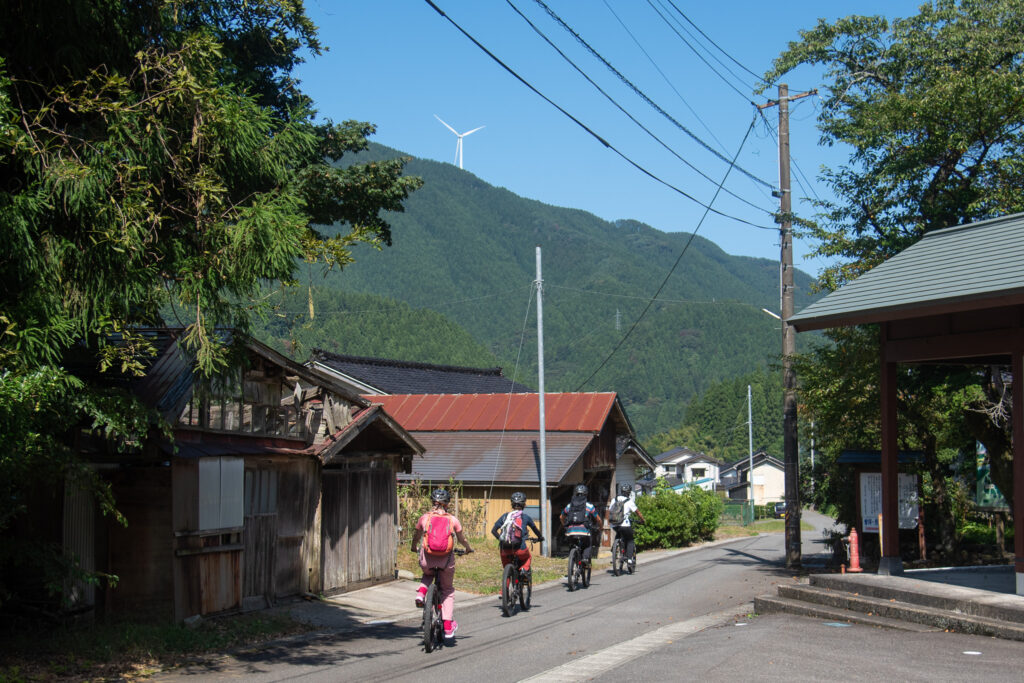
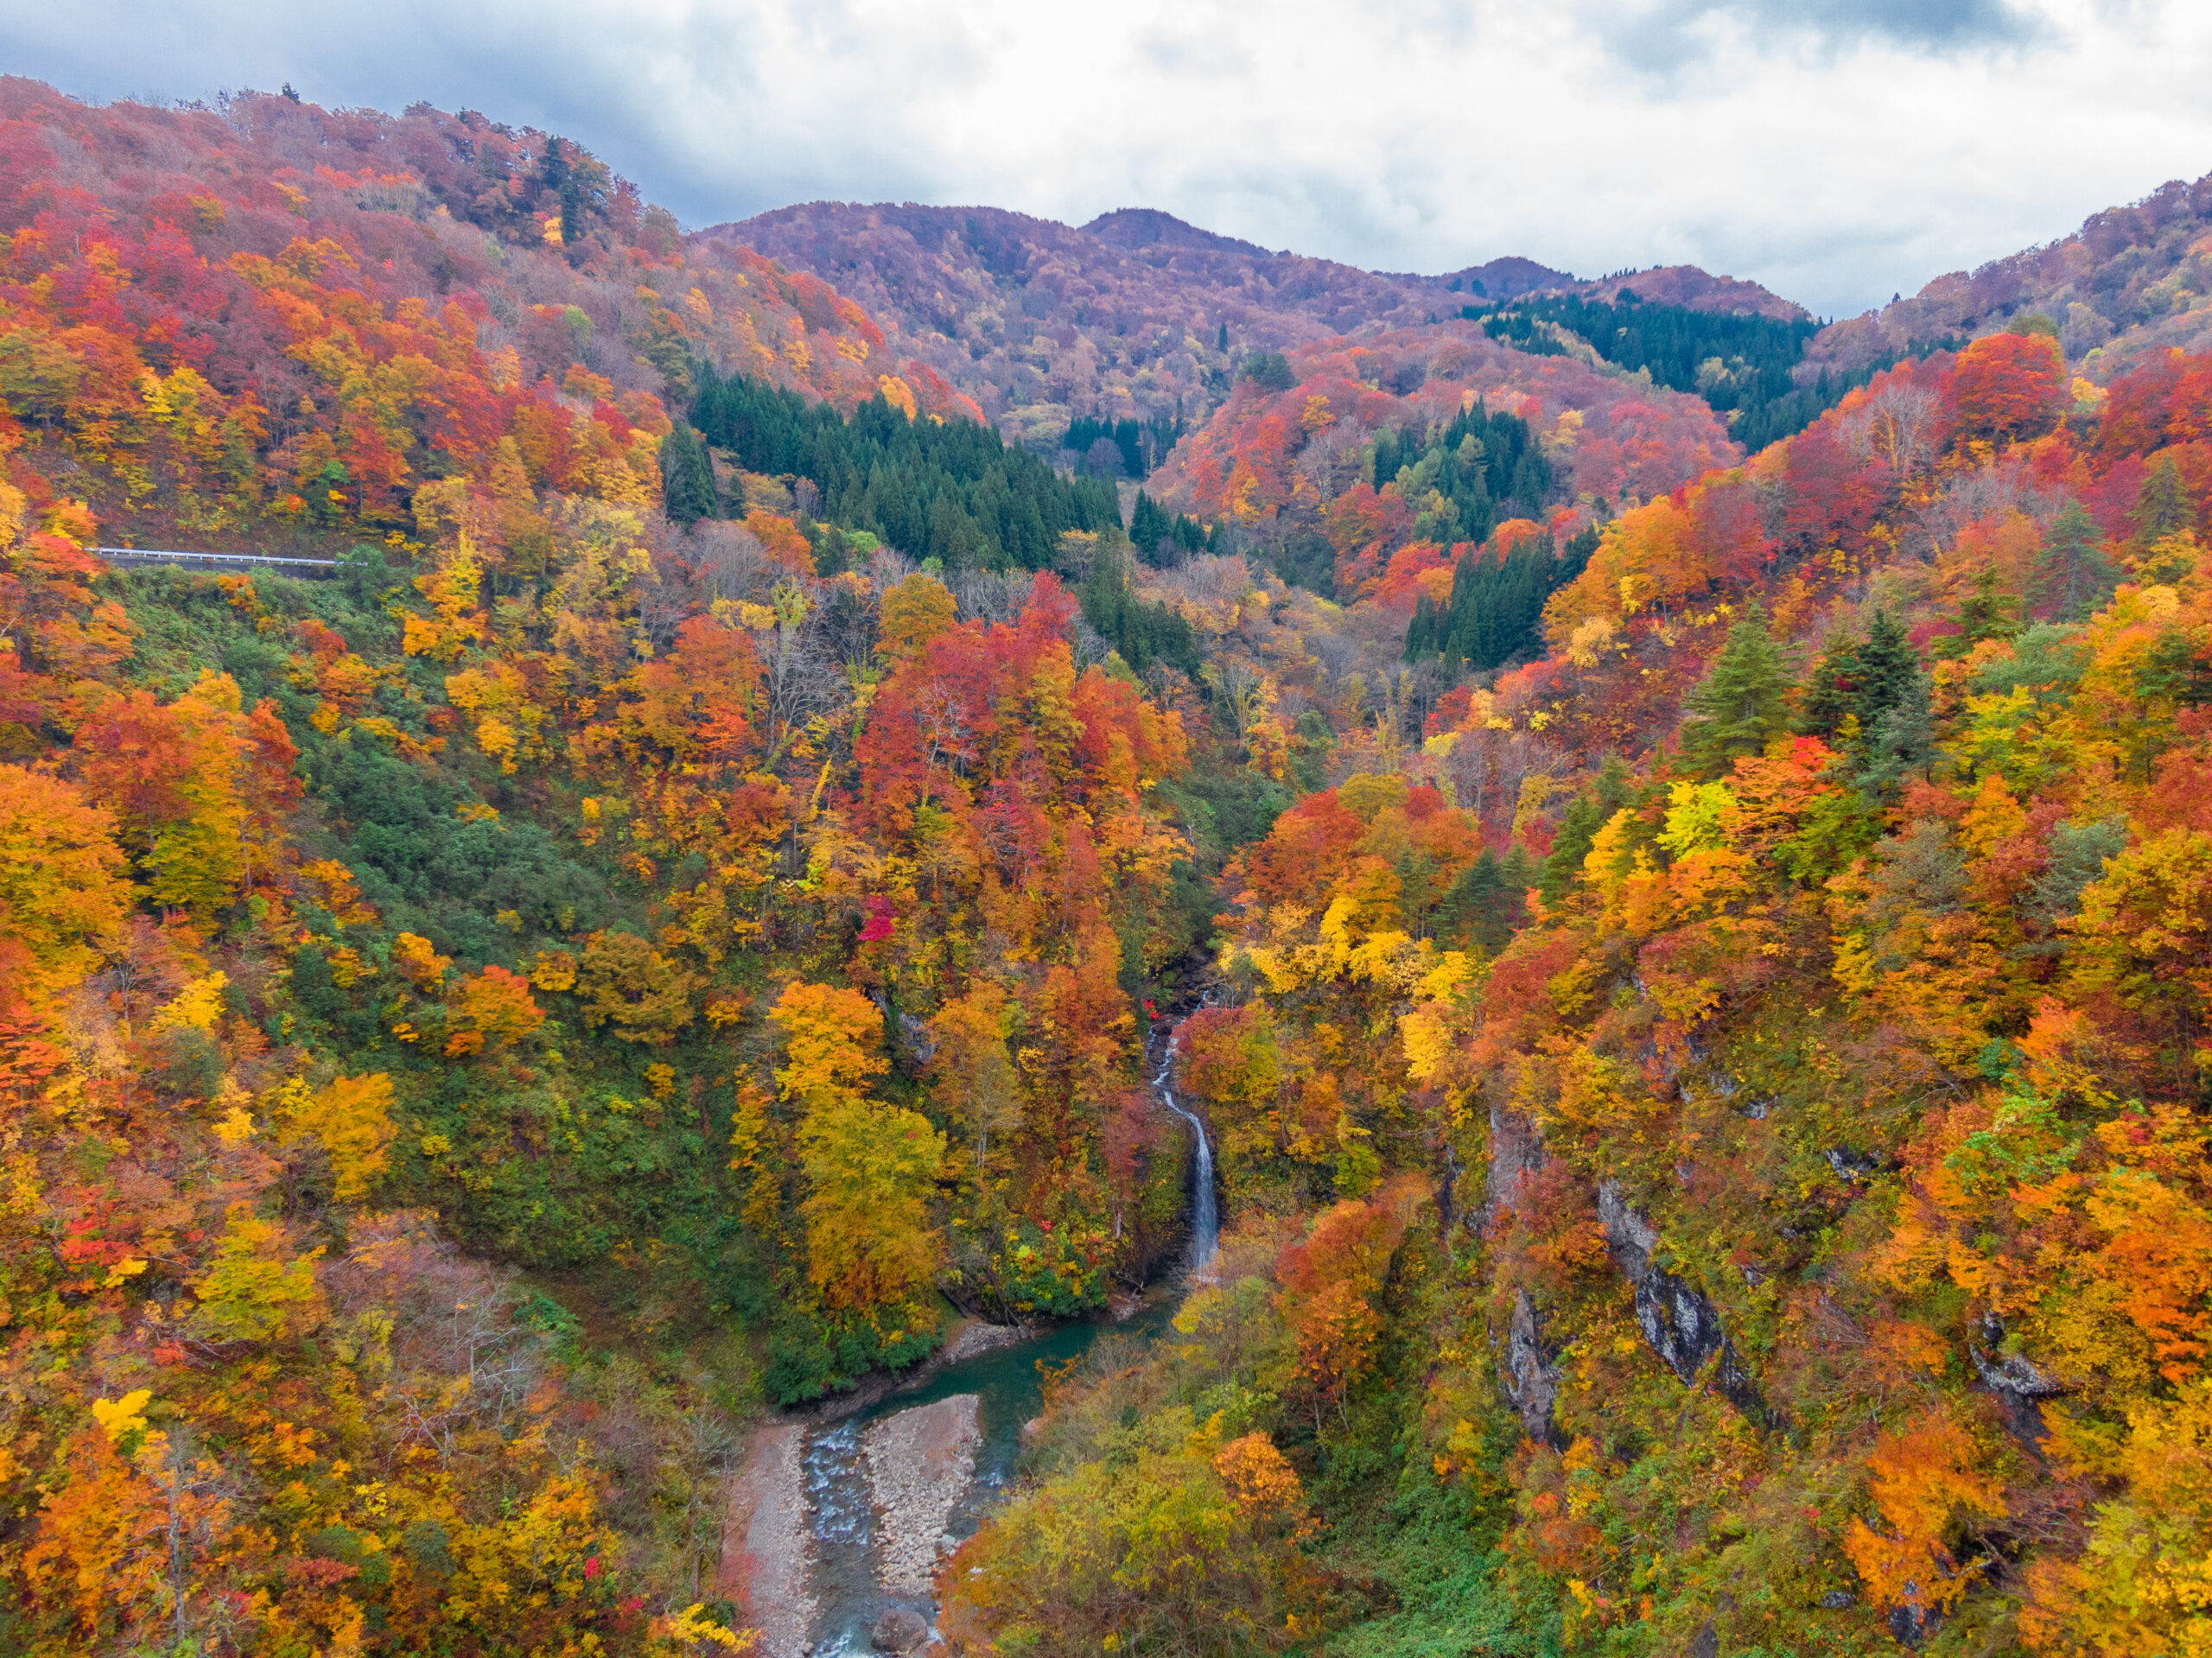
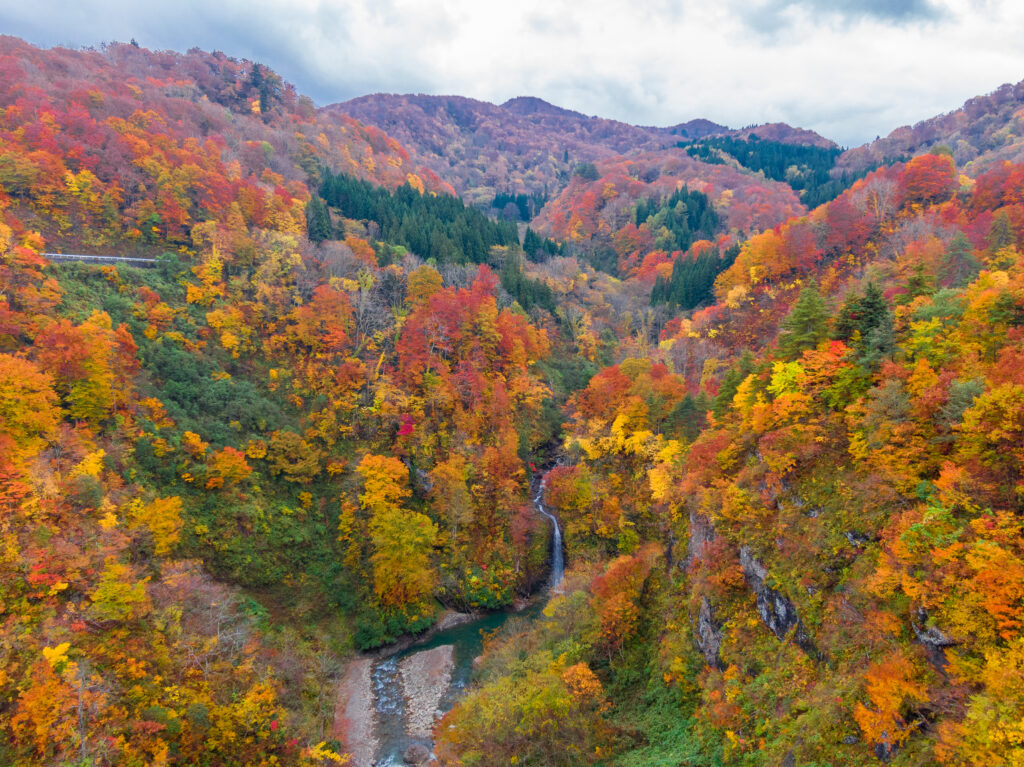
Take a leisurely 4-hour hike through the striking volcanic landscapes of Jododaira. Explore the Witch’s Eye crater lake, steam-spewing Mt. Issaikyo, and the iconic Azuma-Kofuji caldera. End the loop with the lush Kamanuma Marshes—an unforgettable journey through one of Tohoku’s most dynamic terrains.
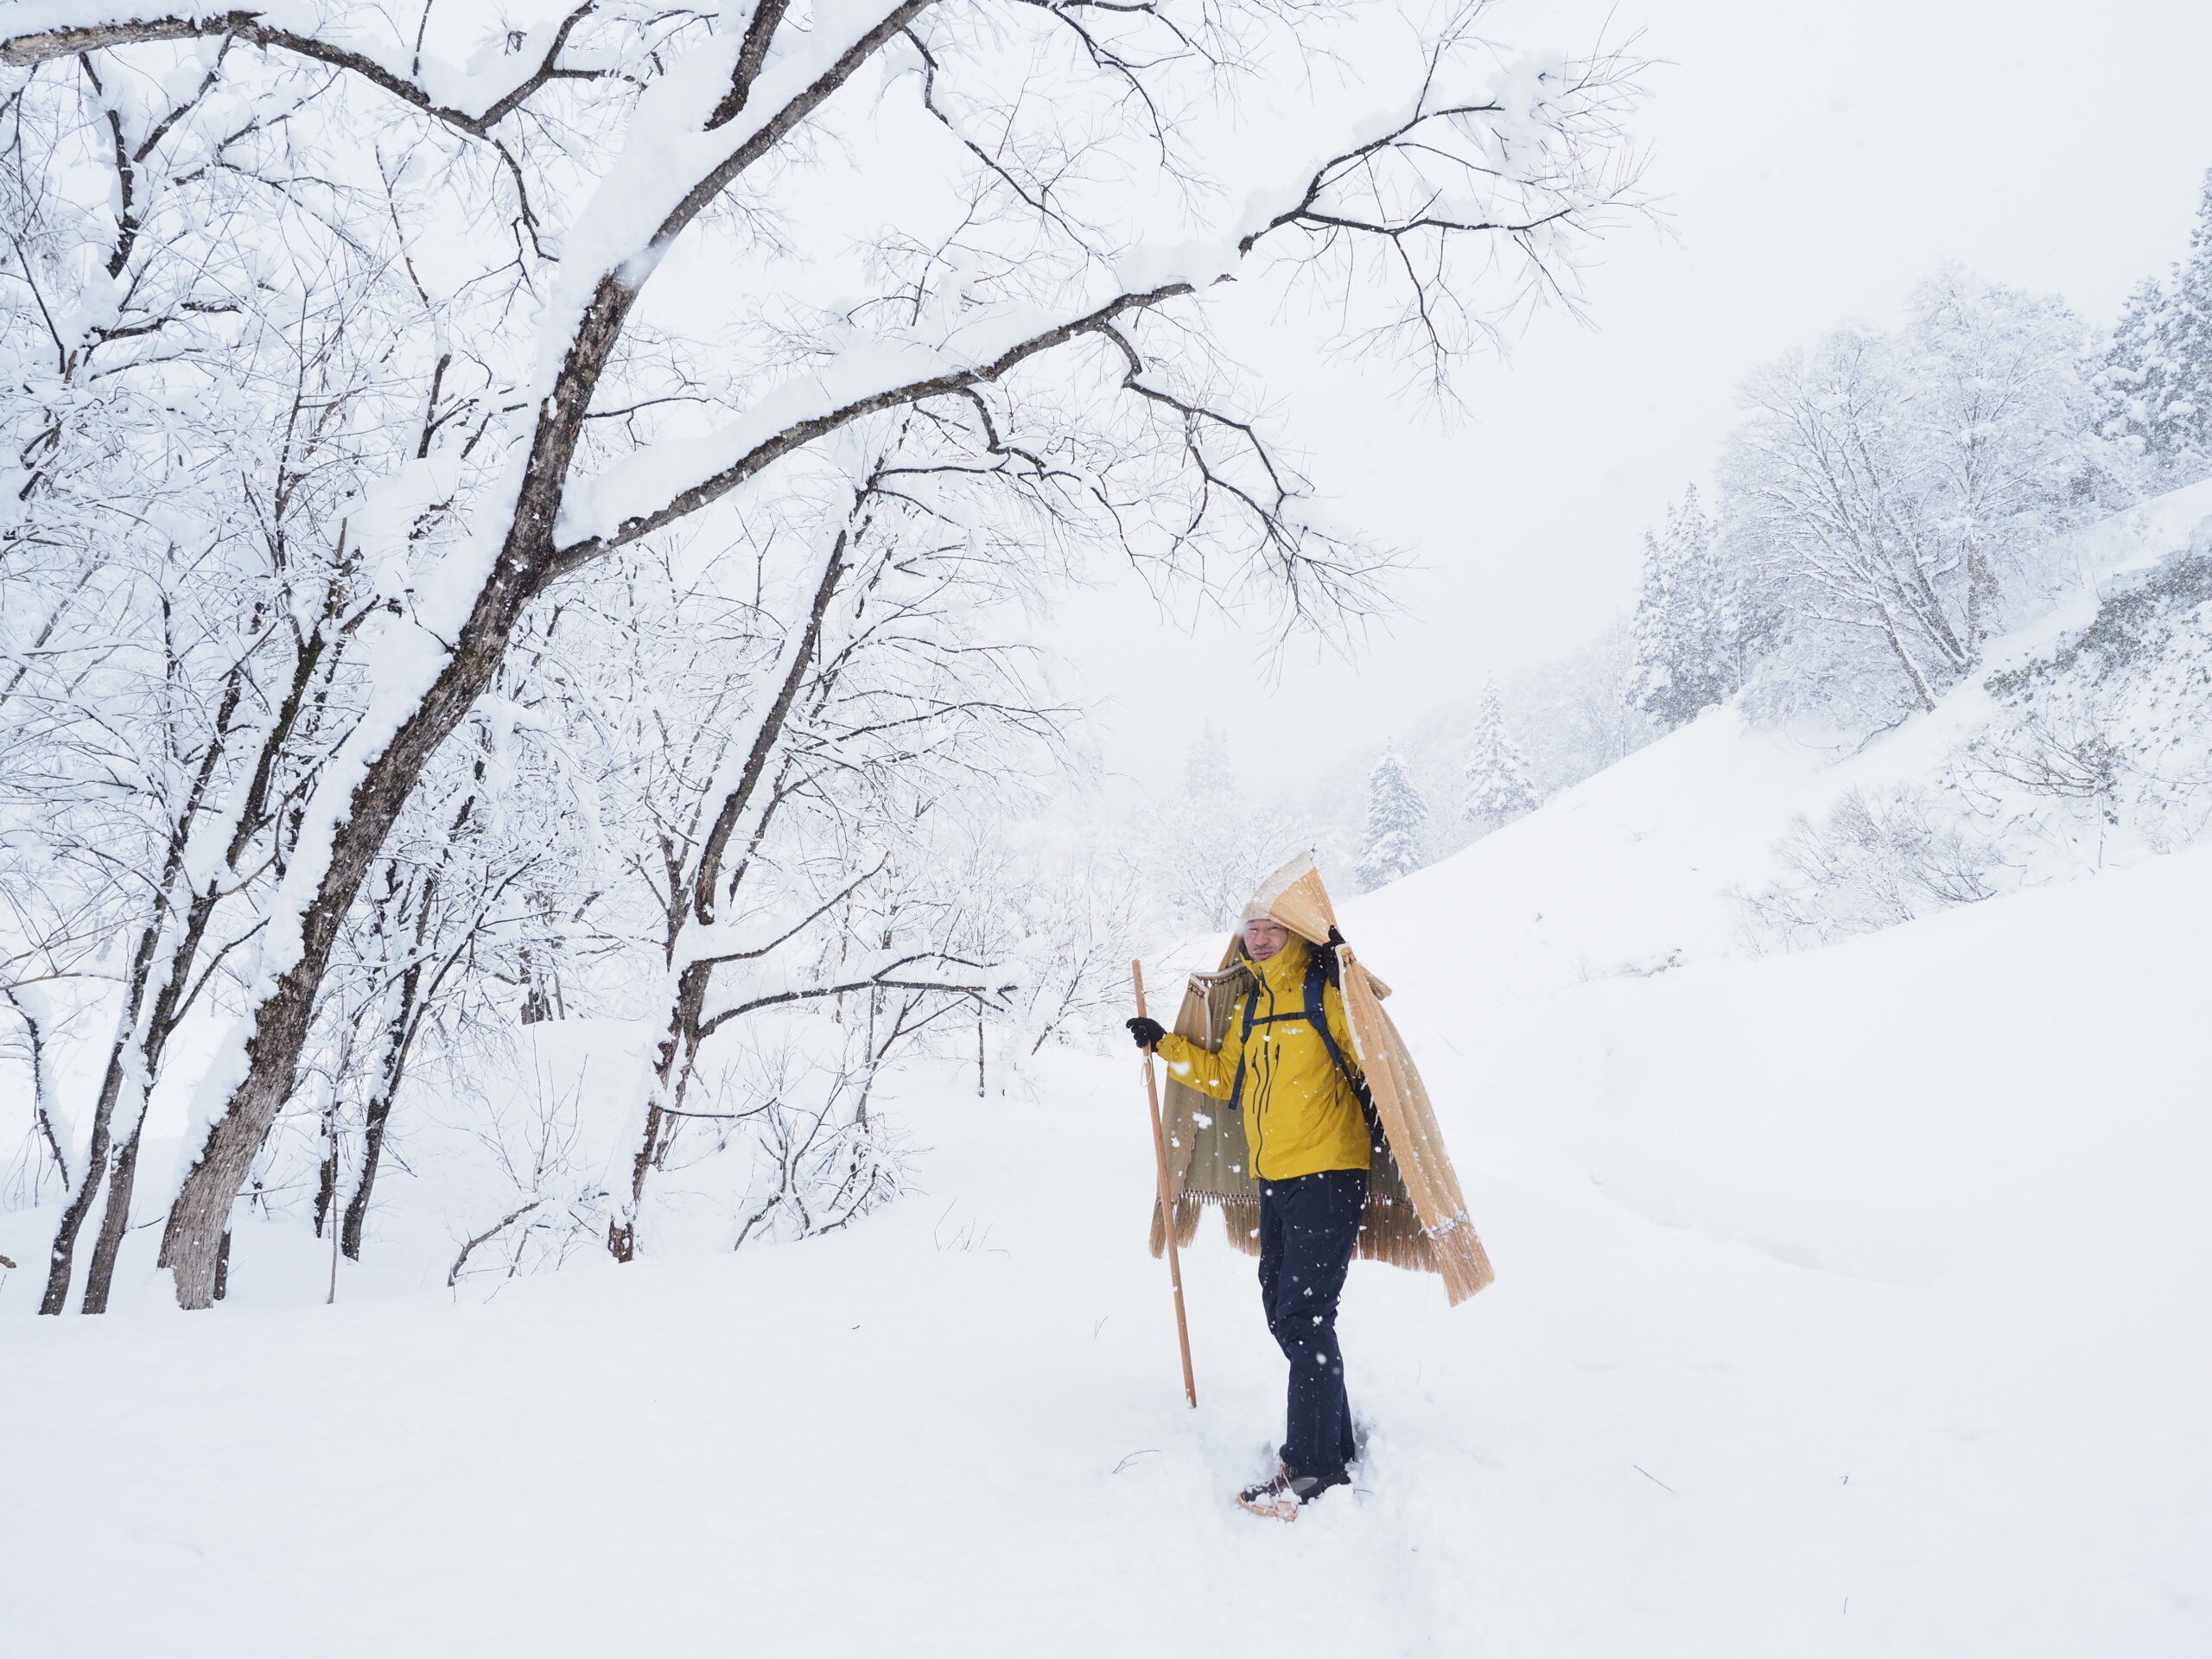
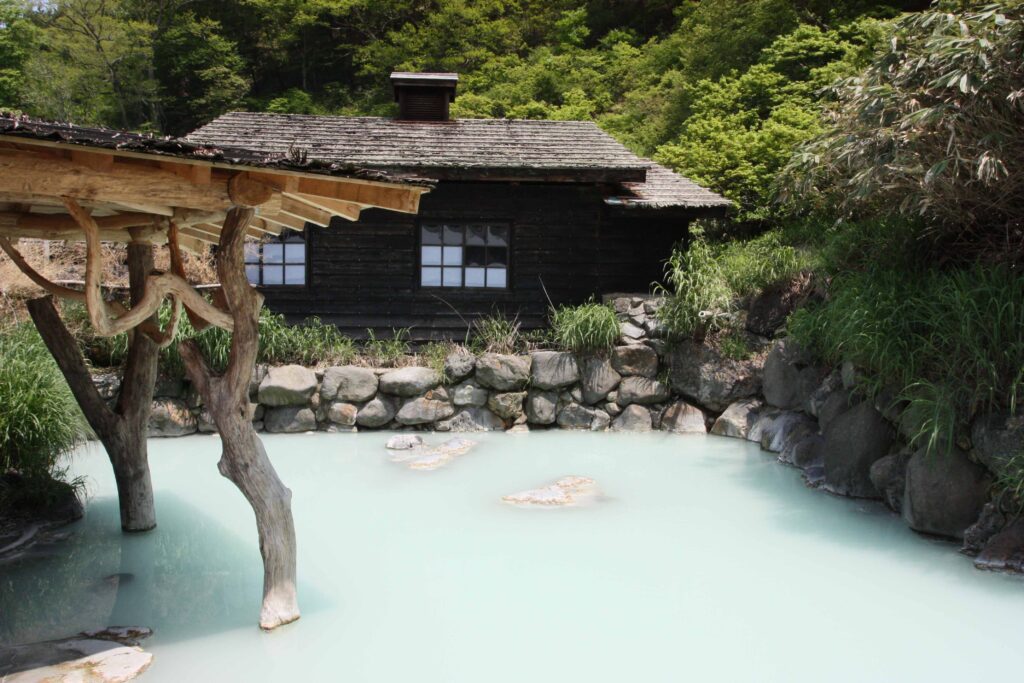
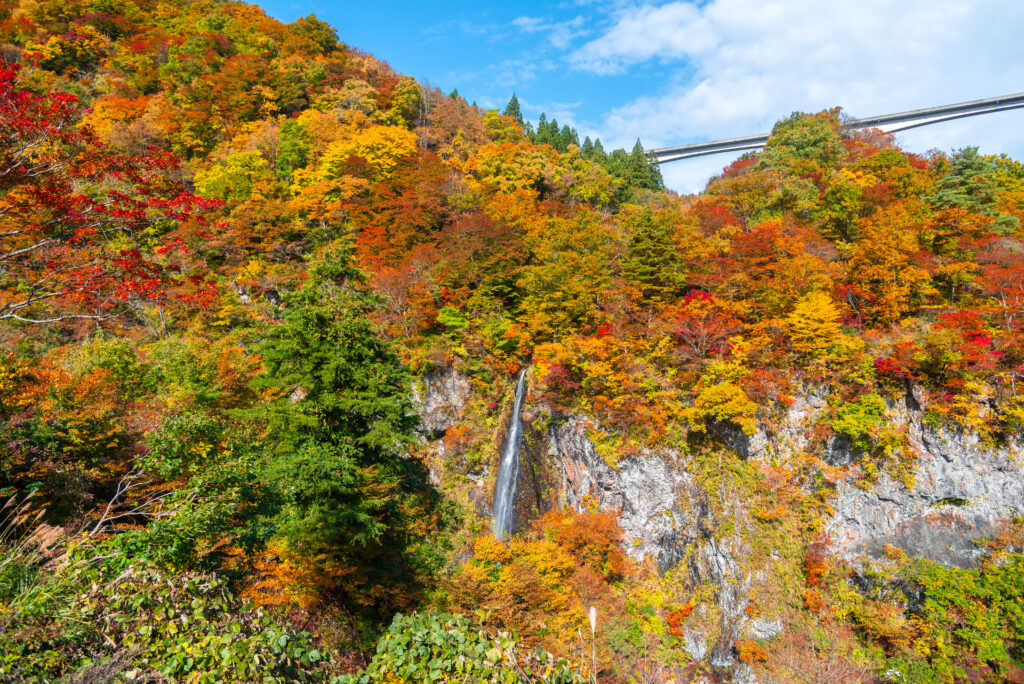
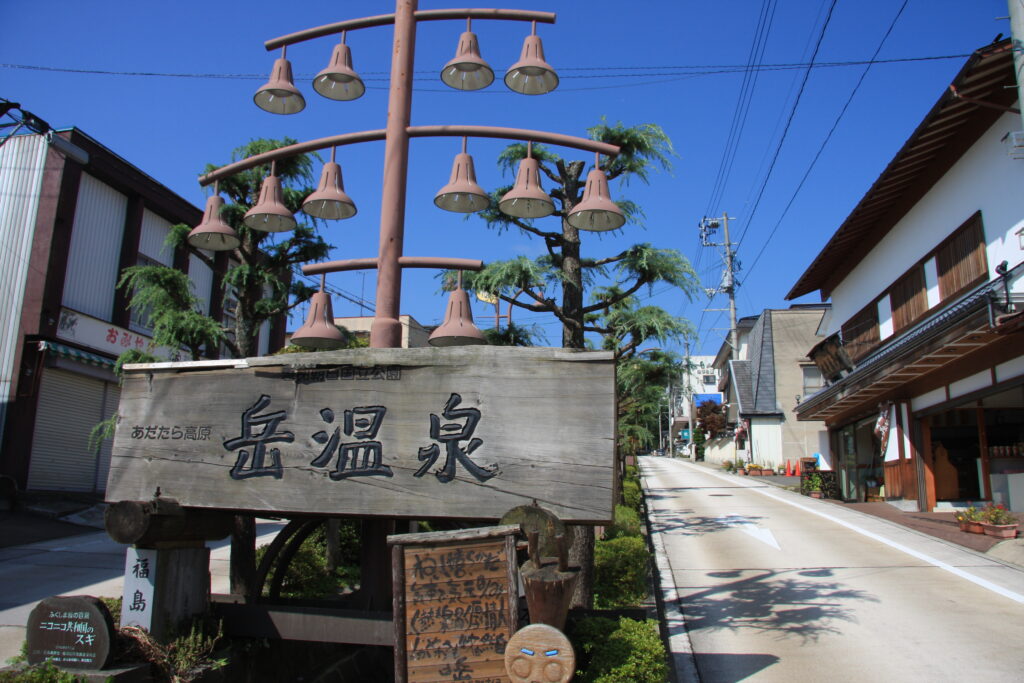
Day 3 – Mt. Adatara’s Extreme Onsen
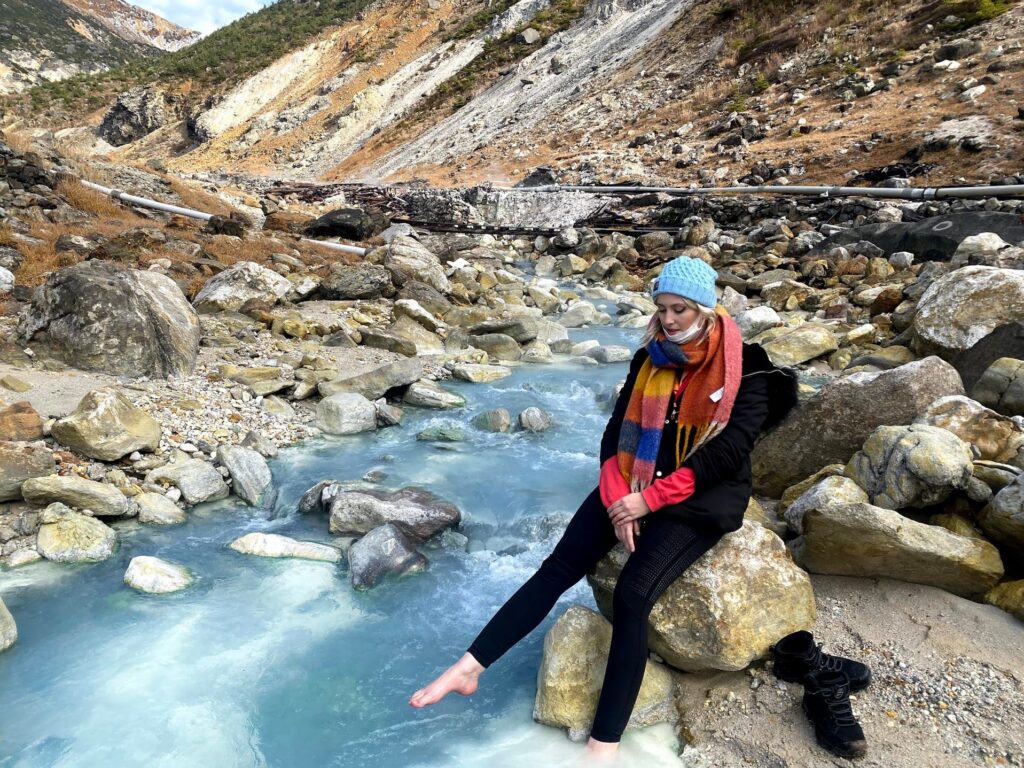
Mt. Adatara is a majestic active volcano, known for its hot springs, fumaroles, and literary fame. Ranked among Japan’s top 100 mountains, it offers breathtaking views across its forested massif. Weather permitting, we may also visit Numajiri’s “Extreme Onsen”—a hidden hot spring accessible only with a guide. Don’t forget your swimsuit and towel!
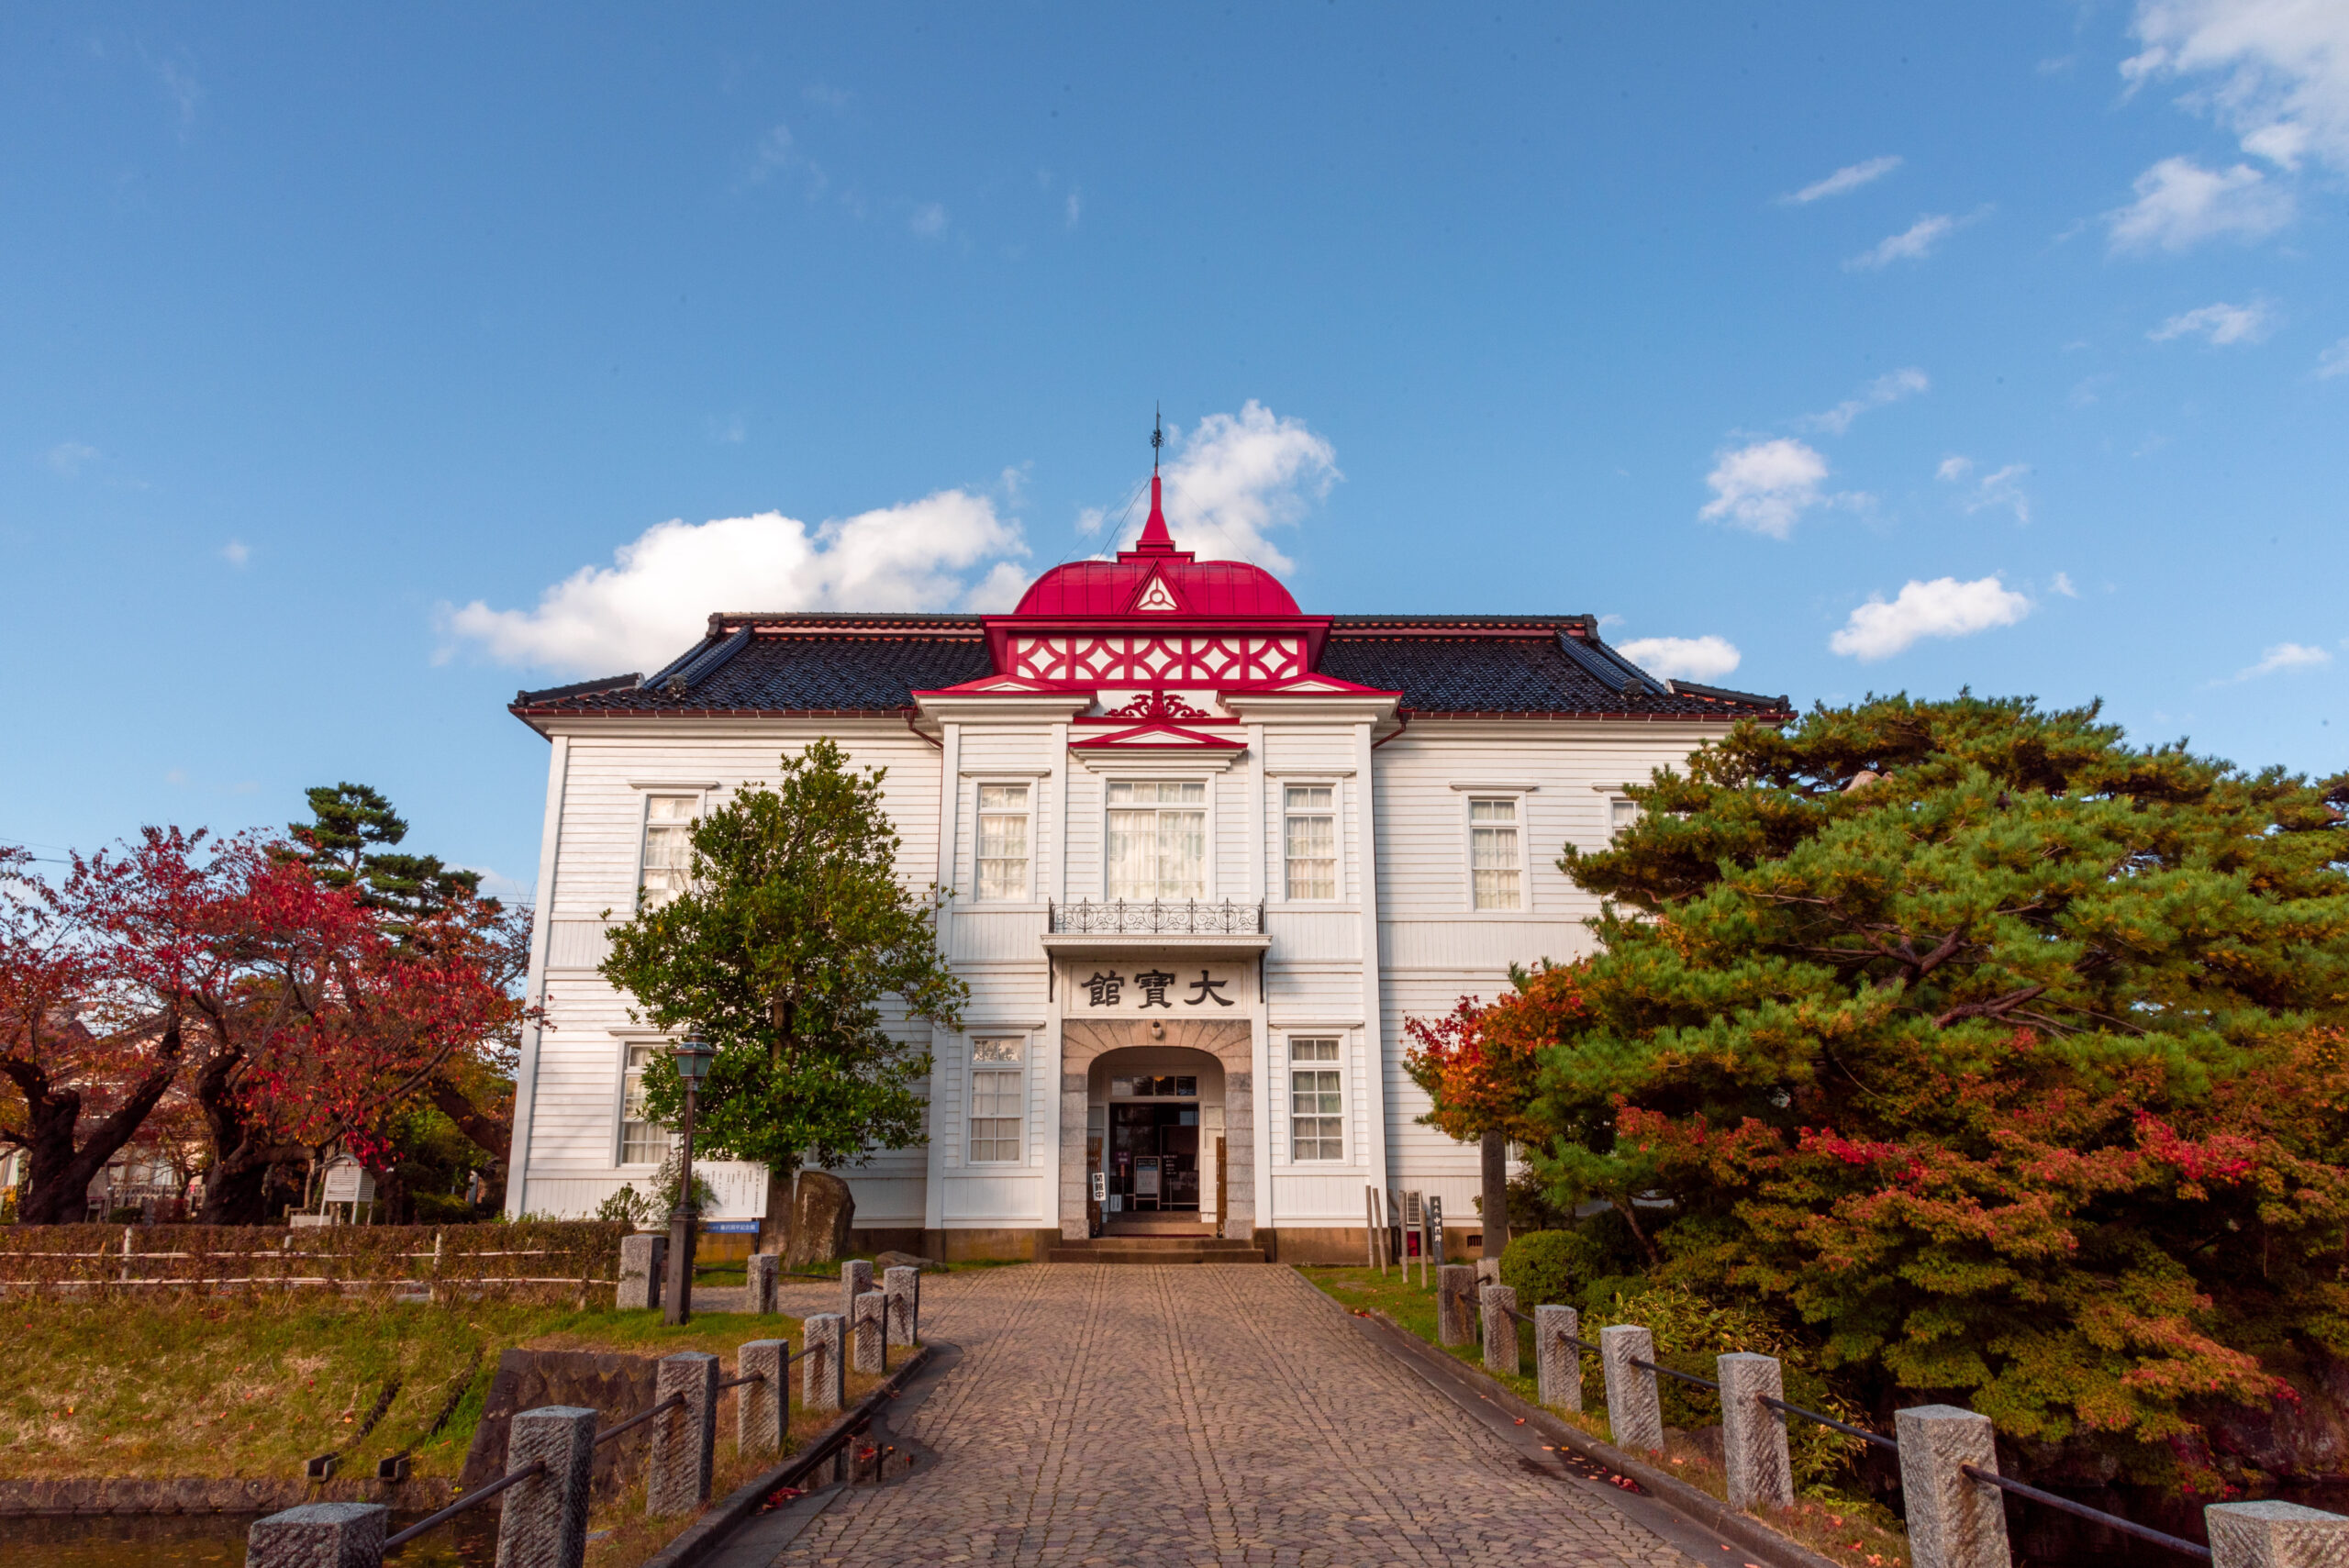
Day 4 – Sendai city
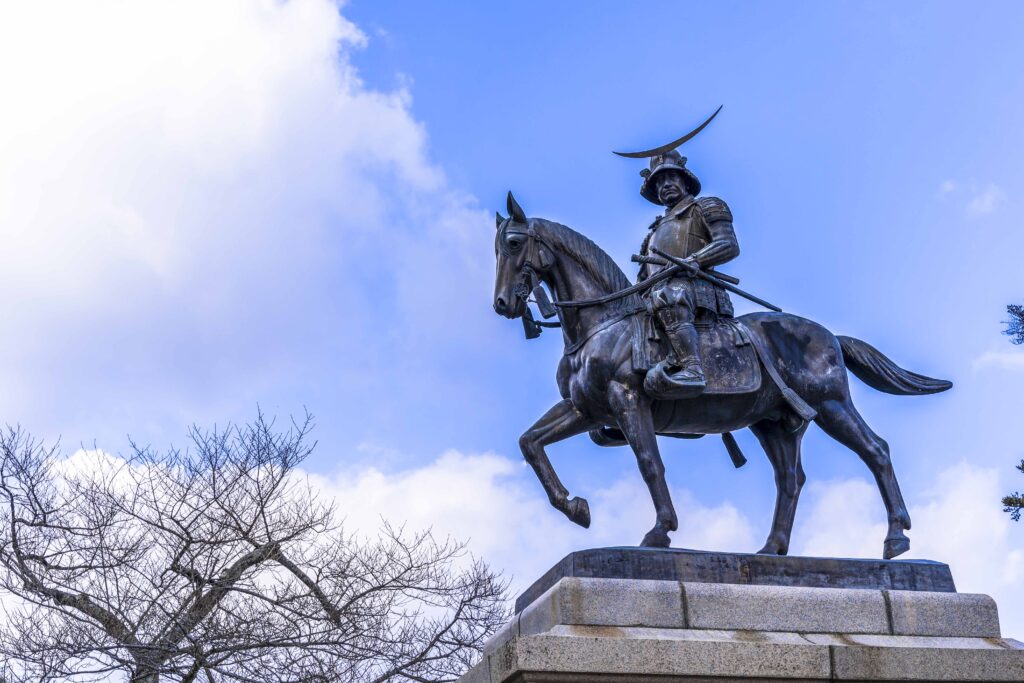
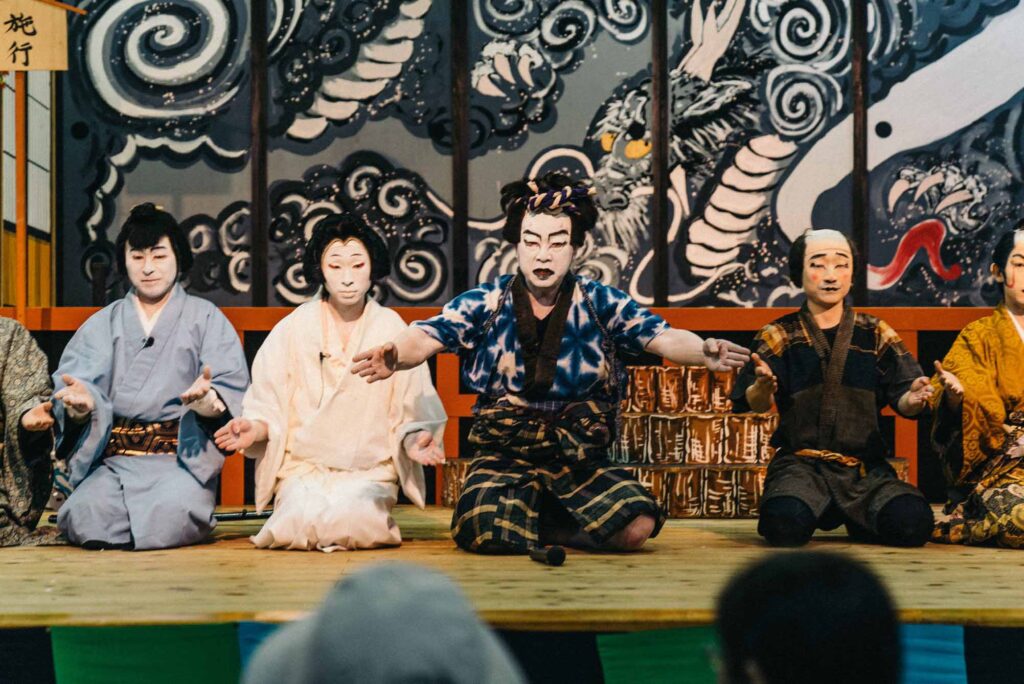
Sendai, the largest city in Tohoku, is full of charm and local flavors. After exploring the city with a local guide, enjoy a lively bar-hopping adventure through its narrow alleyways.
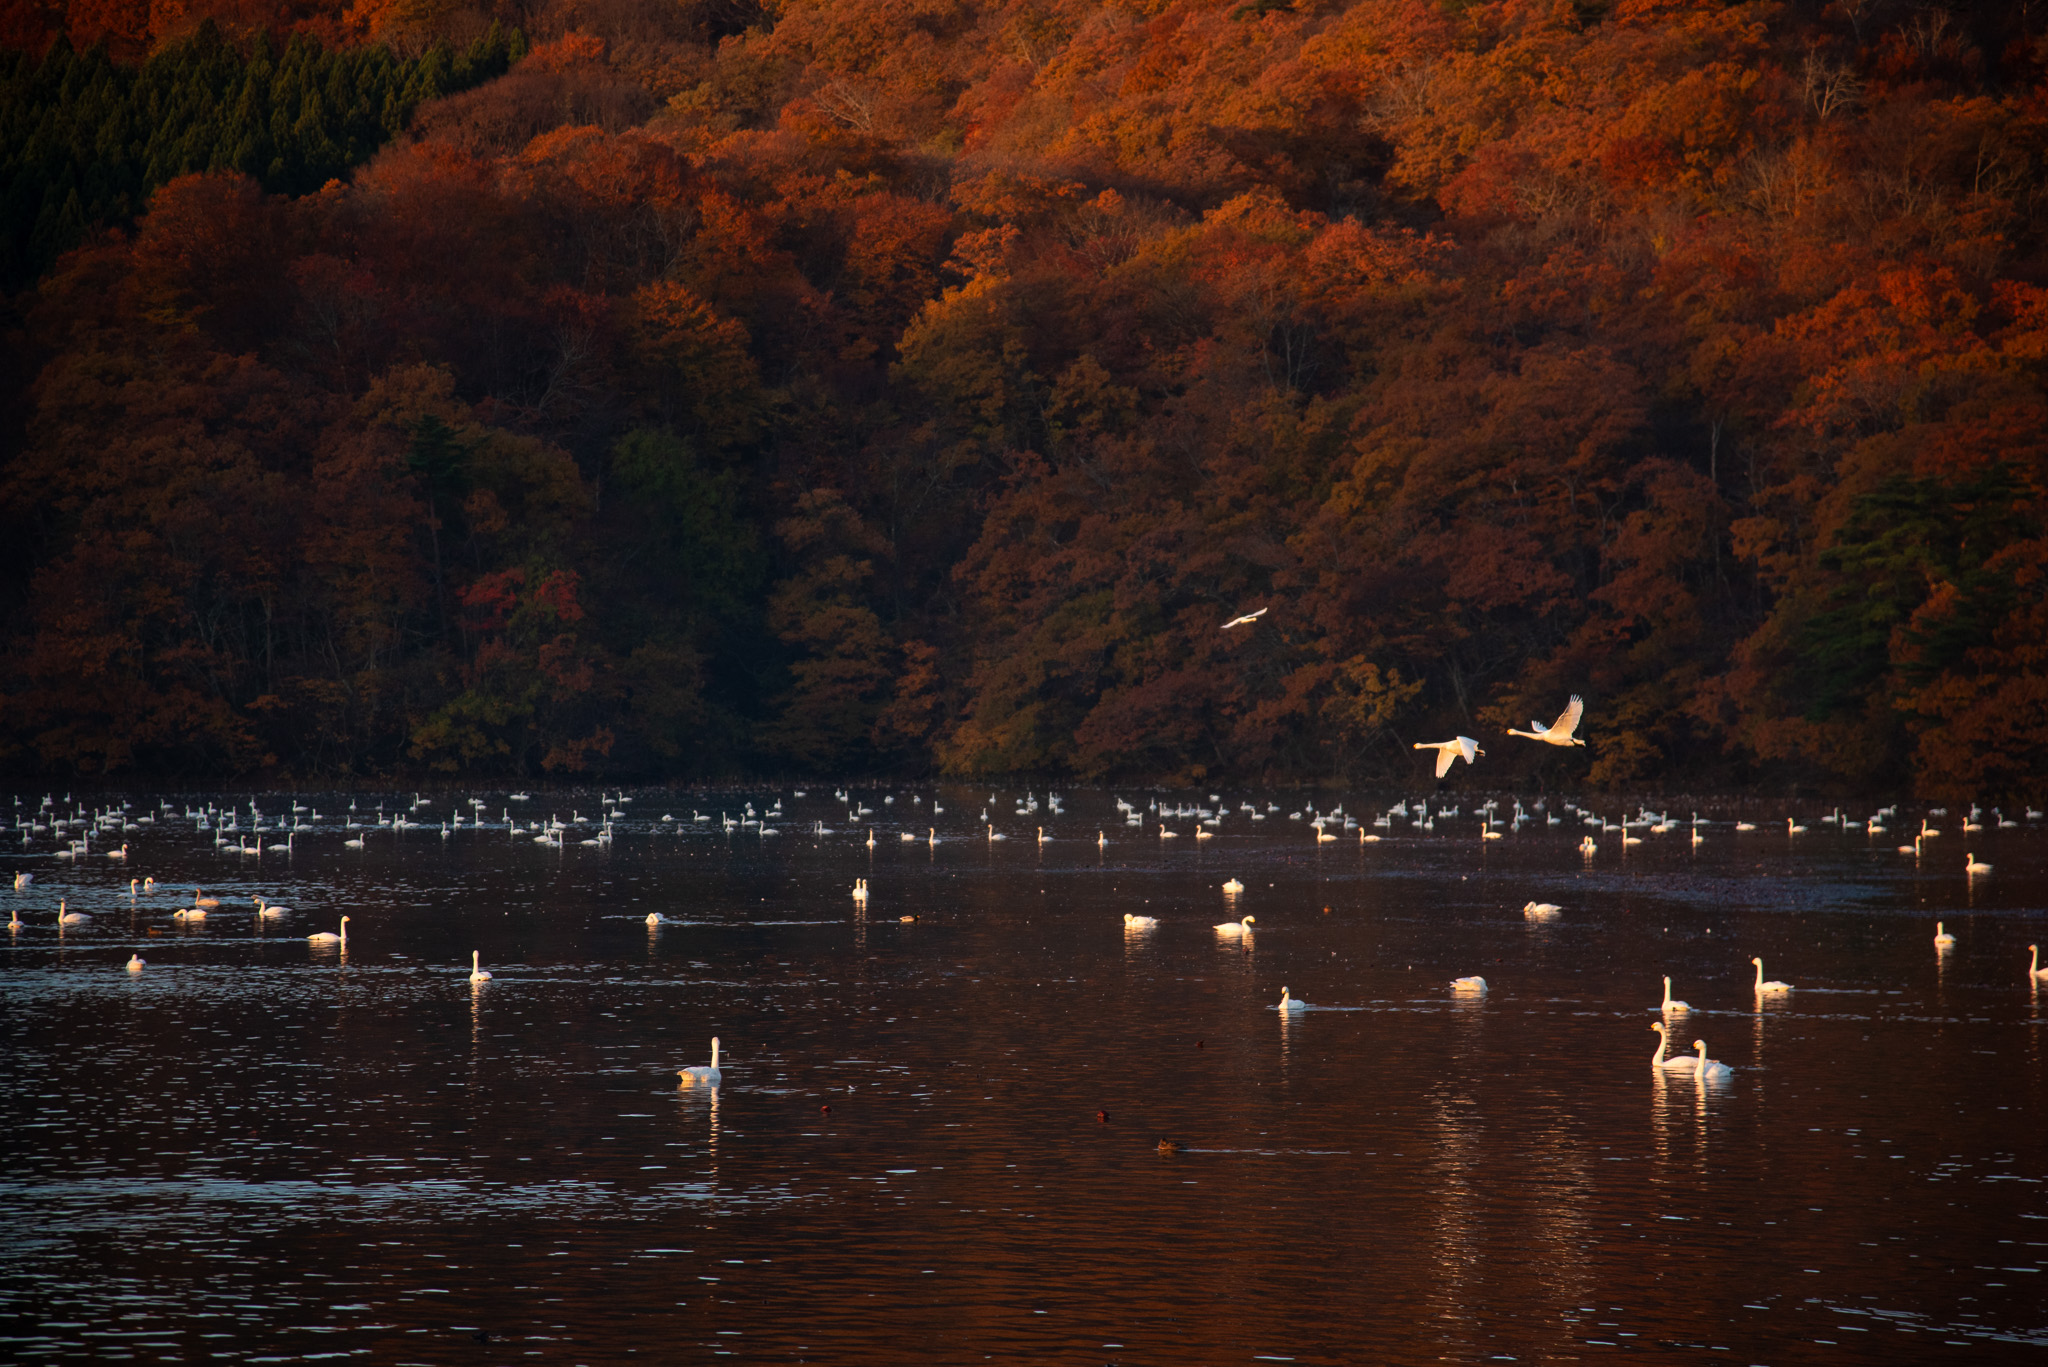
Day 5 – Matsushima Islands
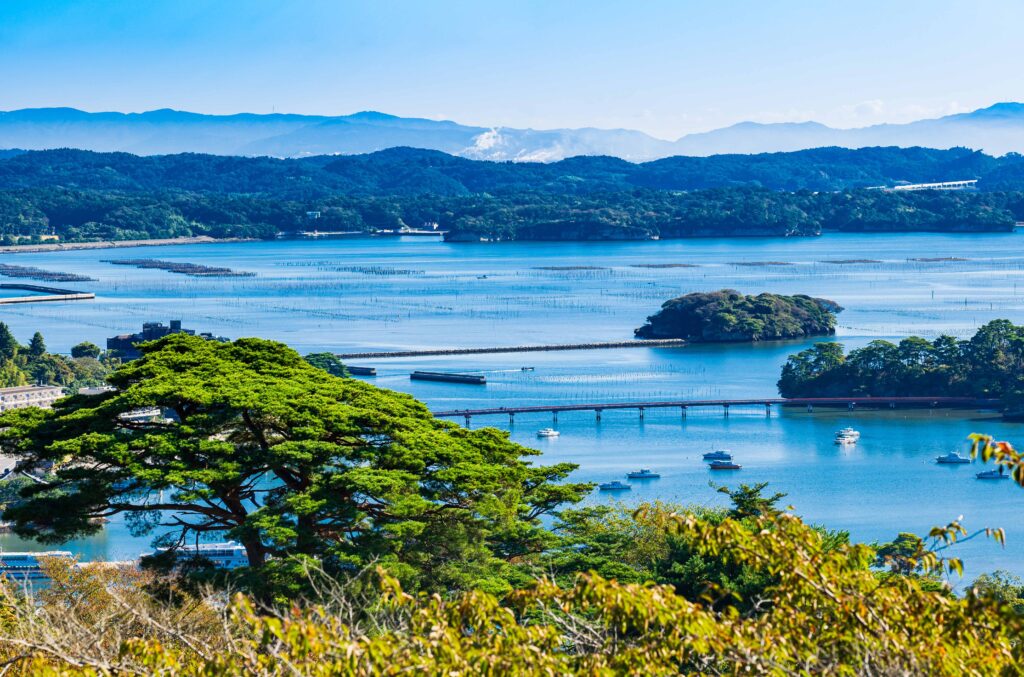
Just outside Sendai, Shiogama Fish Market offers a lively dive into Miyagi’s seafood culture. Chat with local vendors, learn about seasonal catches, and savor the freshest fish. Then, we’ll head to Matsushima—one of Japan’s Three Most Scenic Views, famously admired by haiku master Matsuo Basho. A boat tour around the bay reveals stunning island vistas and stories steeped in history and Buddhist legend.
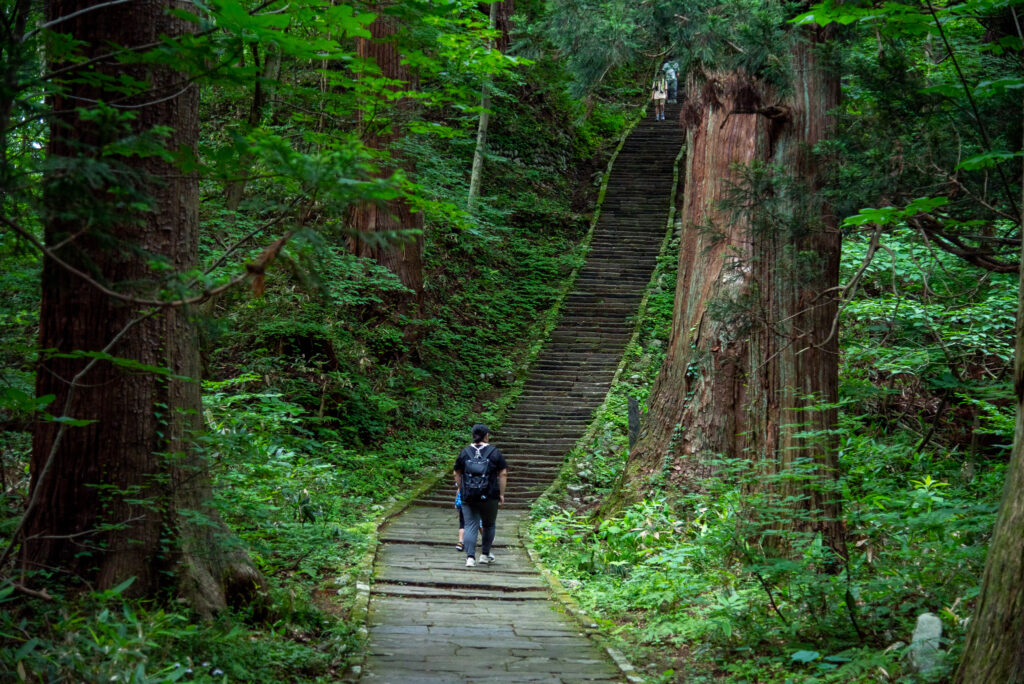
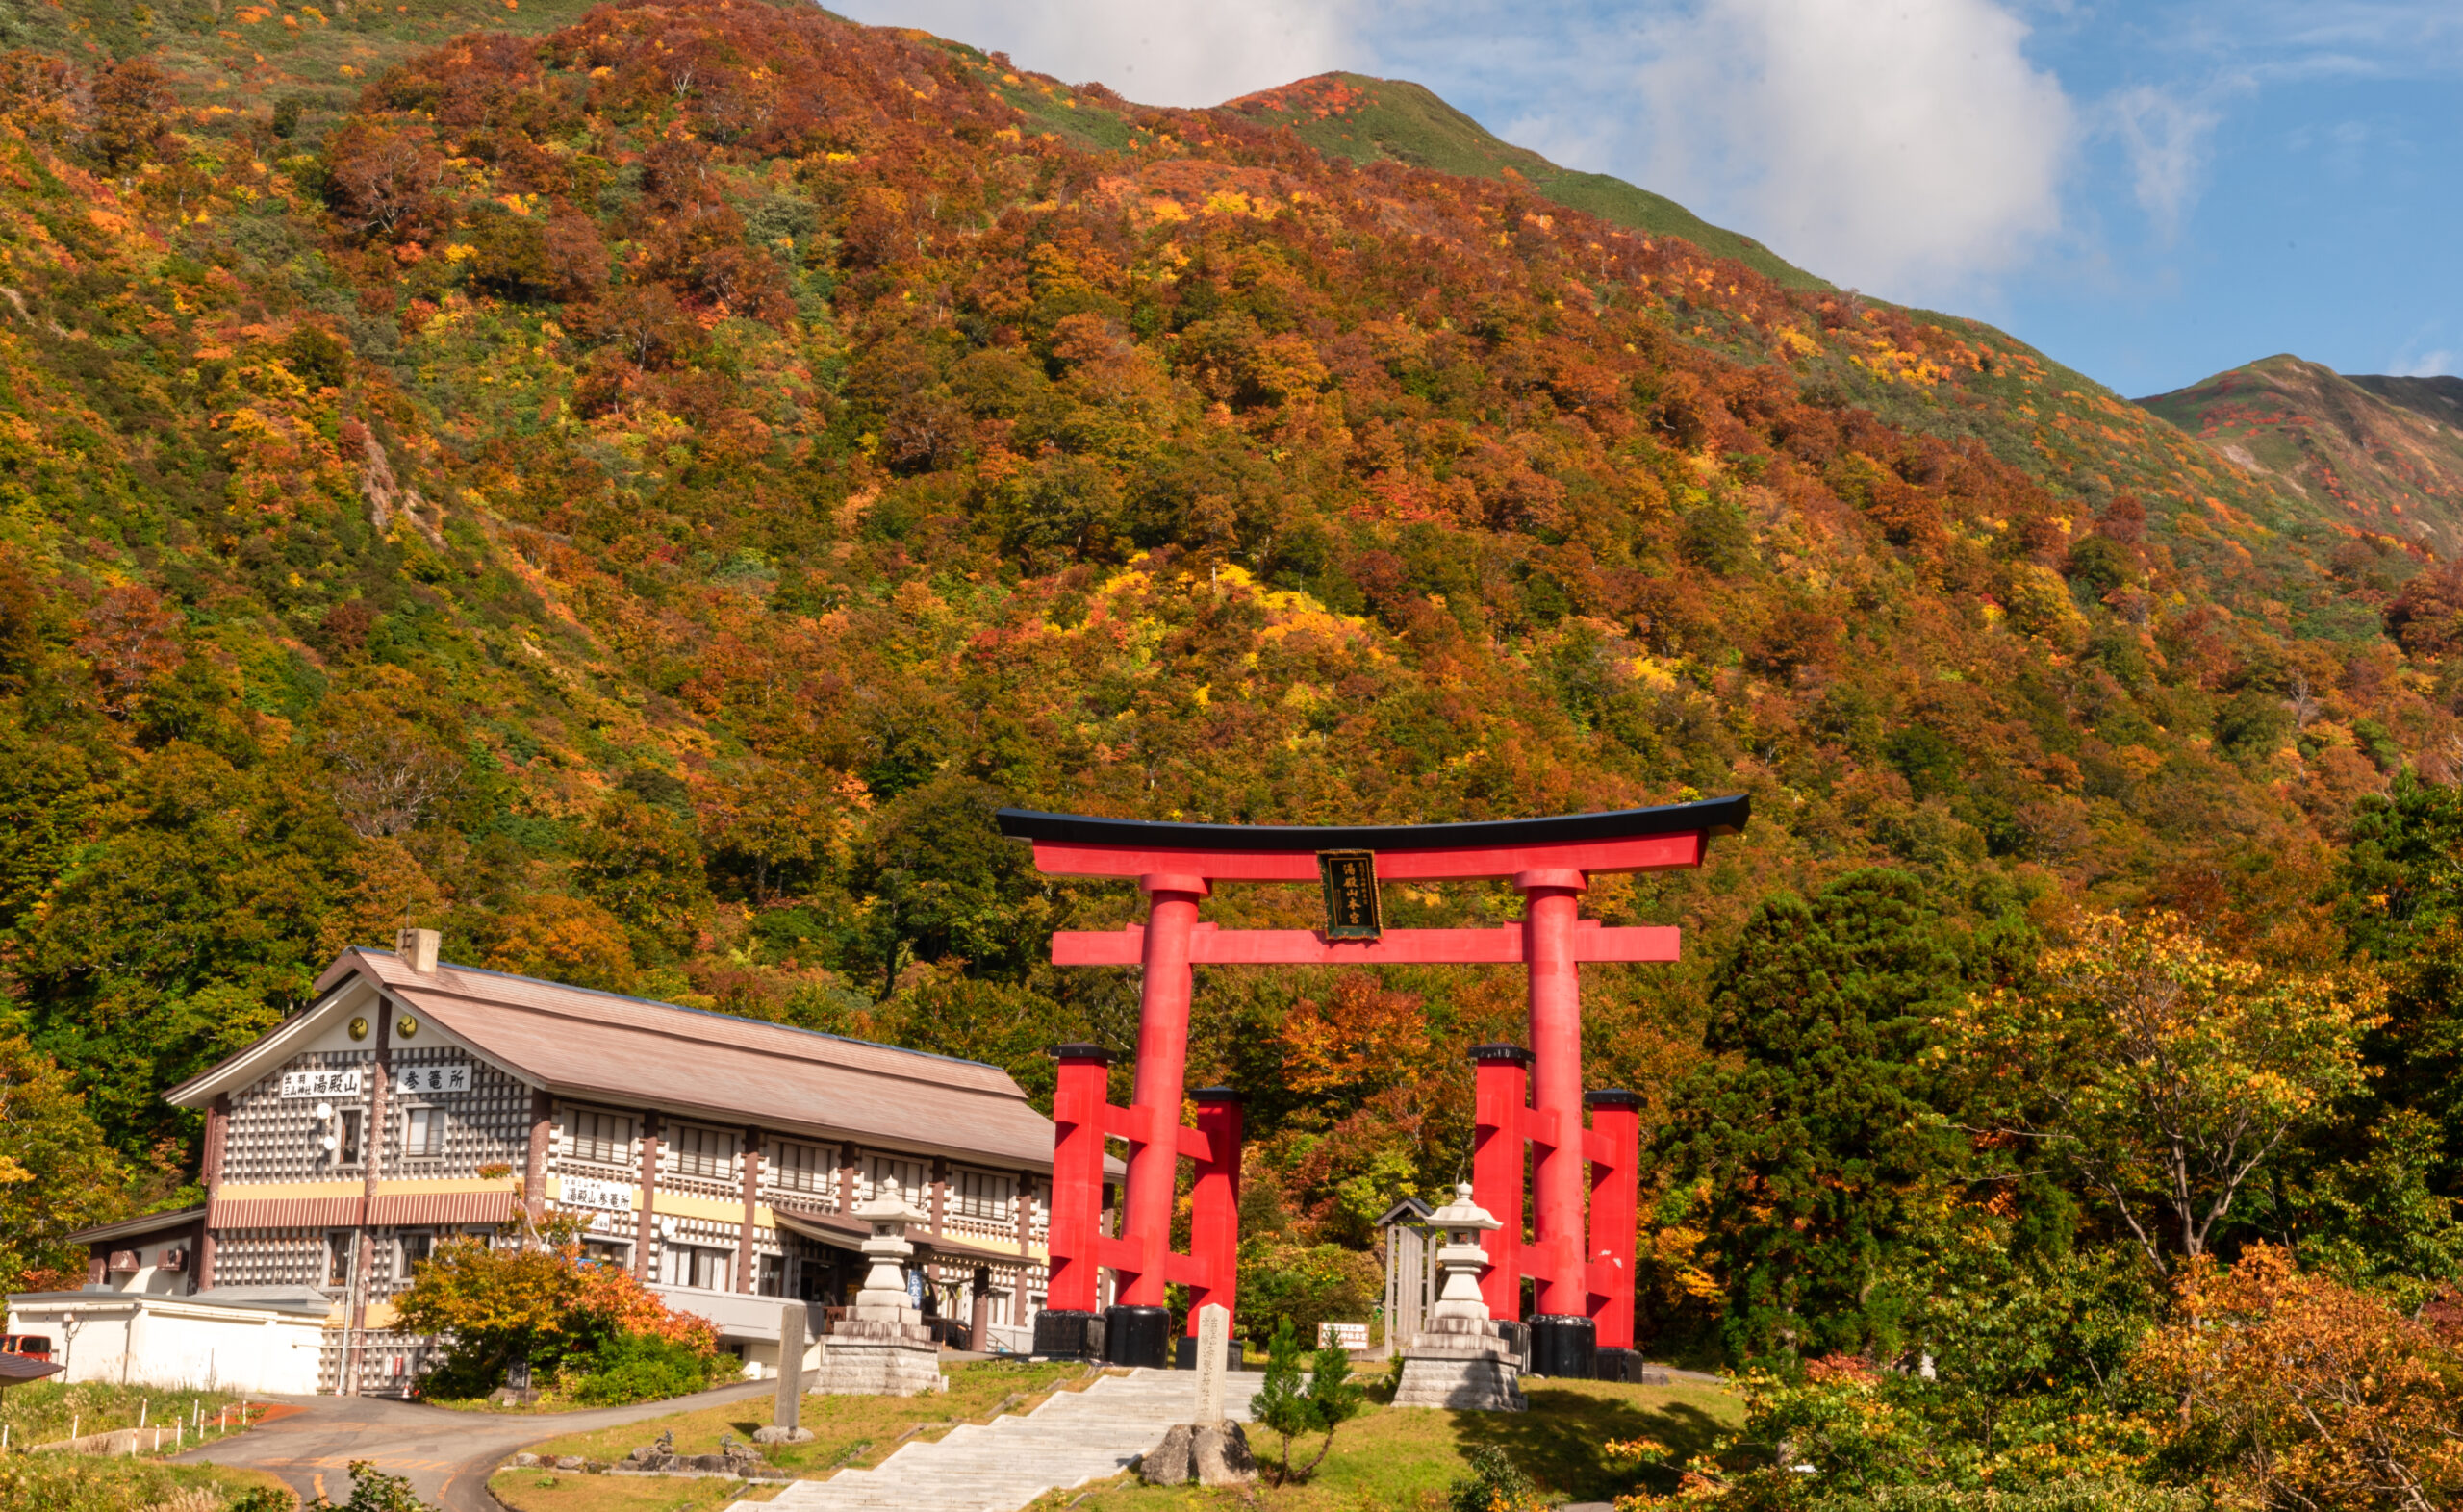
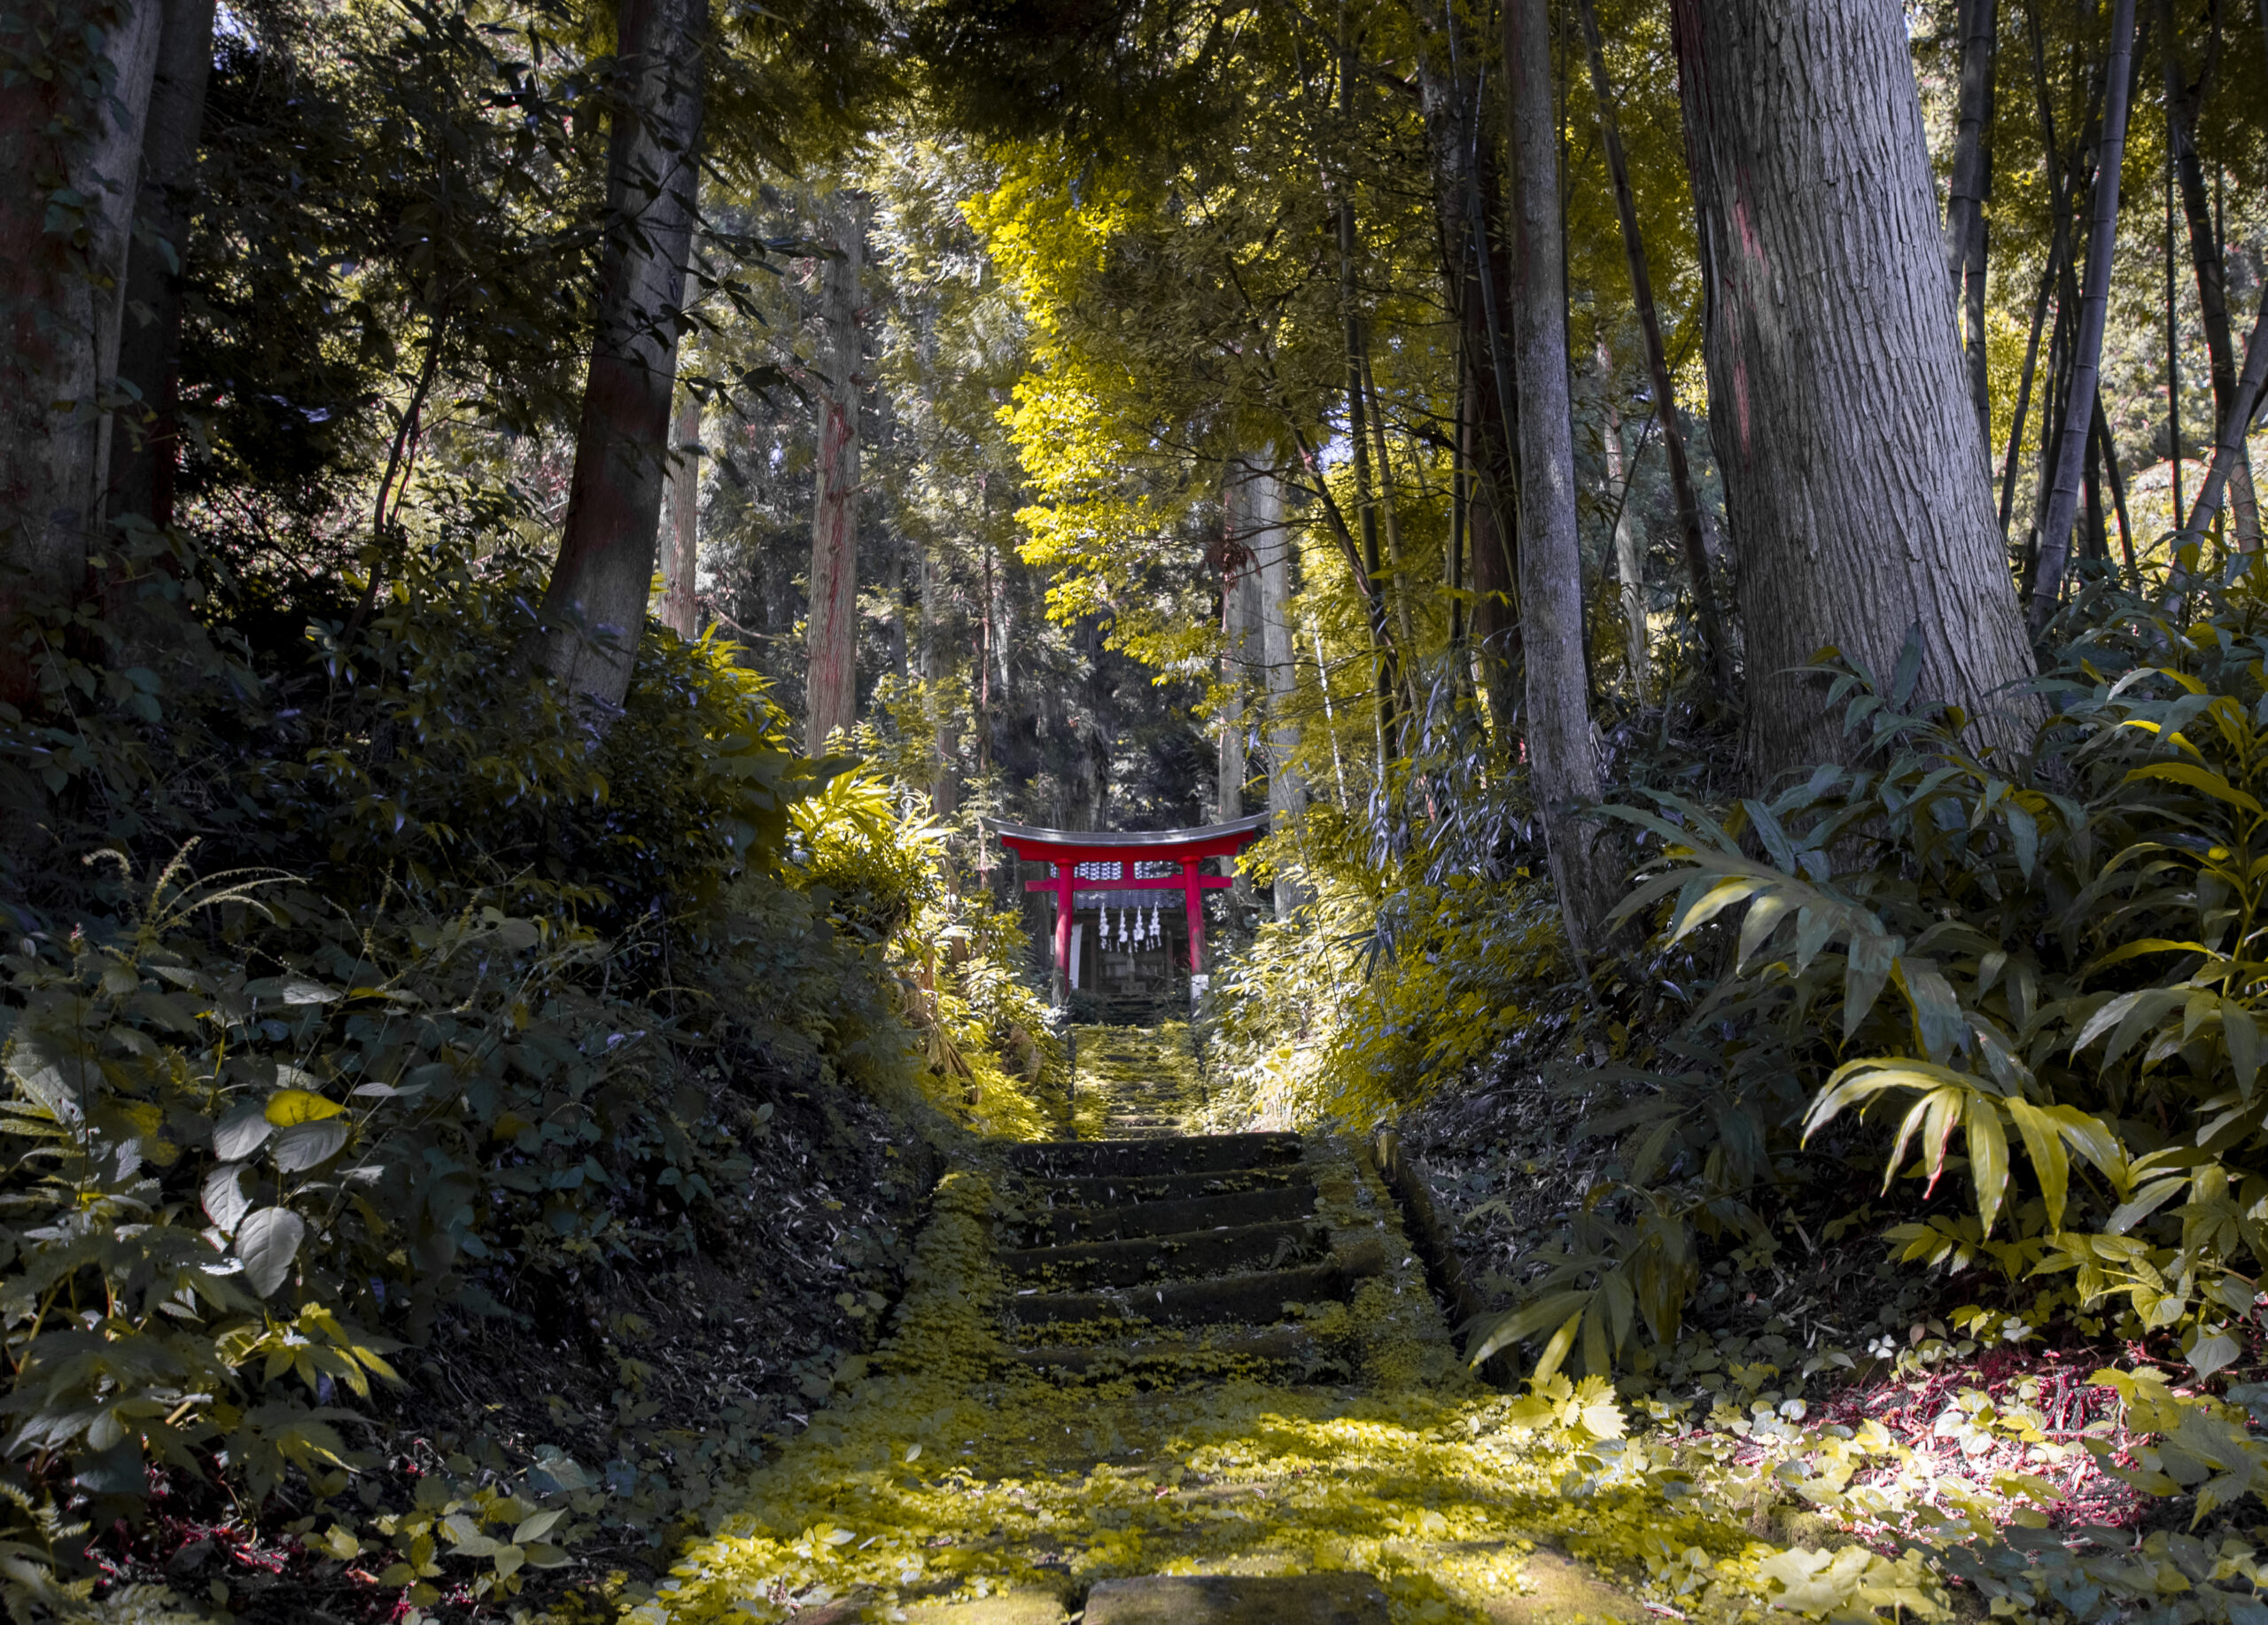
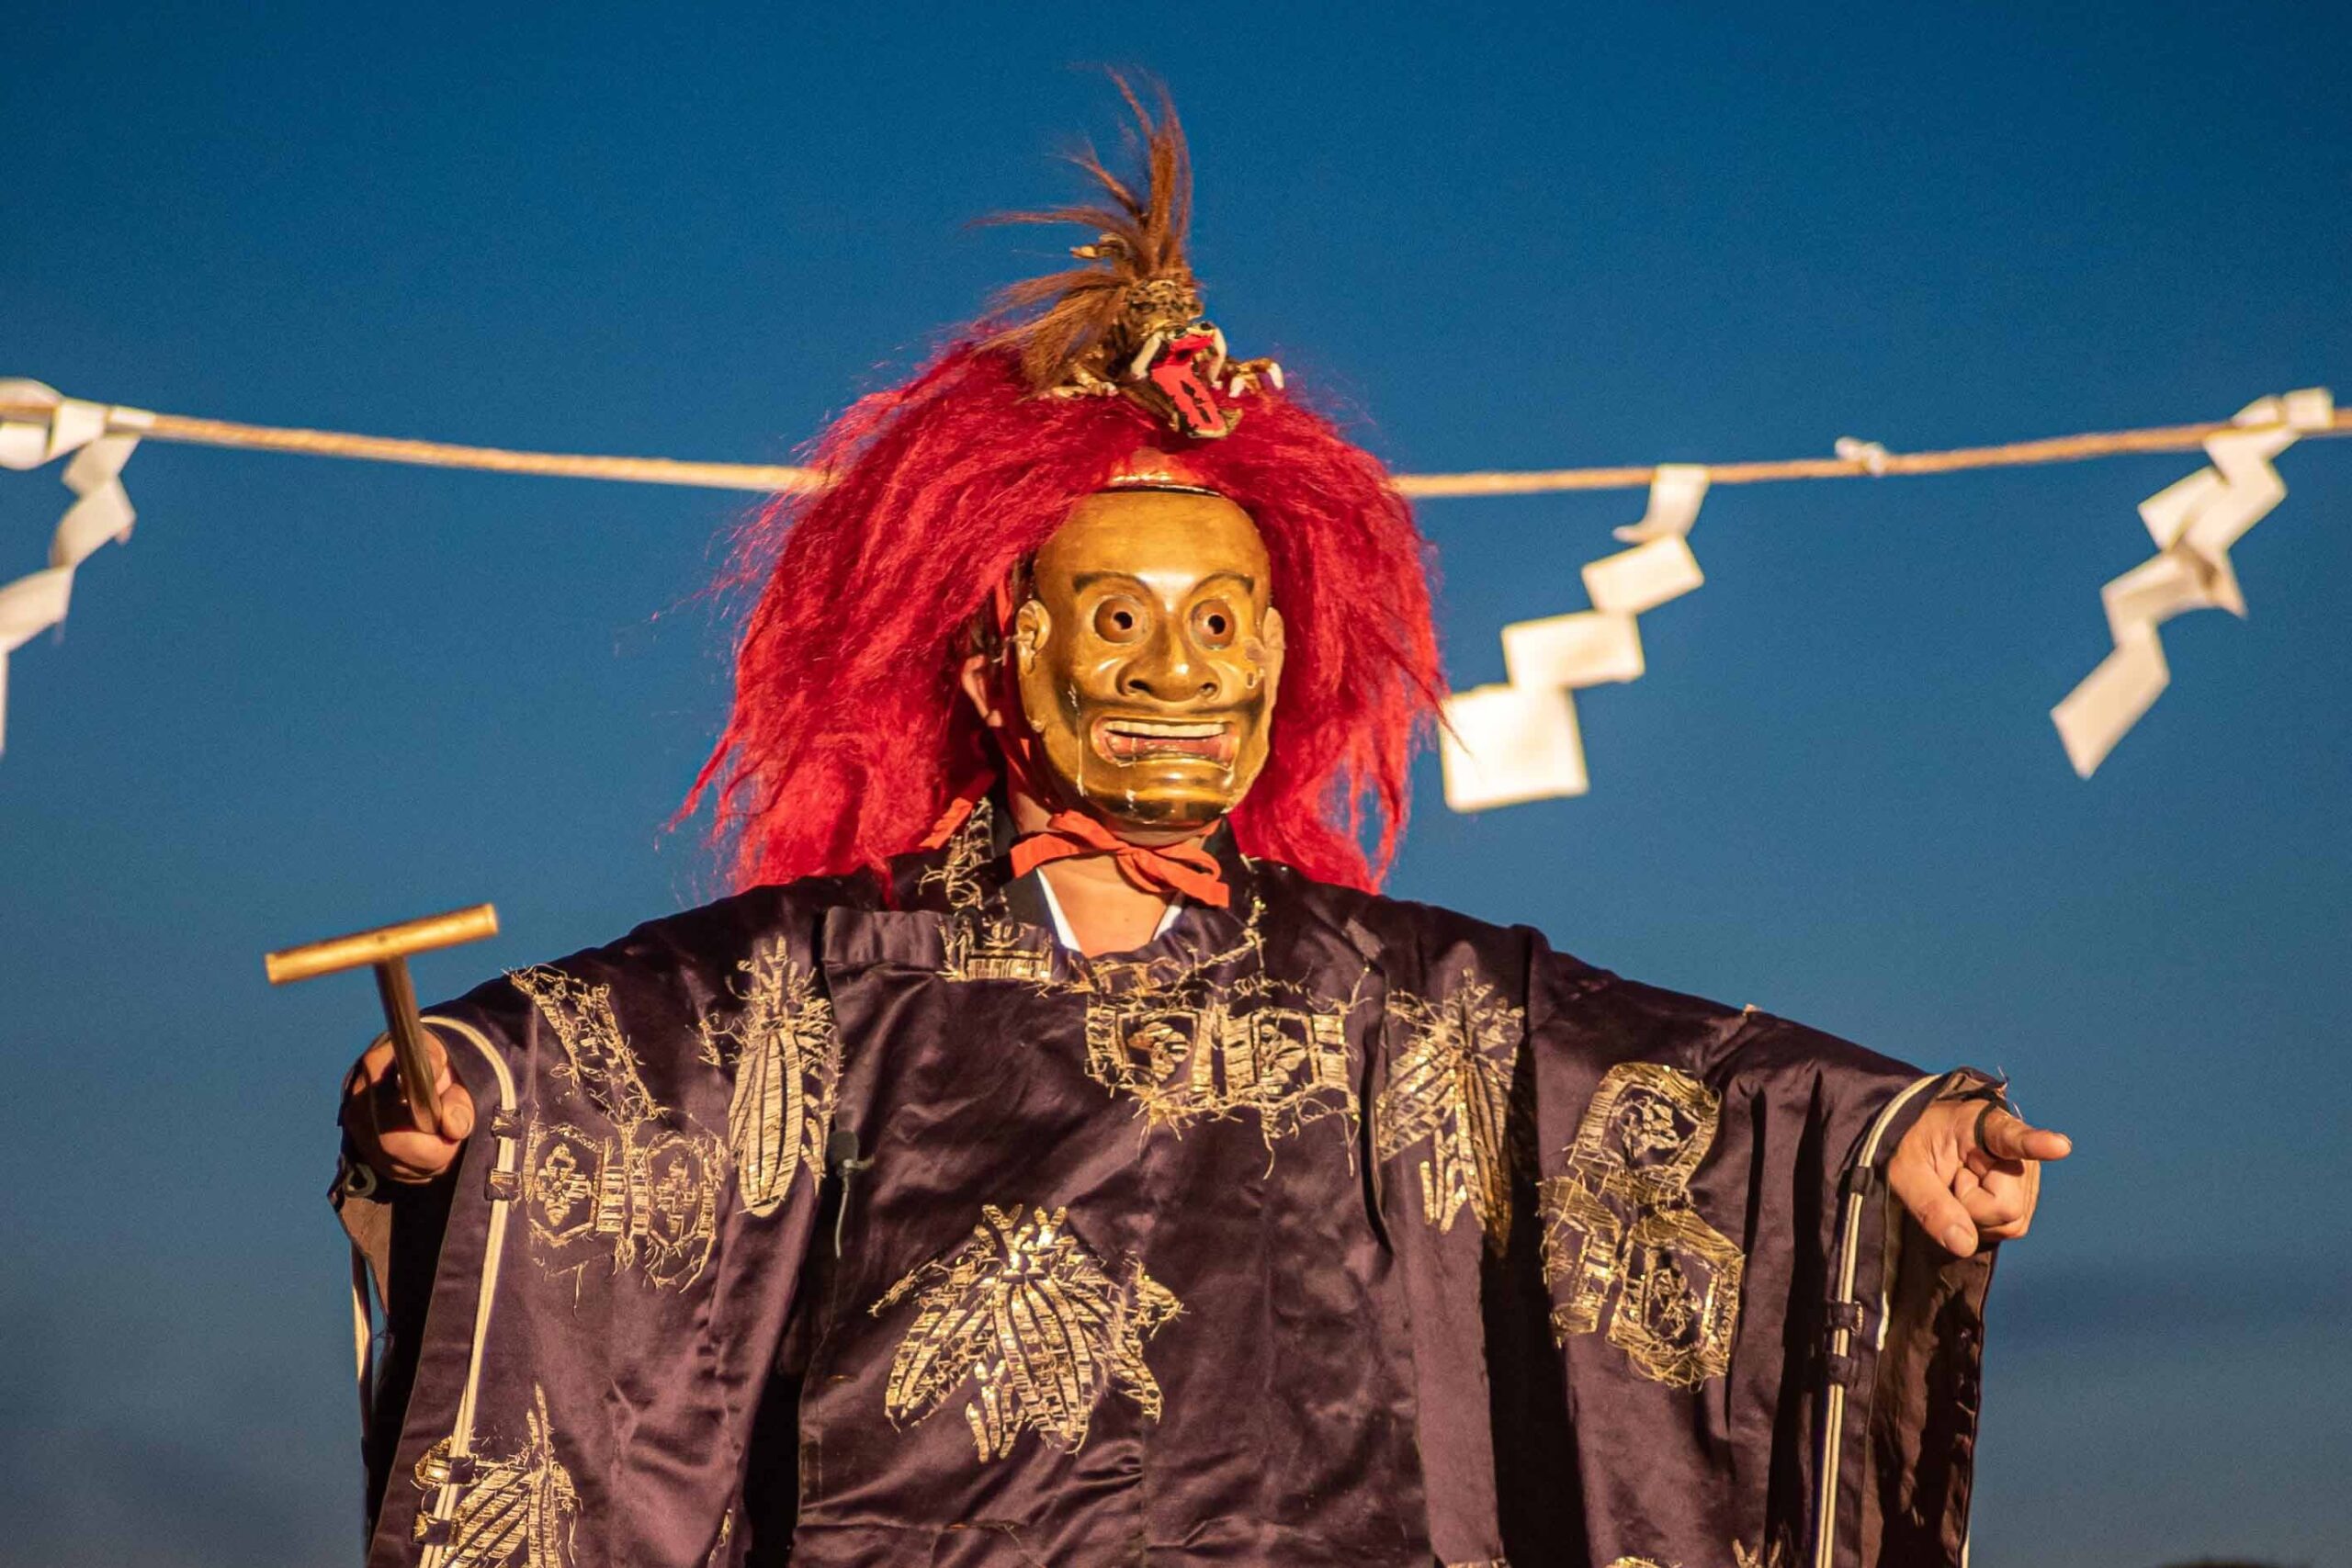
Day 6 – Mt. Yudono & its mummies
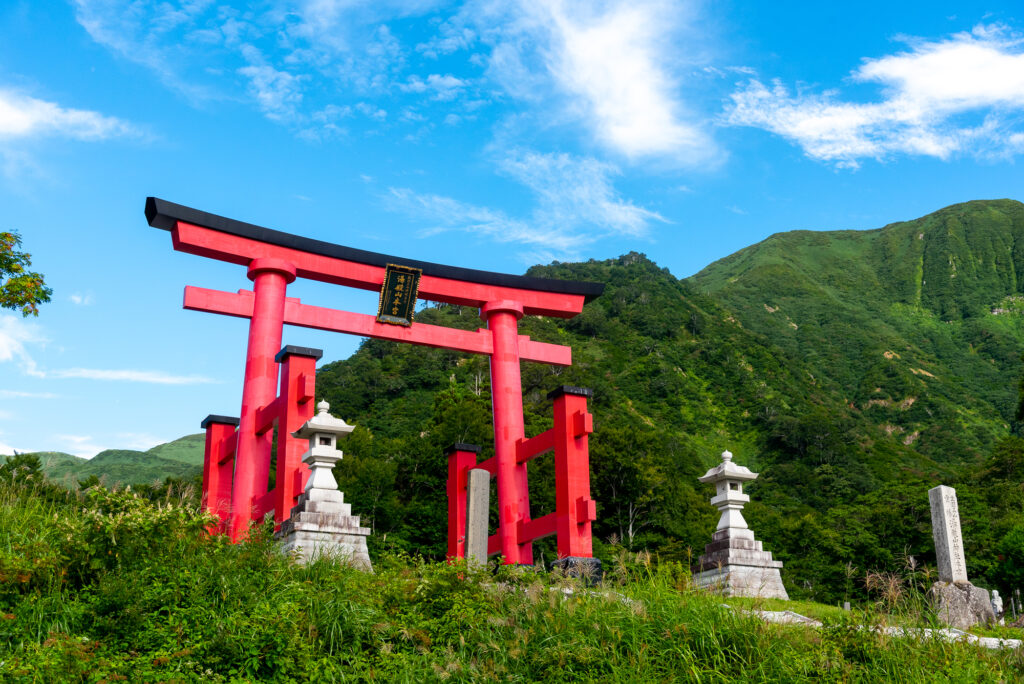
A chartered bus will take us to Mt. Yudono in Yamagata Prefecture, one of the sacred Dewa Sanzan mountains revered by yamabushi, ascetic monks of the Shugendo tradition. The poet Matsuo Basho wrote of being deeply moved by this mystical site, whose secrets he was
forbidden to reveal. Among them: the mysterious appearance of Sokushinbutsu mummies. We can’t share the details here—but you’ll uncover them with us on-site.
Day 7 – Mt. Haguro

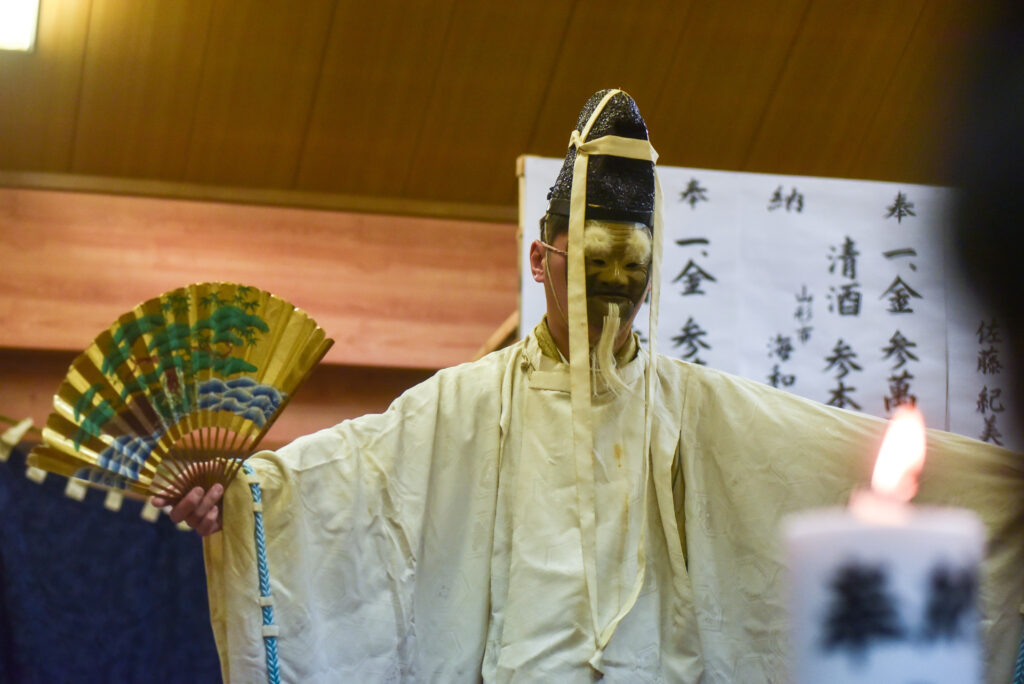
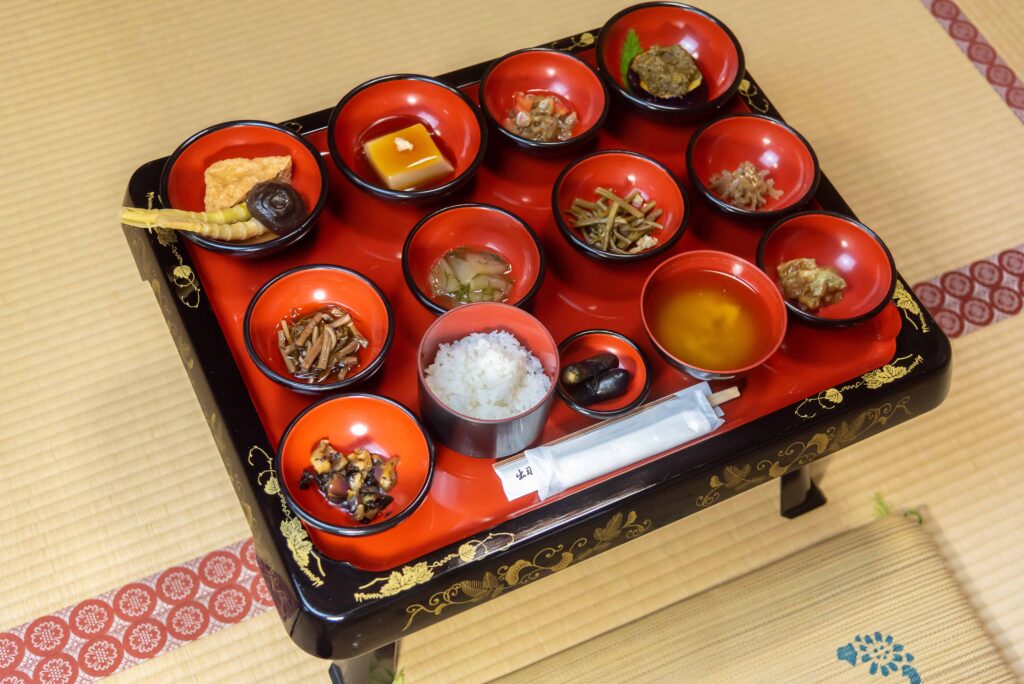
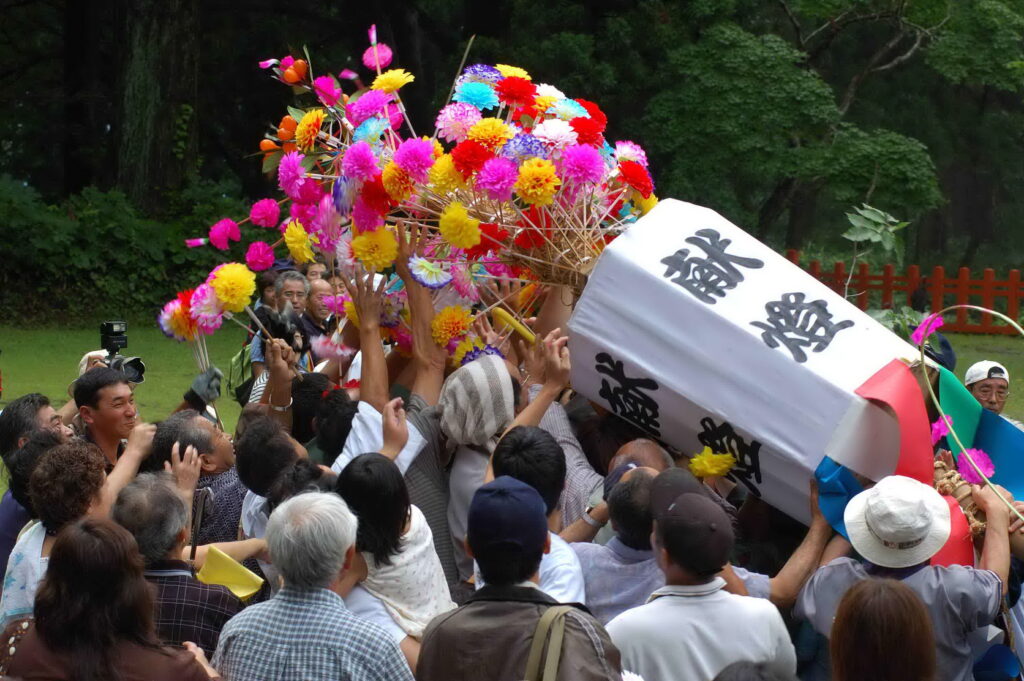
The next morning, we begin our journey of spiritual rebirth on Mt. Haguro, one of the sacred Dewa Sanzan peaks. Dressed in shiroshozoku, the white pilgrim robes of Shugendo, we’ll symbolically shed our old selves. Lunch will be shojin-ryori, a traditional Buddhistvegetarian meal reflecting Japan’s complex religious history. This day offers deep spiritual reflection and rich insights into Japanese faith and folklore.
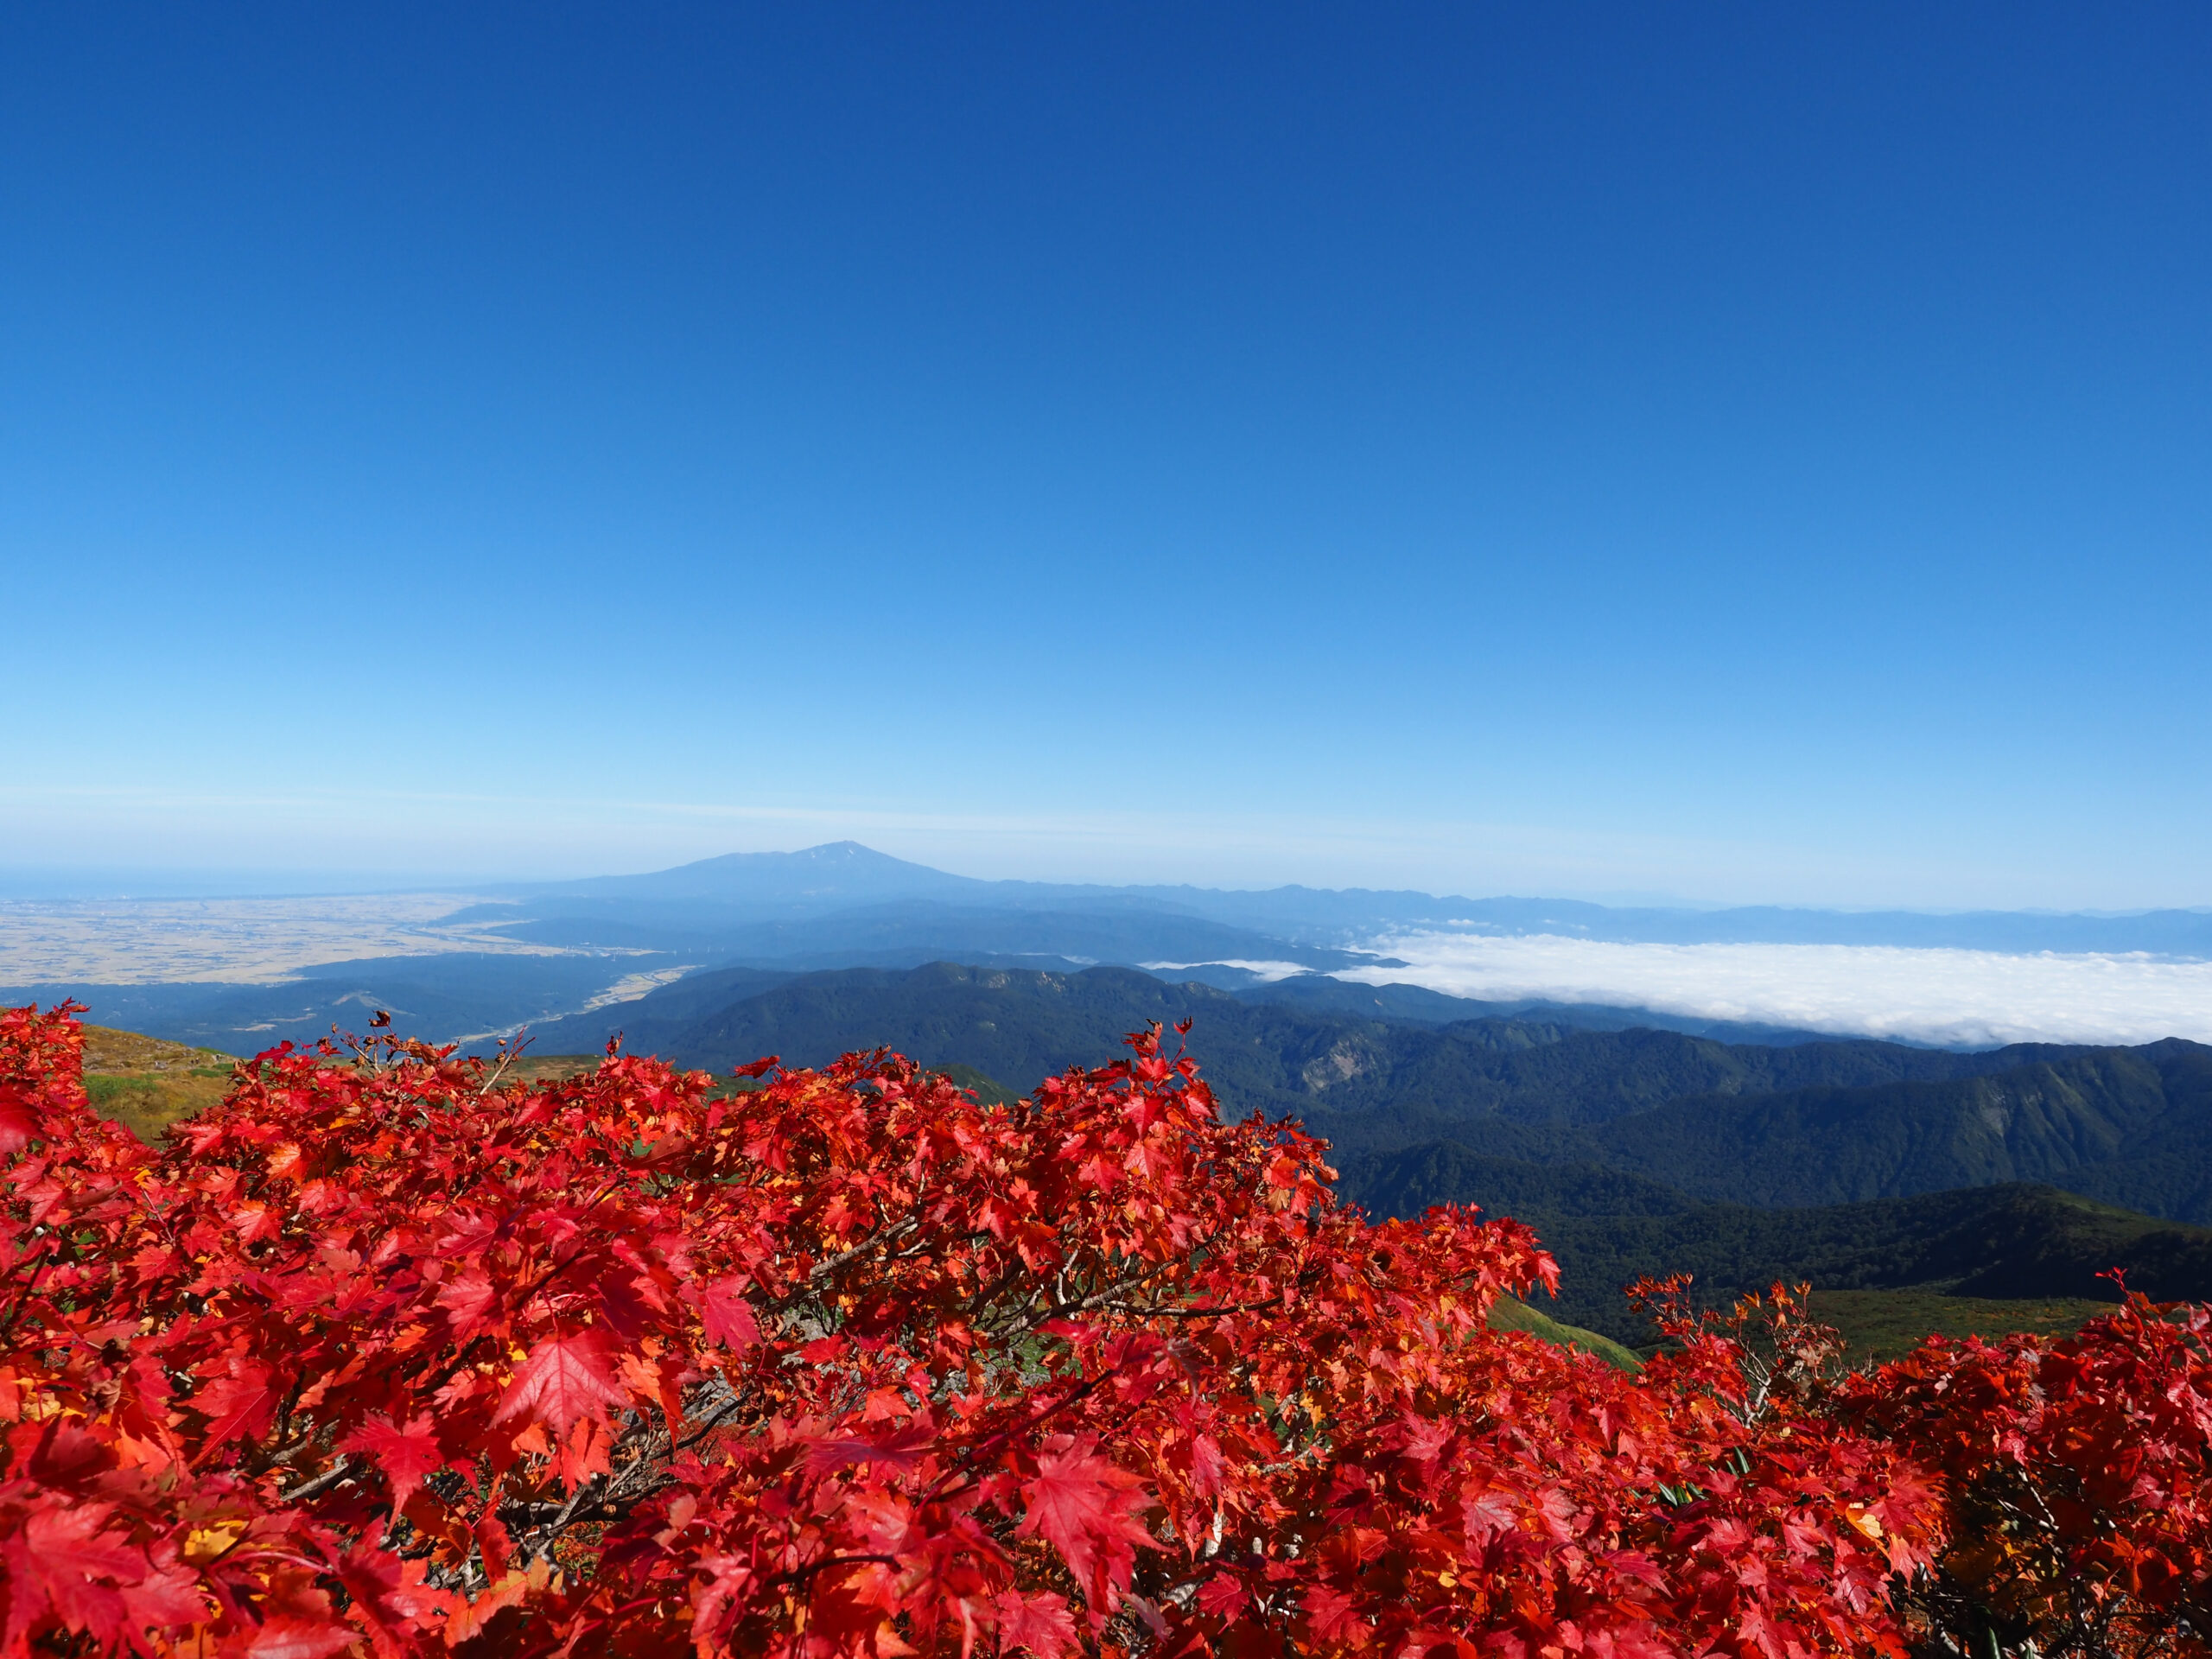
Day 8 – Mt. Gassan
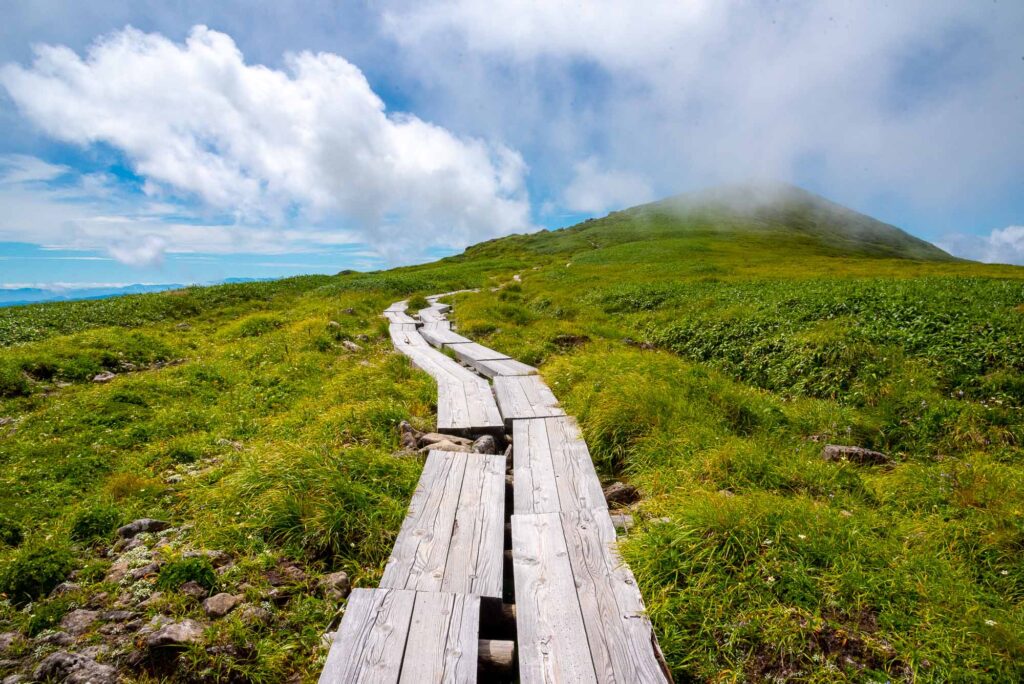
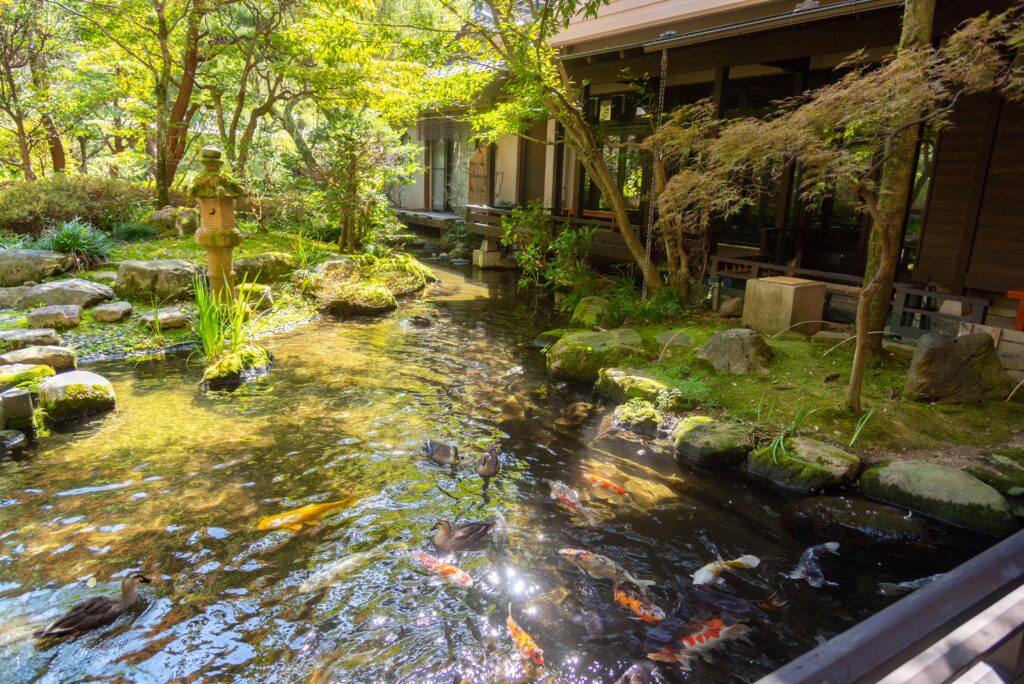
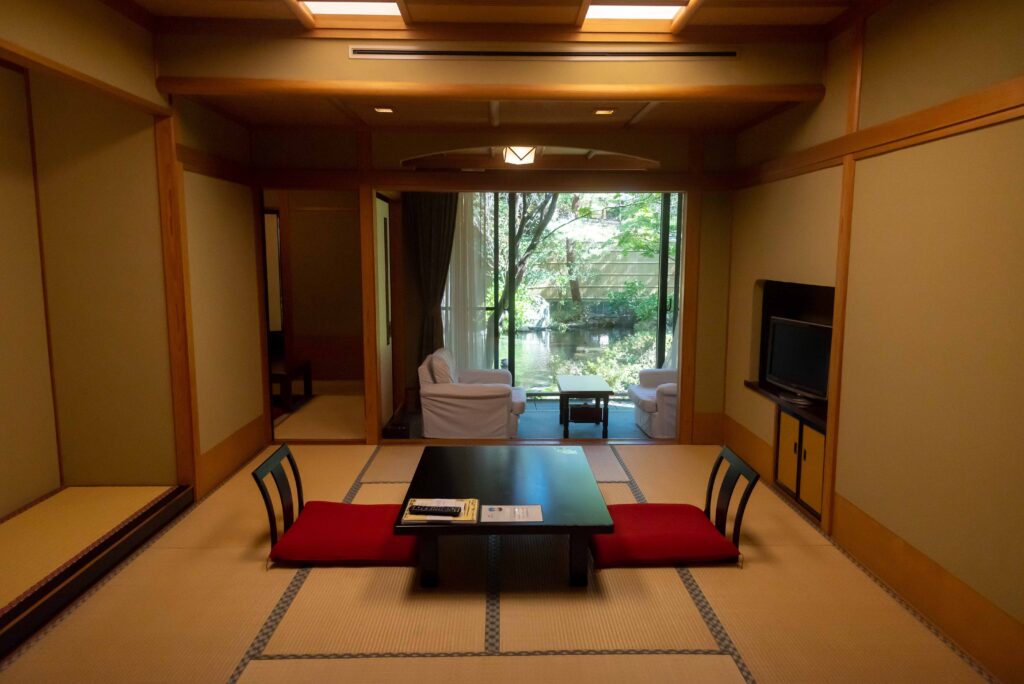
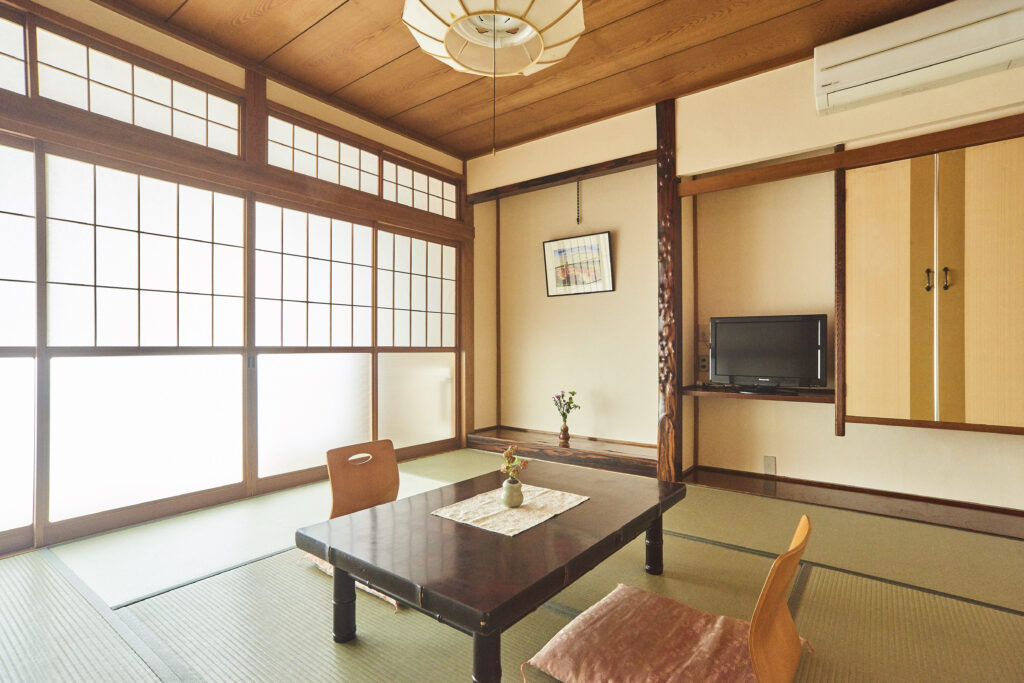
No Dewa Sanzan pilgrimage is complete without climbing Mt. Gassan—the highest and most sacred of the three. Known as the “Mountain of the Past” and the realm of the dead, it’s where ancestral spirits are believed to watch over the living. After the hike, we’ll unwind at Tsutaya Ryokan in Shizu Onsen, a welcoming hot spring inn run by a Yamabushi.
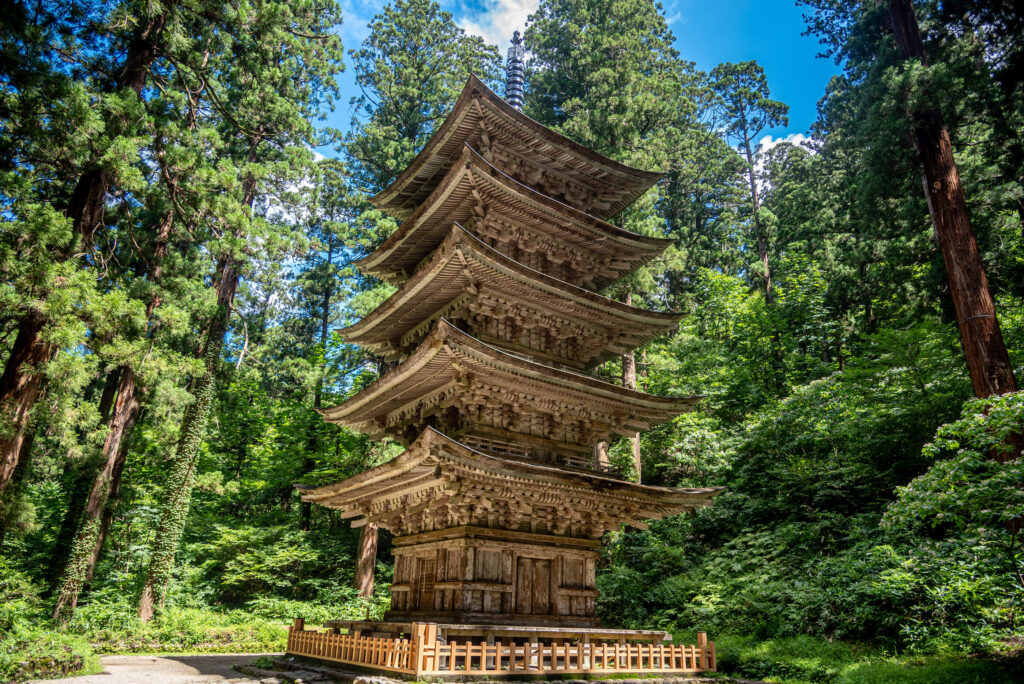
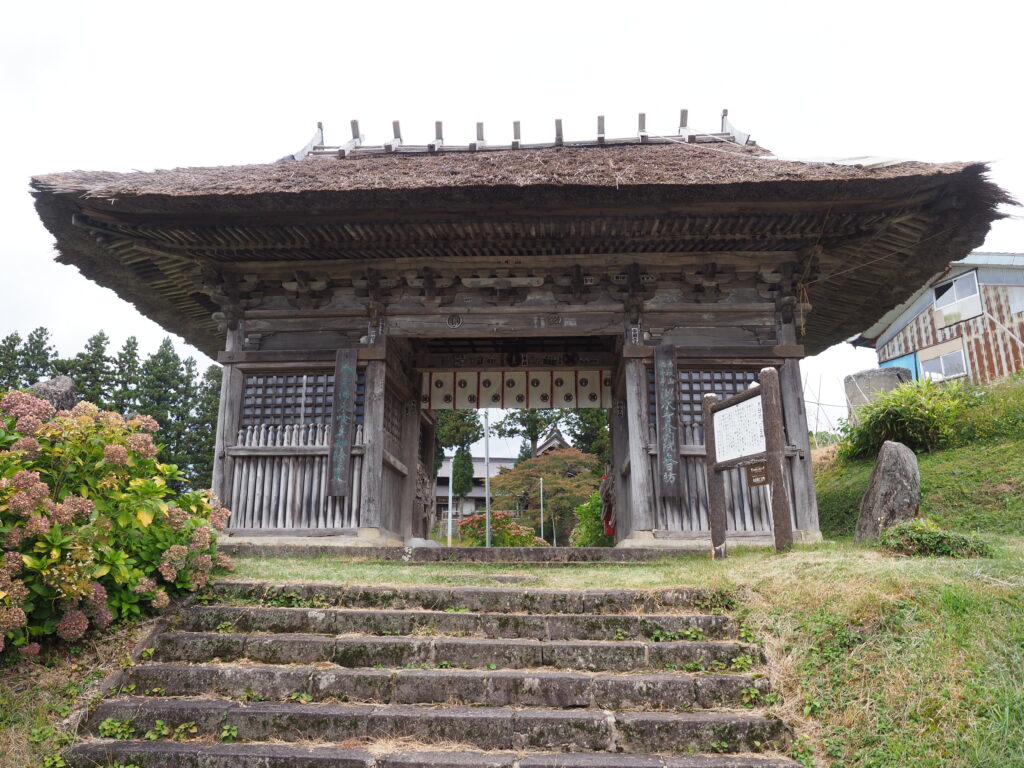
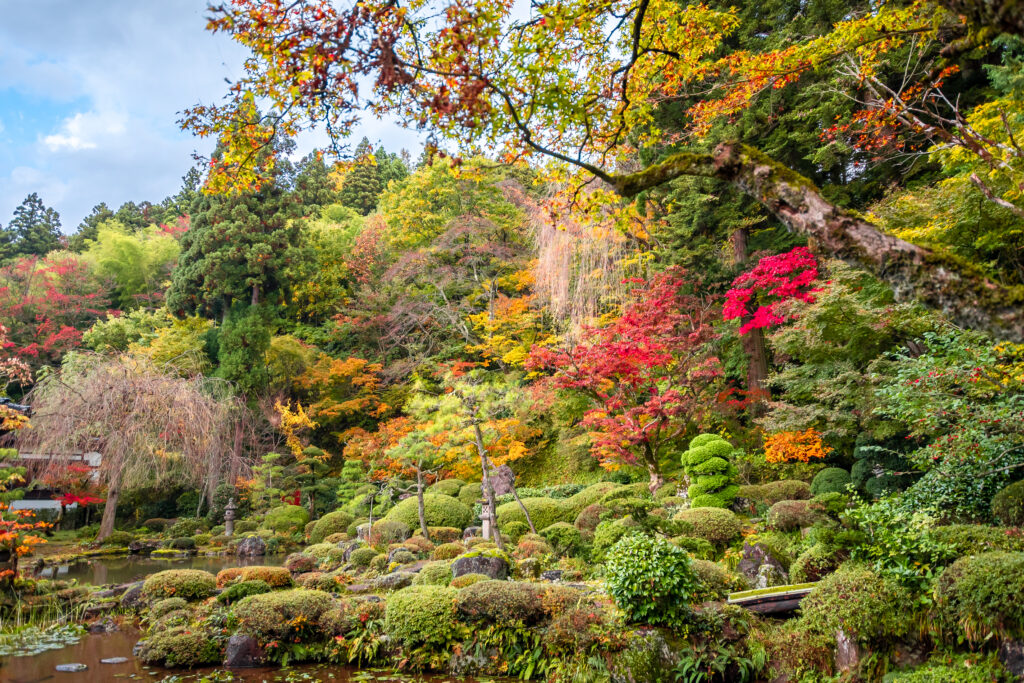
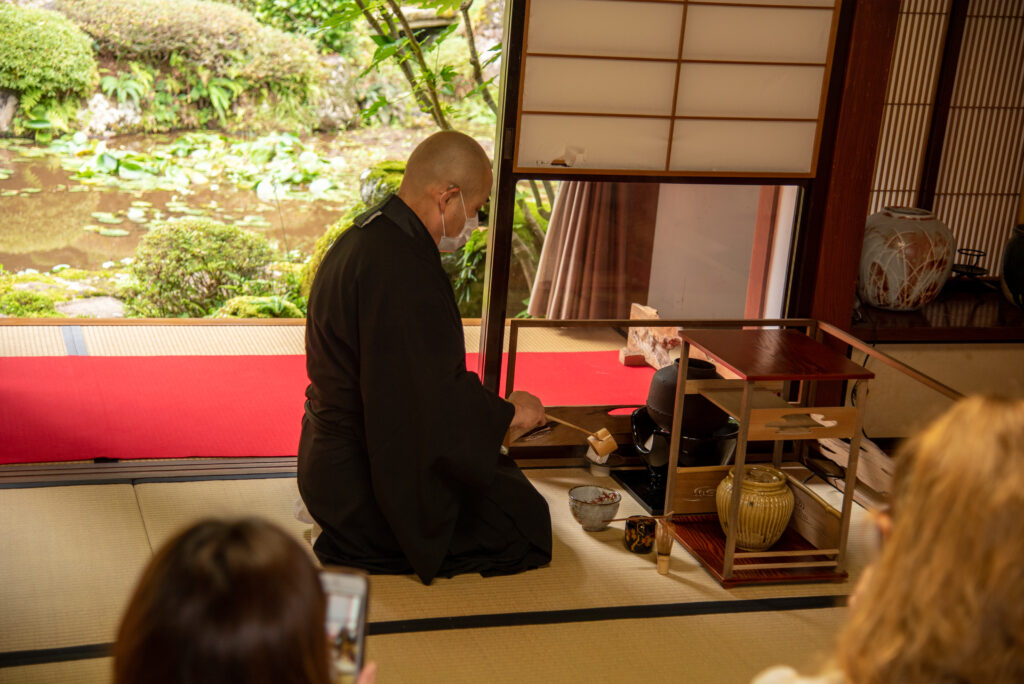
Day 9 – Zenpoji Temple
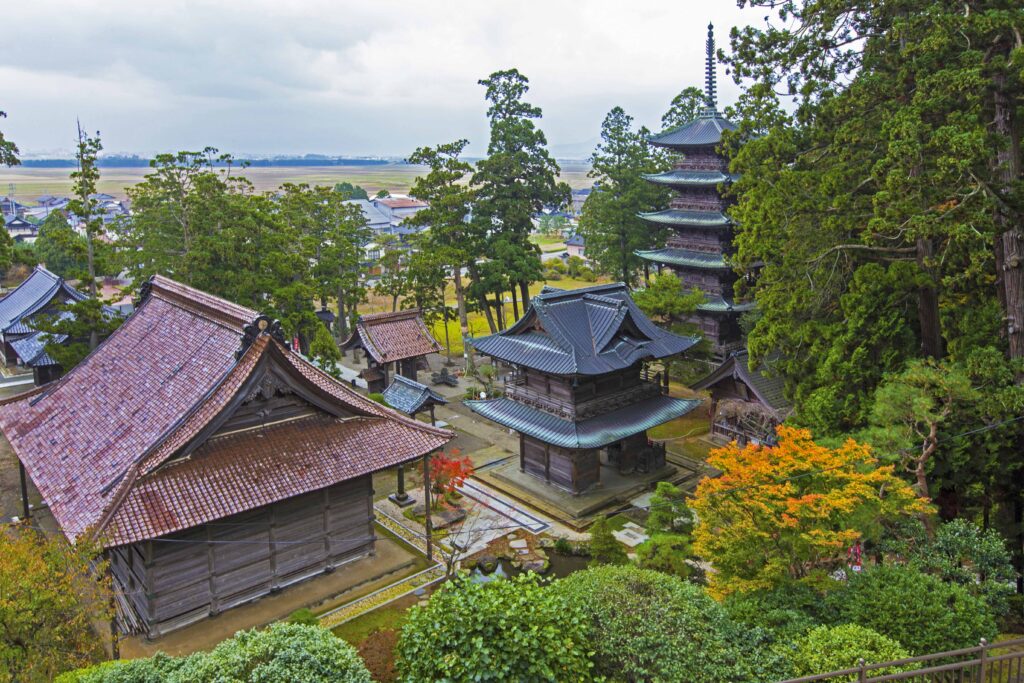
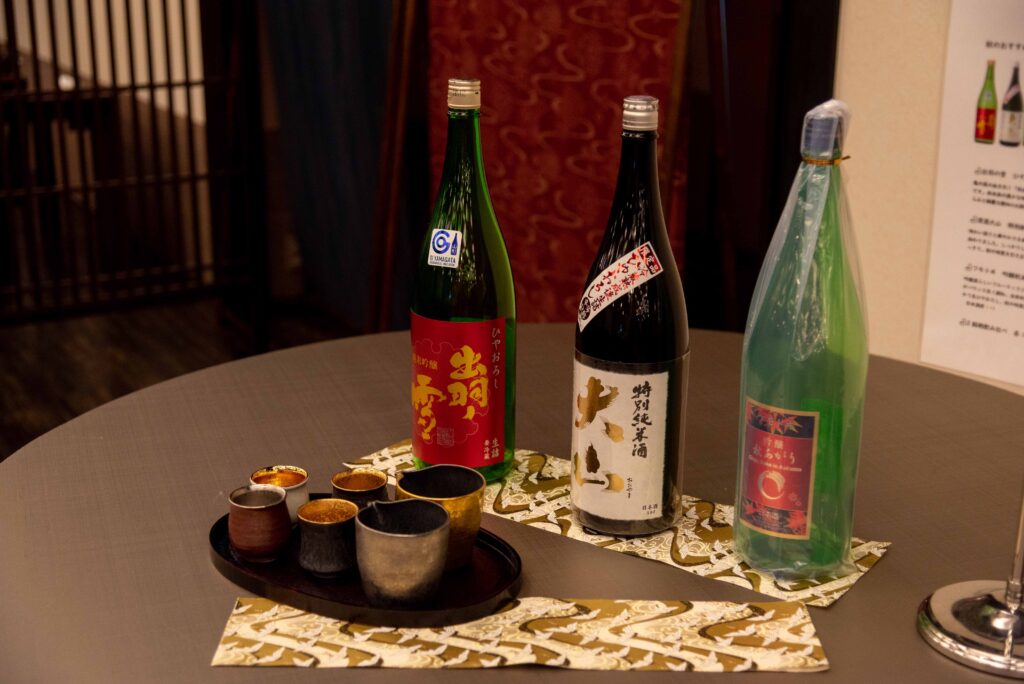
After days of hiking, it’s time to treat your body—starting with a sake tasting and brewery visit at Takenotsuyu. Once refreshed, we’ll head to Zenpoji Temple, one of Japan’s three main Soto Zen temples, to try seiza, the traditional sitting posture meant not for meditation, but for clearing the heart and mind. A resident monk will guide us, warning of pitfalls like makyo—the “demon realm” that tempts the ego.
Day 10 – Kamo Aquarium
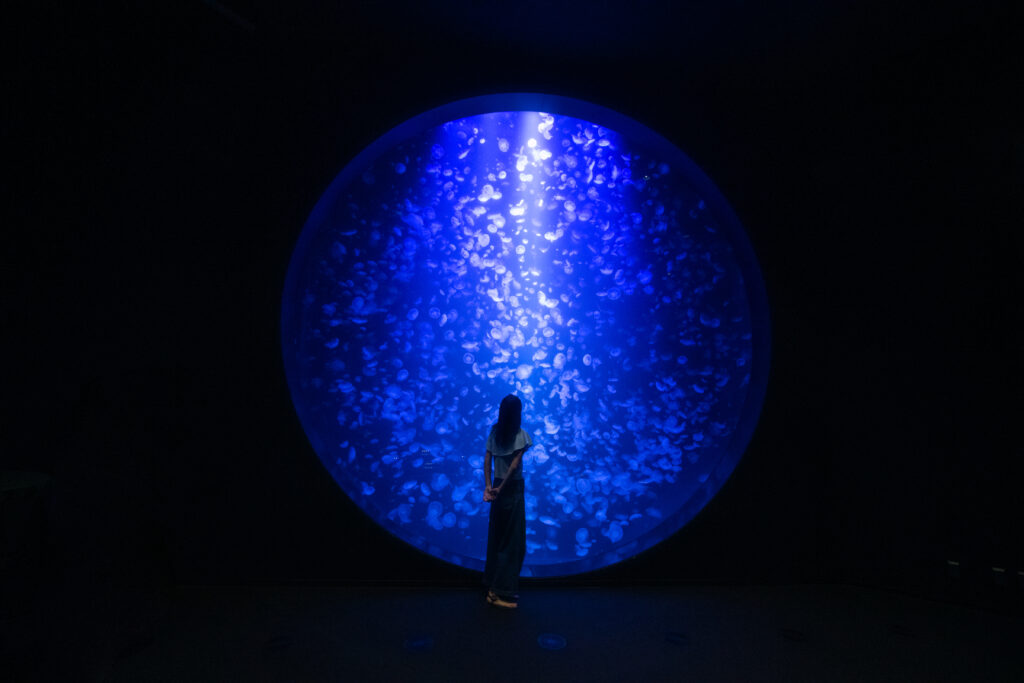
Before returning to Tokyo or continuing your journey, we’ll visit Kamo Aquarium—the world’s top jellyfish aquarium—with the largest jellyfish tank and over 60 species on display.