Rokujurigoe-Kaido: From the Nanatsu falls to Yudono 「ゆどの道」六十里越街道の巡礼
The final step before reaching Mt. Haguro through the Rokujurigoe-Kaido pilgrim trail.
| Distance | 11km |
| Elevation | 834meters |
| Required Time | 5h |
| Danger level | Caution advised *Dangers include:Bear presence, Snow, Slippery slopes |
| Difficulty level (for beginners) | Moderate |
| Equipment needed | ● Water ● Hiking shoes ● Rainwear ● Sun hat ● Hiking sticks ● Food or snacks |
Difficulty levels have been designed for people who have a PAI (Personal Activity Intelligence) score inferior or equal to 60. Experienced hikers or persons with a PAI above 100 can withdraw two cases to know the average difficulty for their fitness level. Example: Trails noted “Hard for beginners” correspond to “average” trails for experienced hikers or people with a PAI above 100
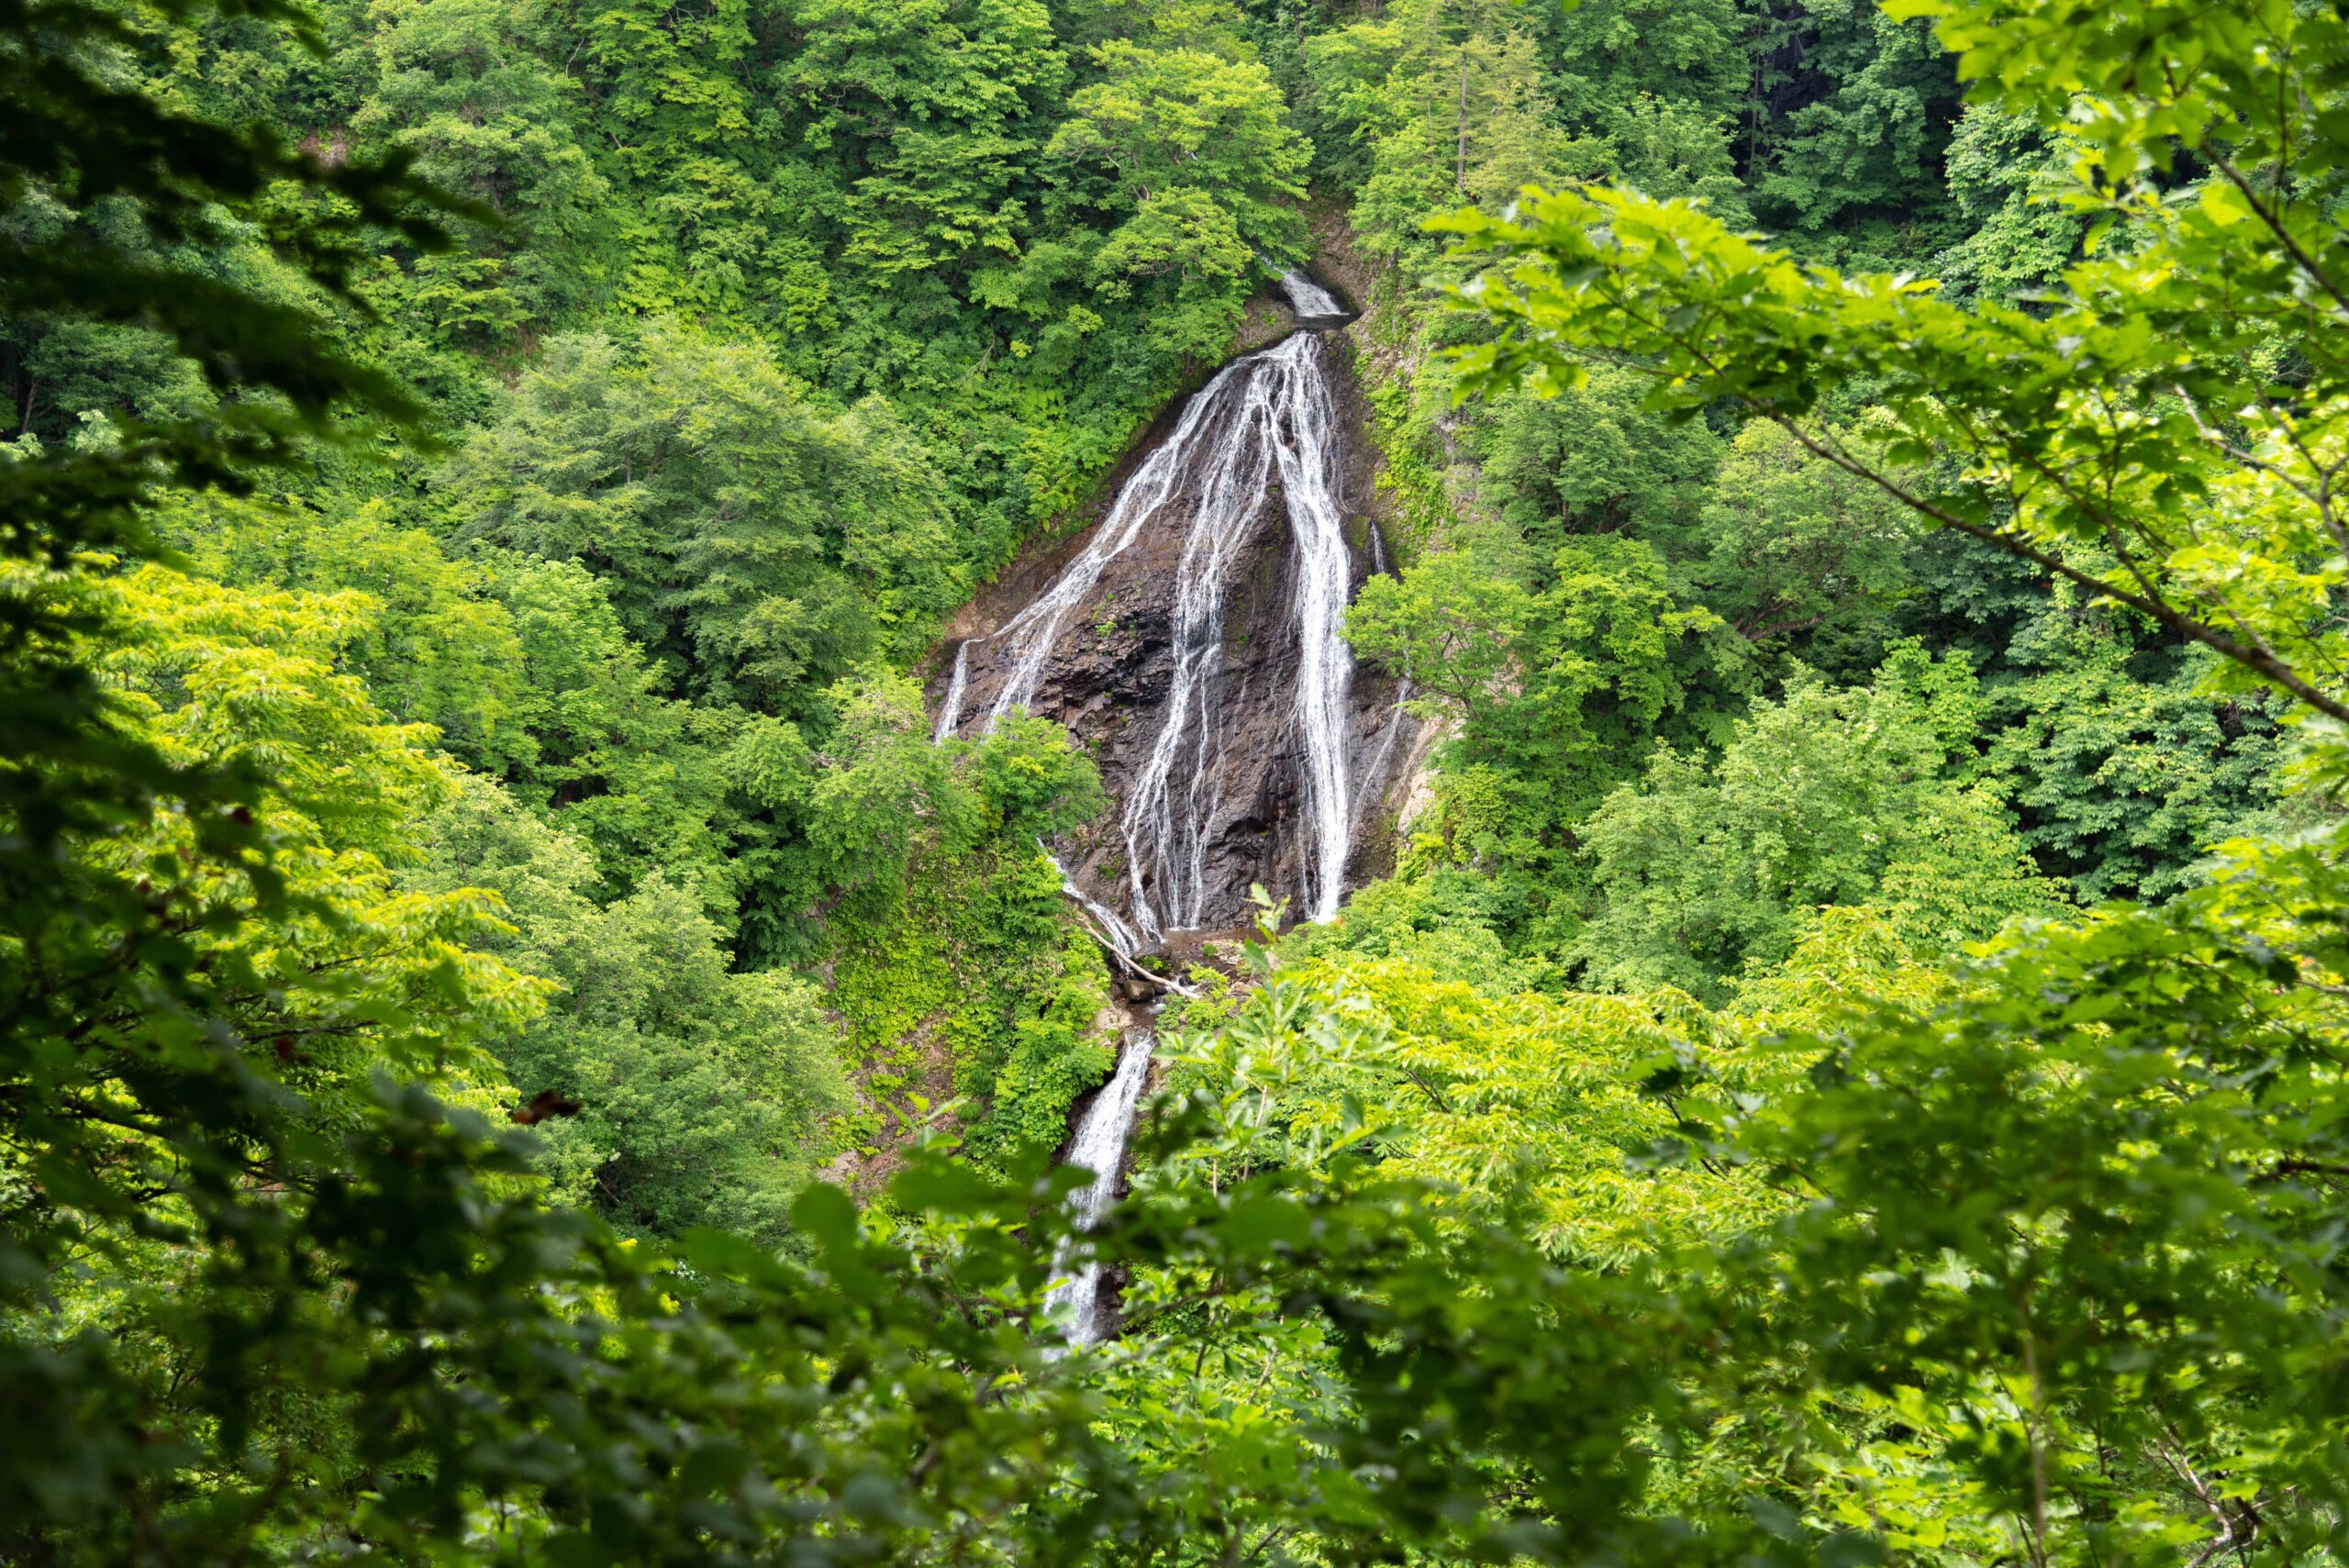
1. Locate the Nanatsu Falls

The Nanatsu Falls are located up a small village called Tamugimata 田麦俣. You can recognize Tamugimata by its thatched-roof houses like the Tasôminka 多層民家. If you come by bus, get off the bus at Tamugimata bus stop 田麦俣バス停. Walk up the waterfalls for 15 minutes from there.
| Related Link | Nanatsu Falls |

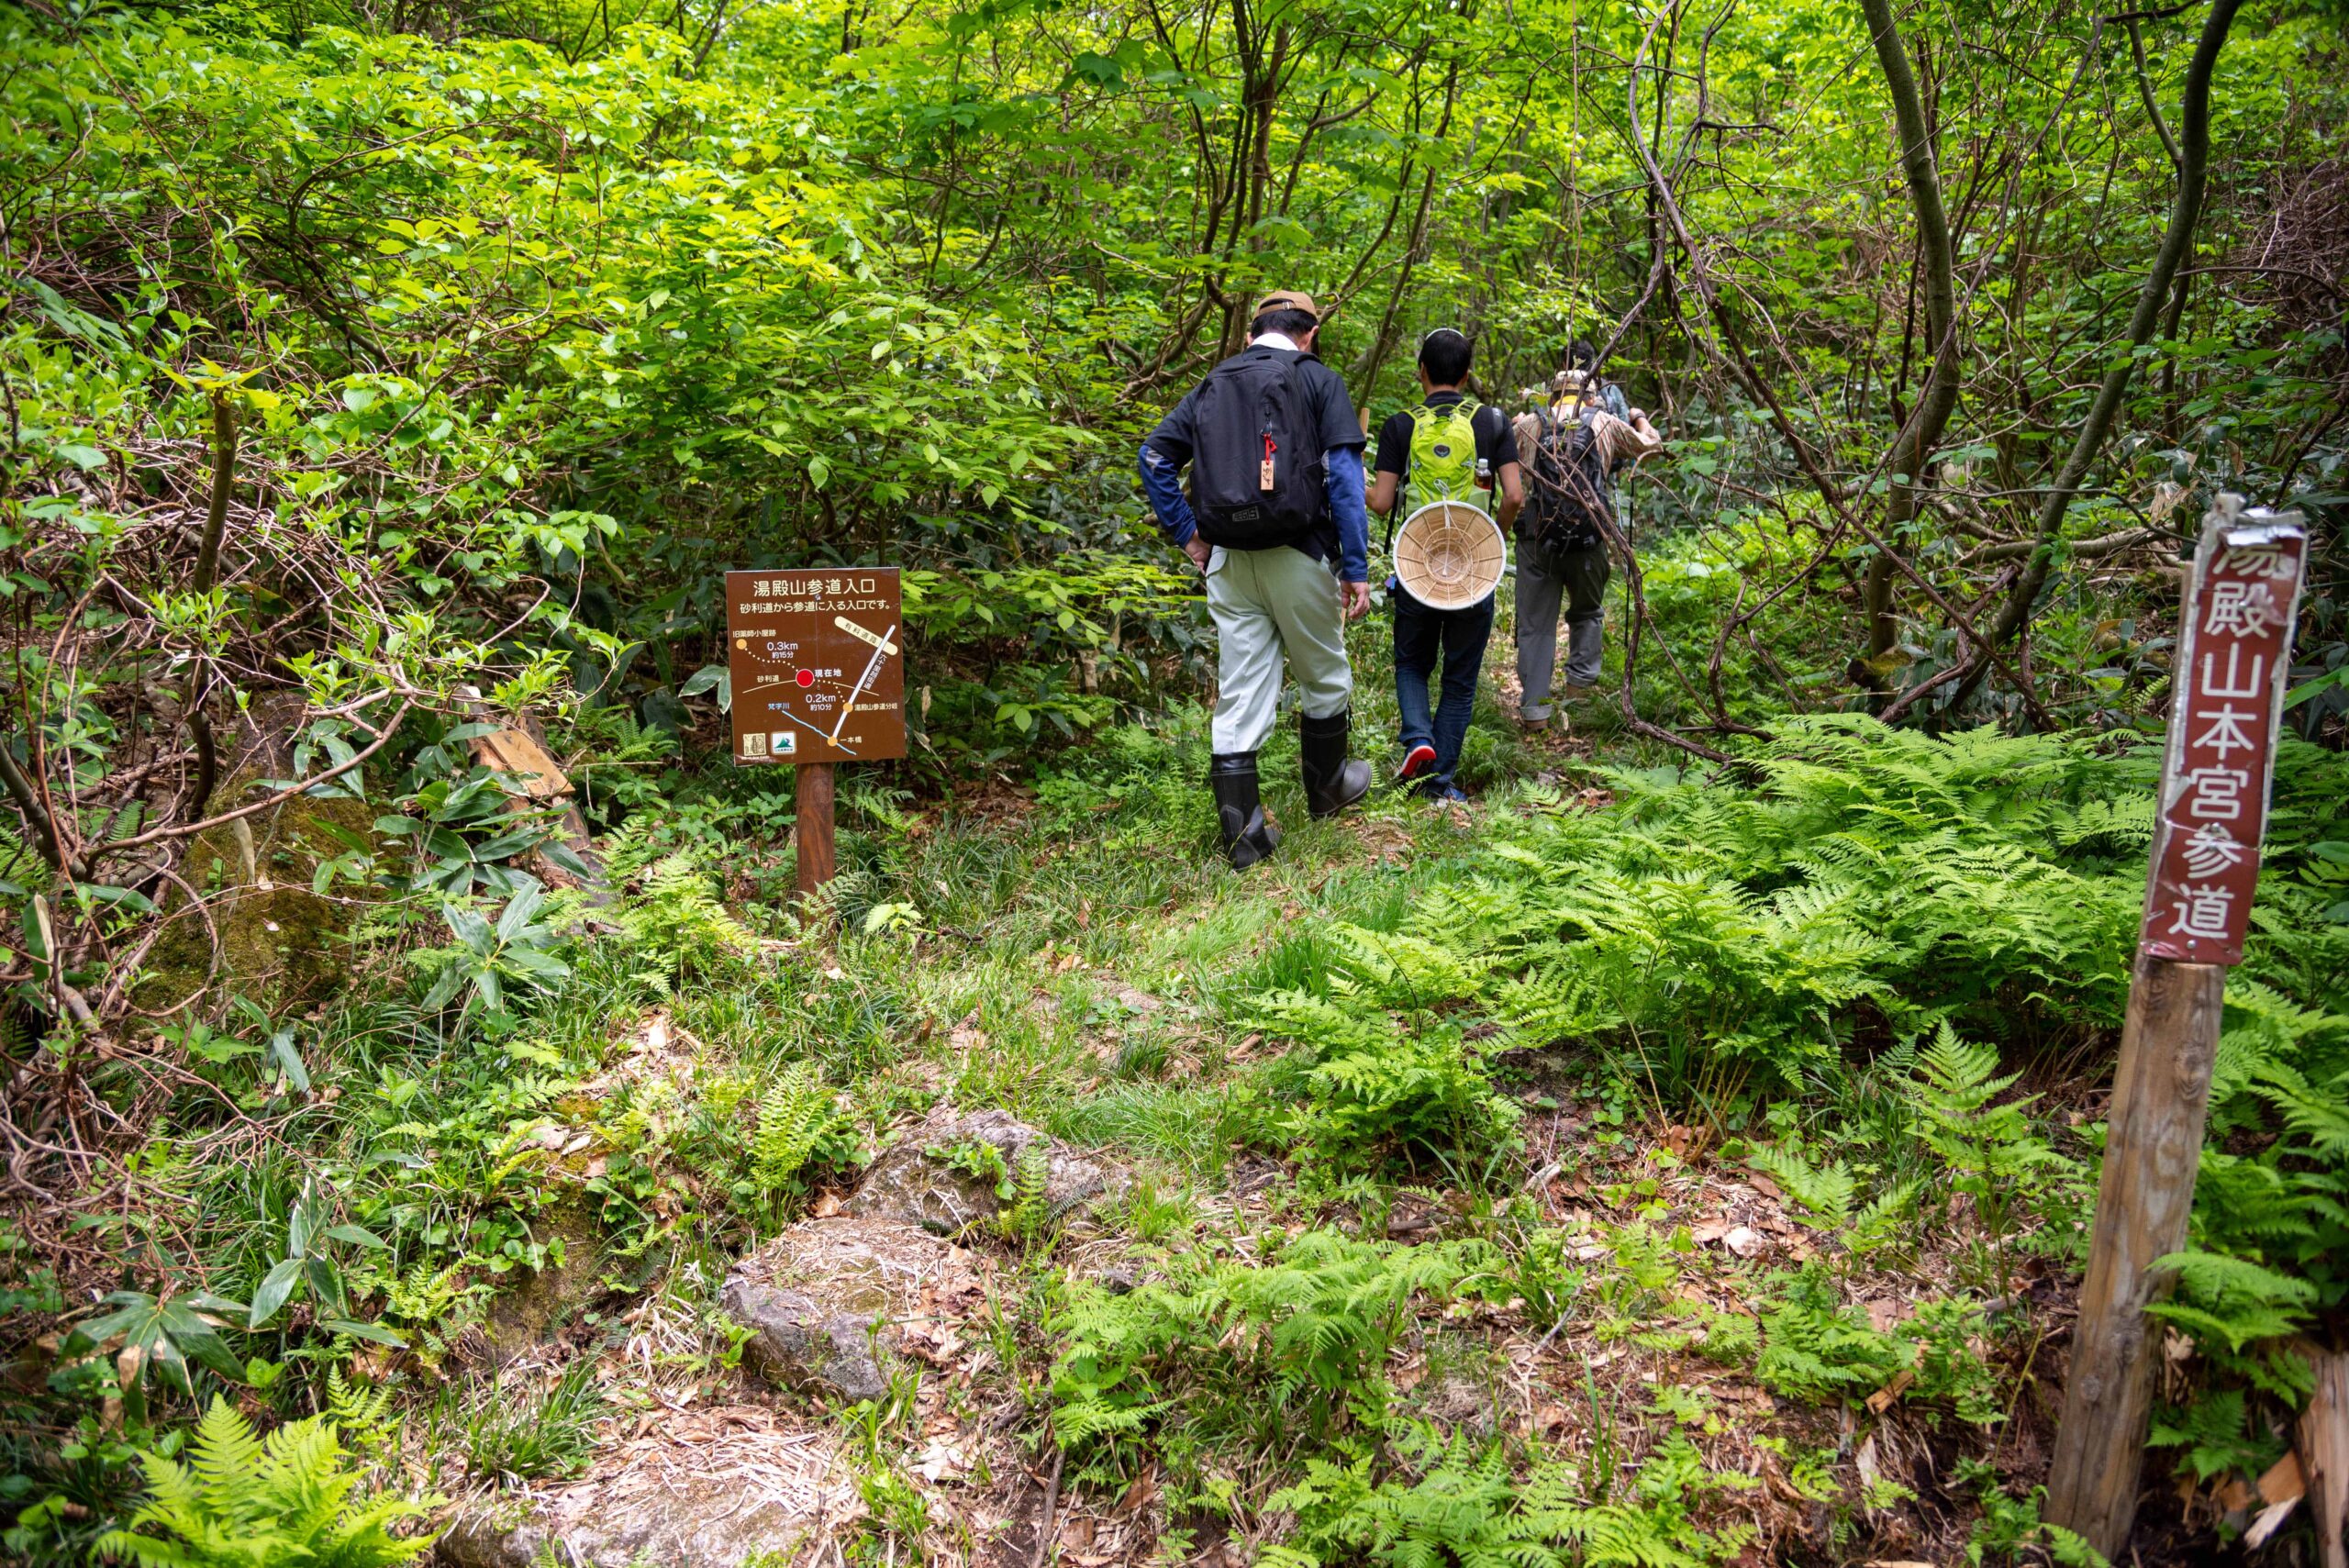
2. Find the gate to the start of the trail
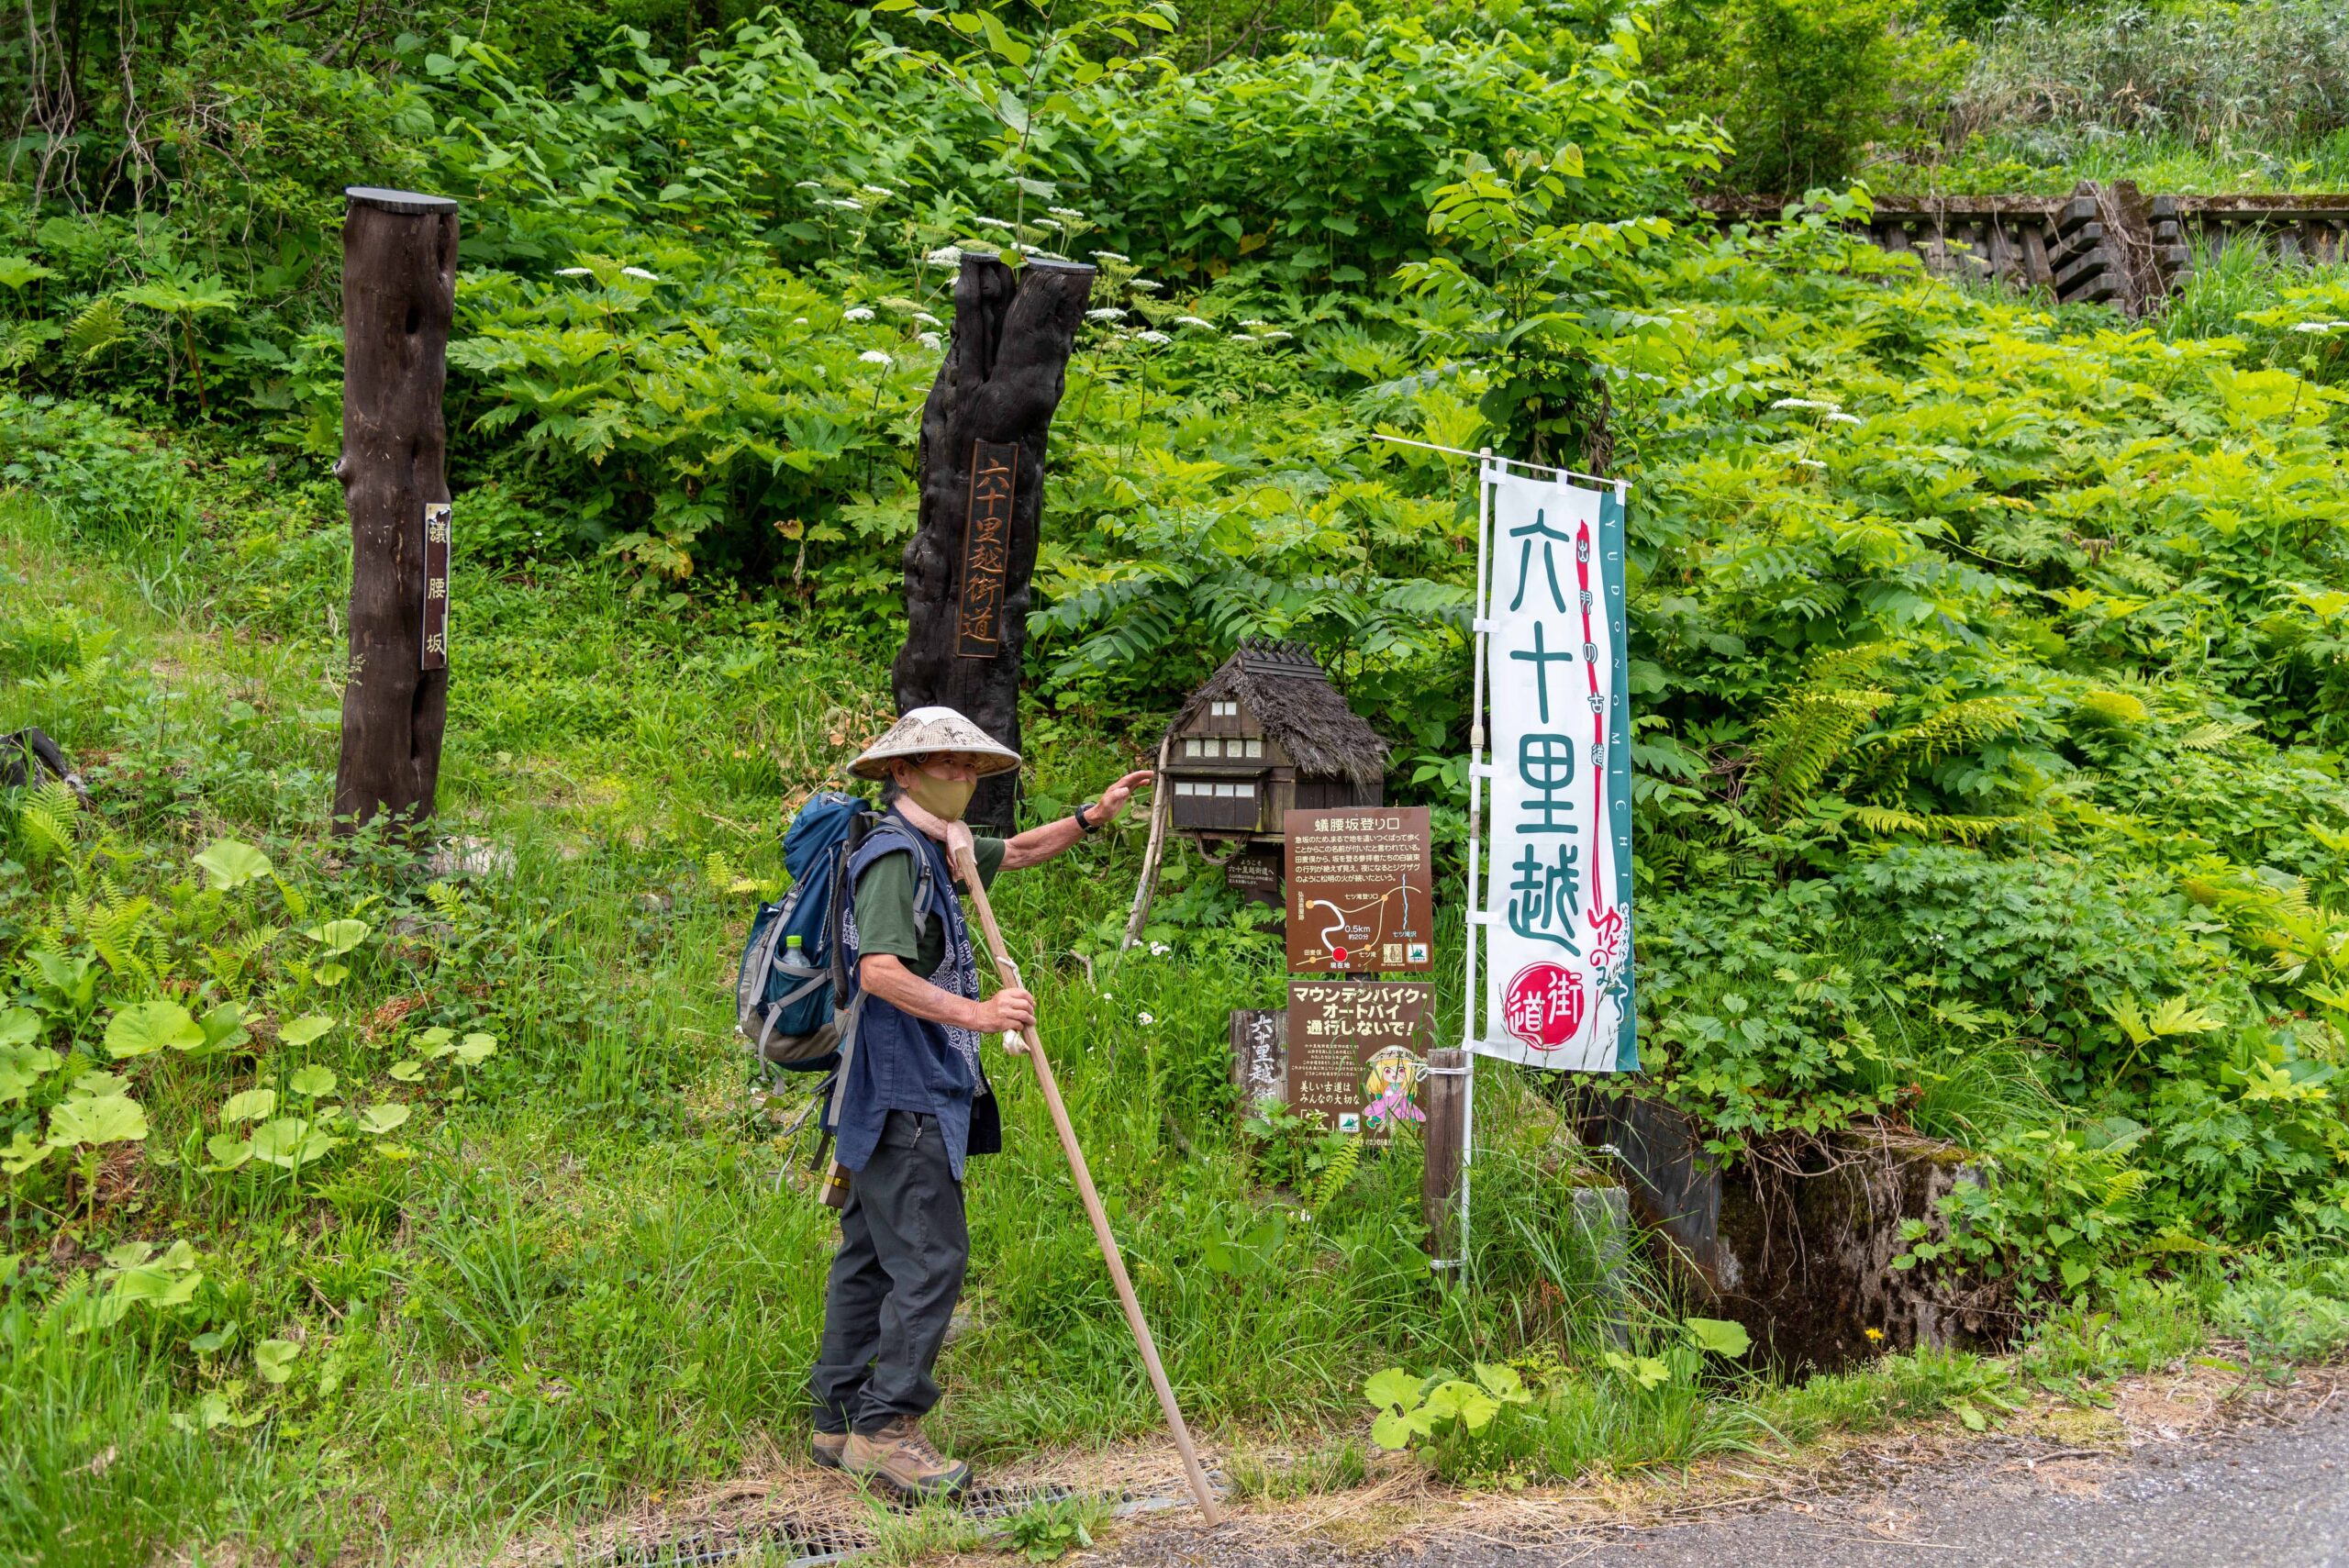
You can recognize the start of the trial at the flag floating around. Don’t forget to write your name in the notebook inside the little wooden house. It will help us rescue you if needed. You need a bear bell from here.
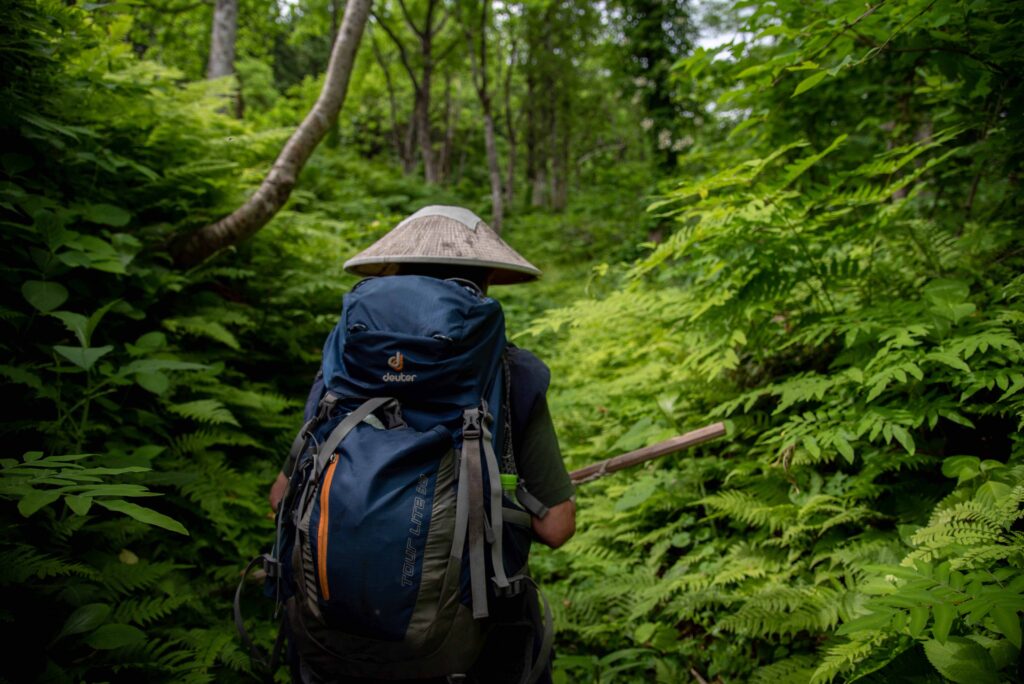
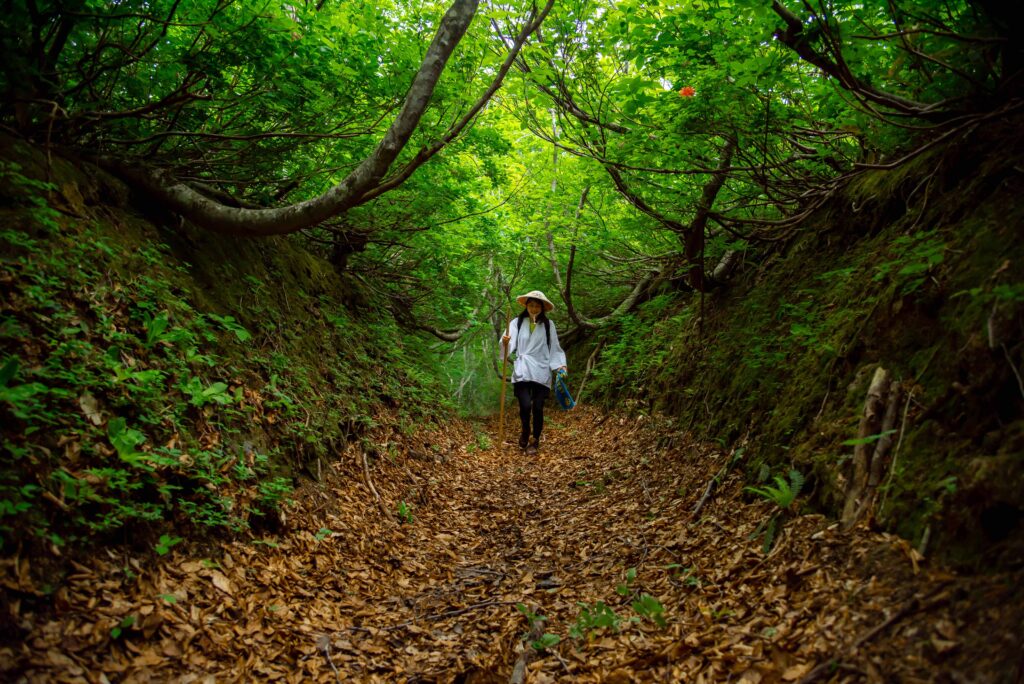
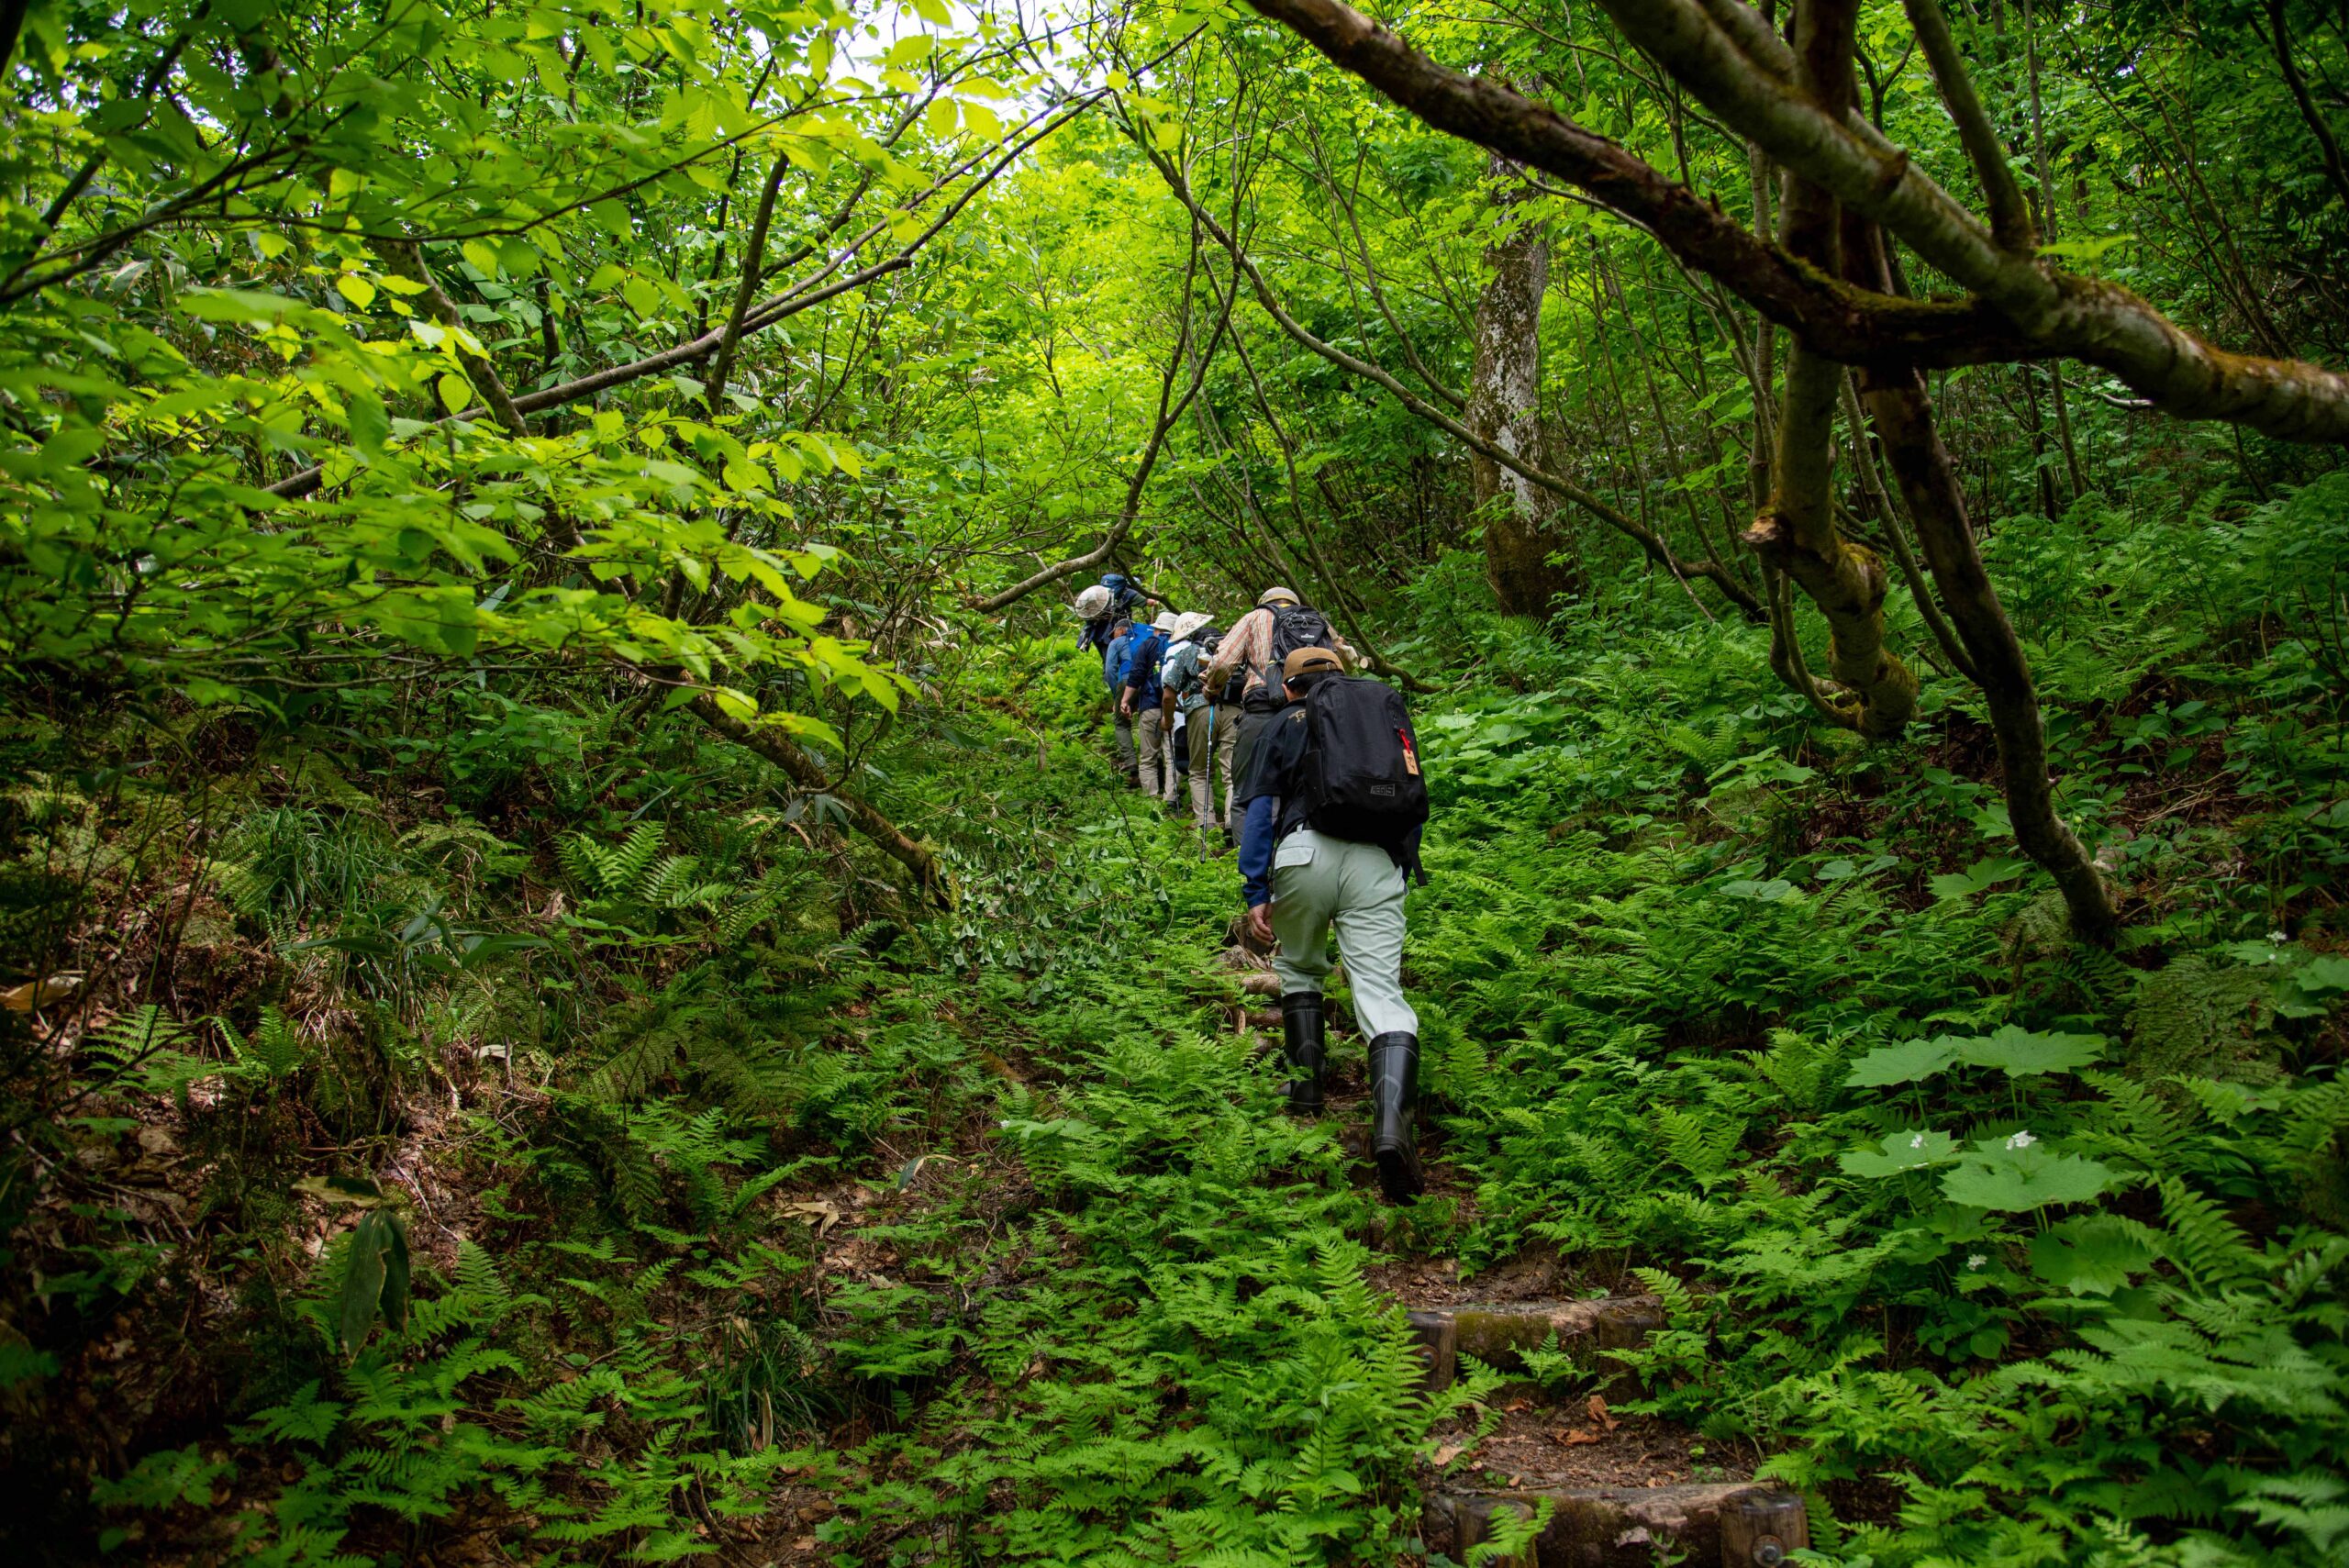
3. Enter the wild forest
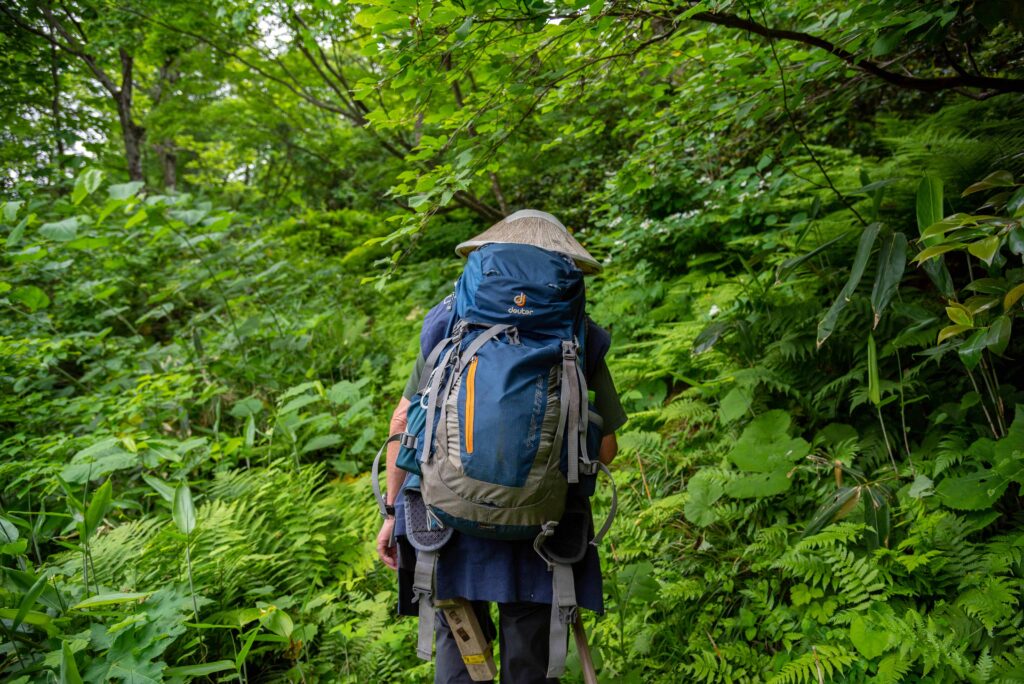
4. The forest continues
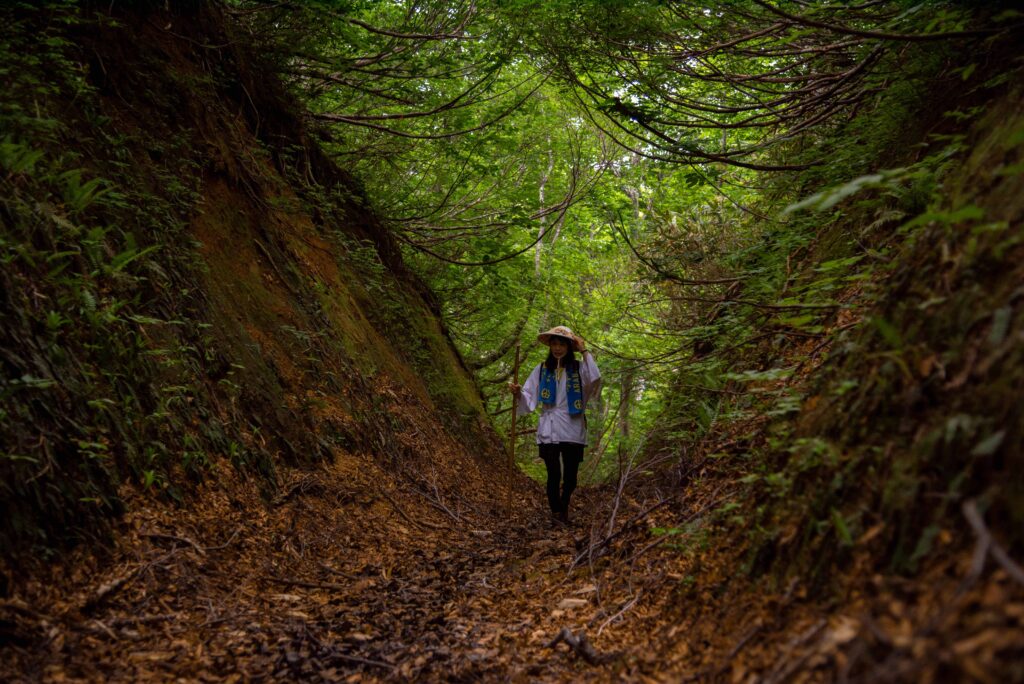
5. You enter a cedar forest
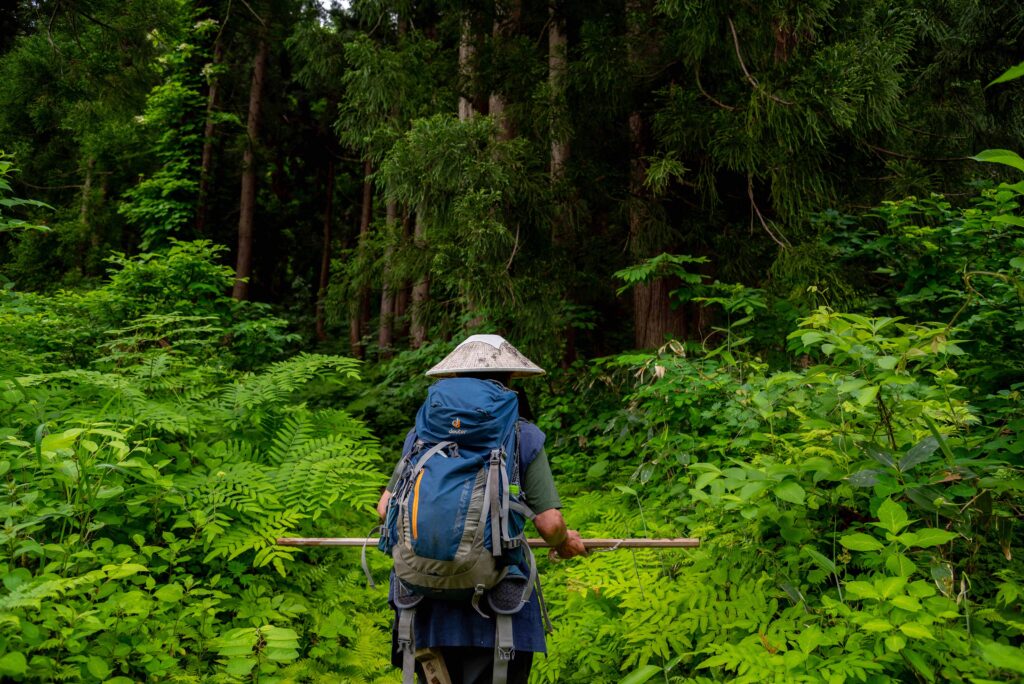
Make sure your bear bell is making enough noise before entering here.
6. Follow the path in the cedar forest

7. You arrive at the Kobo Chaya
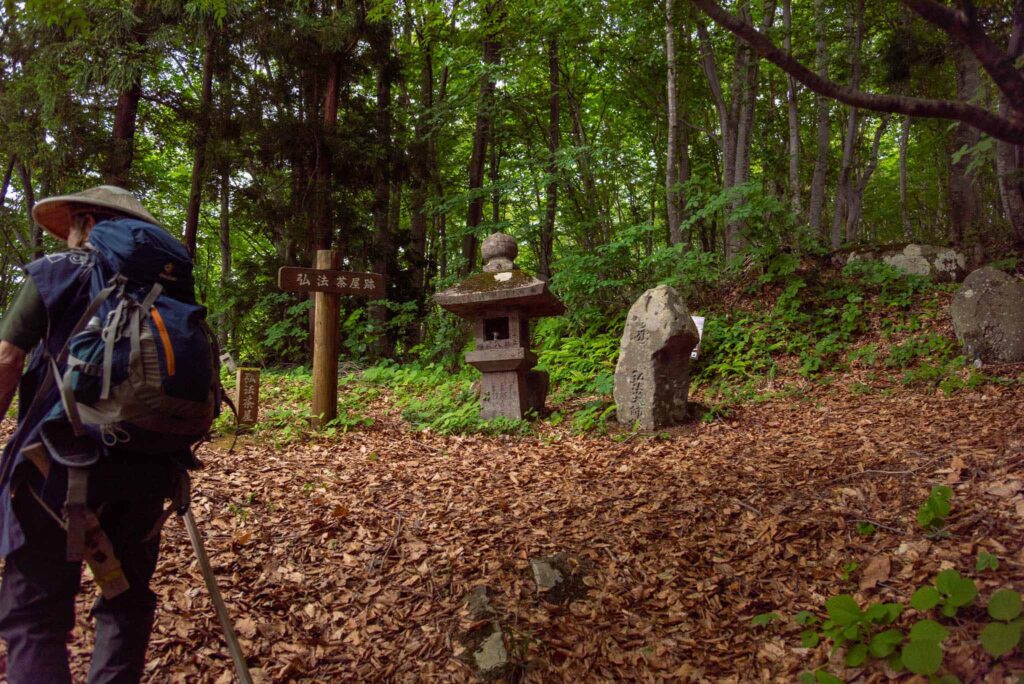
The Kobo Chaya 弘法茶屋 are the ruins of a teahouse where Kobo Daishi (also known as Kukai), the founder of Shingon Buddhism is said to have stayed during his trip here.
8. (Optional) Go further this point to find the Kobo Spring
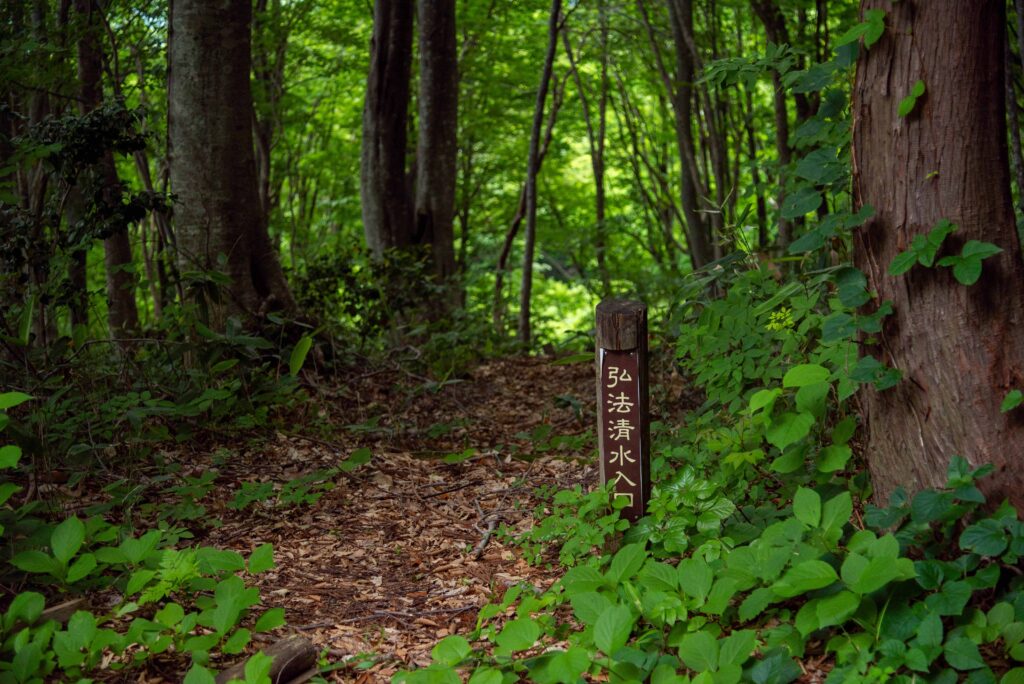
Fill your water bottle here. The Kobo Spring (弘法清水) is said to have been found by Kobo Daishi himself.
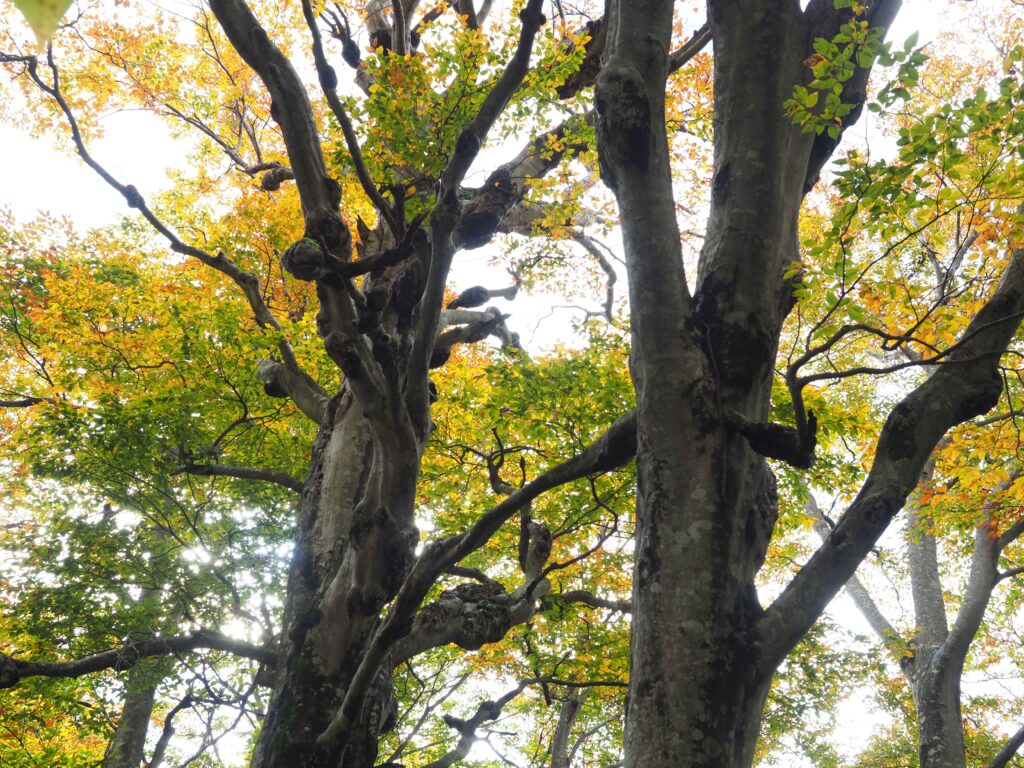
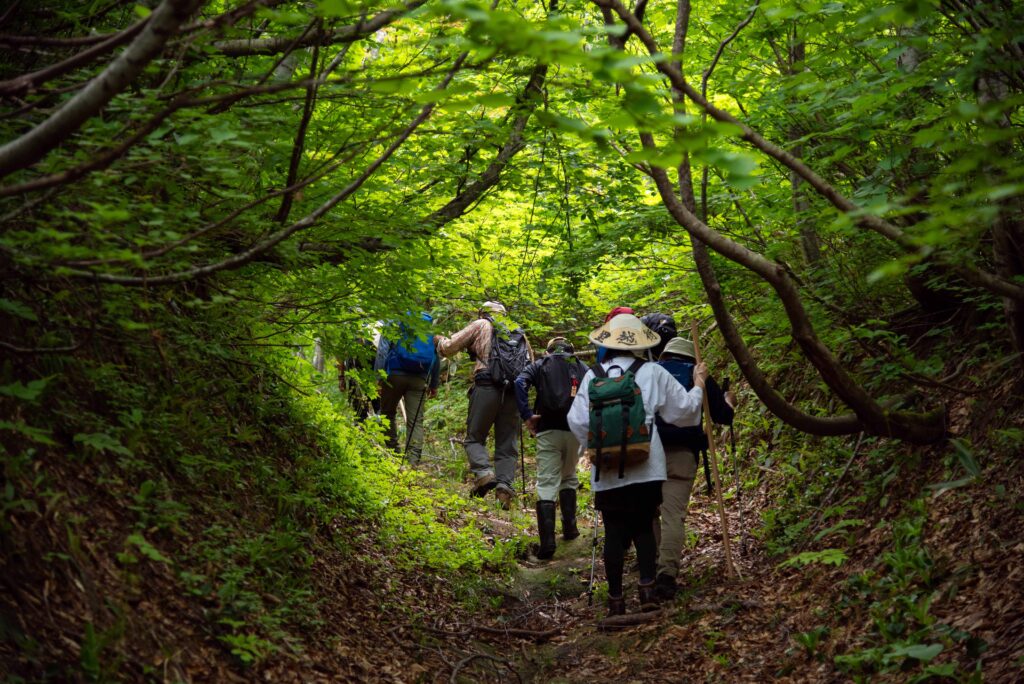
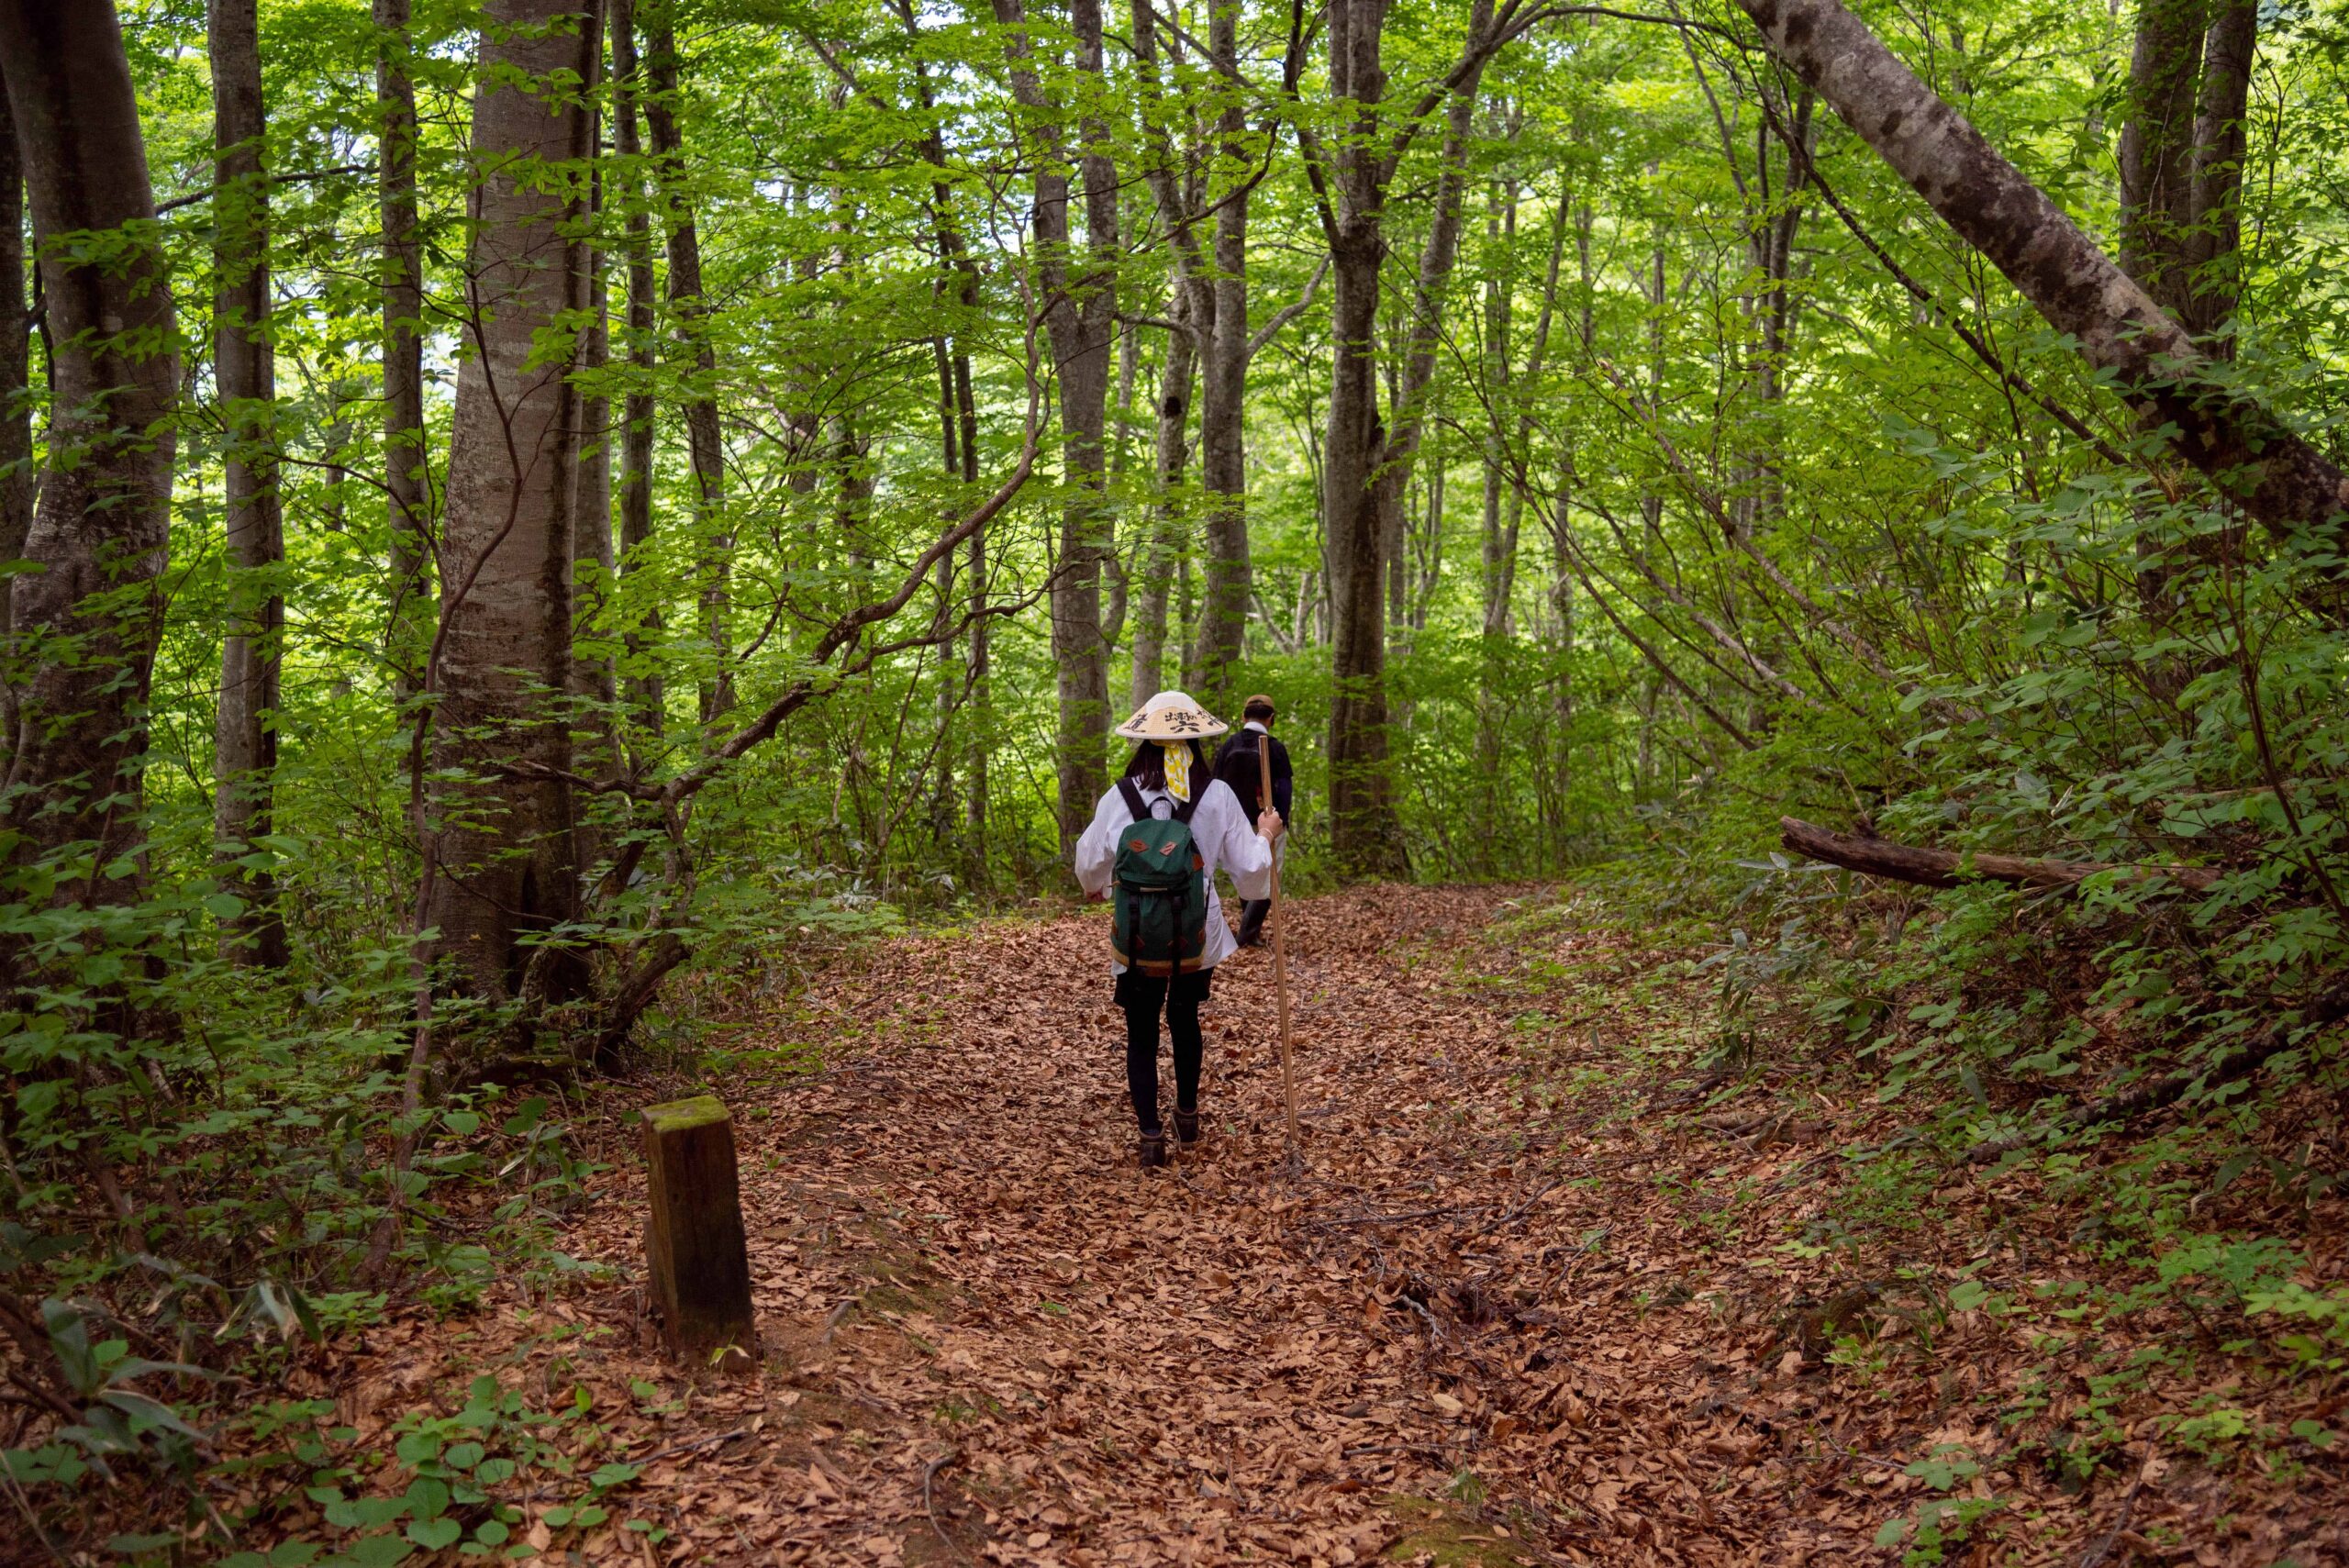
9. Follow a path to the beech forest
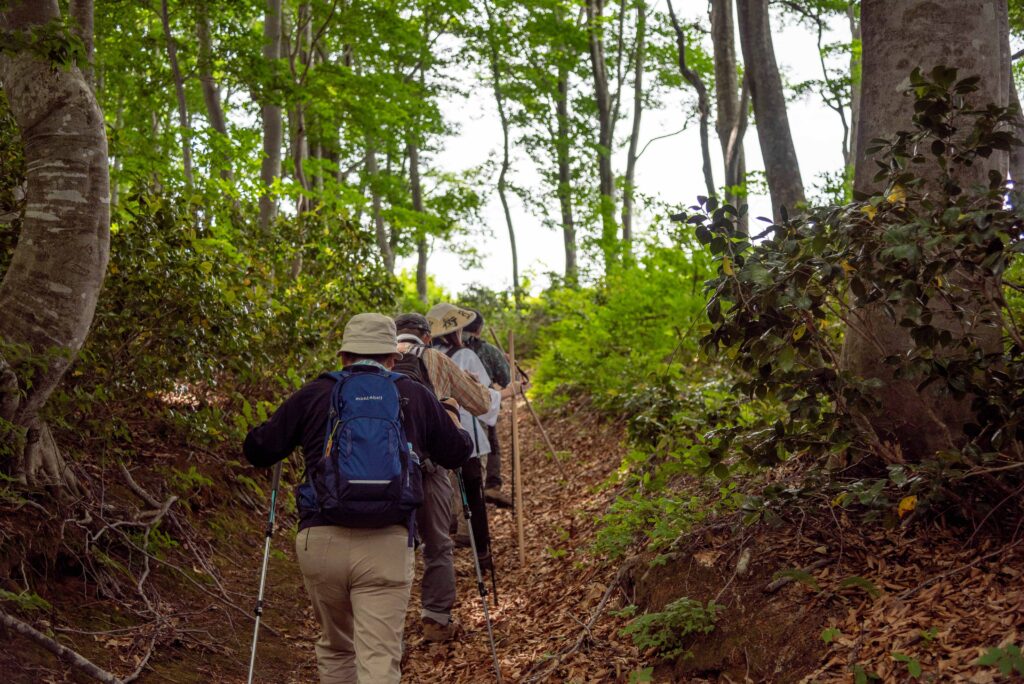
You leave the cedar forest to enter the beech tree forest.
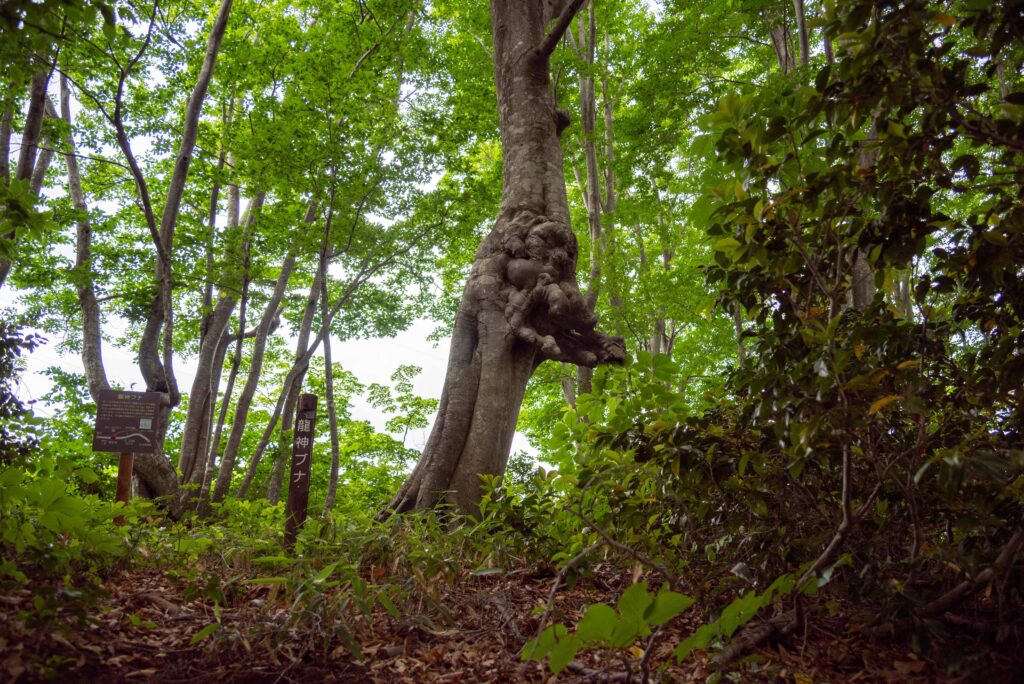
10. You spot the Dragon God Beech Tree
11. Follow the Tsukanara
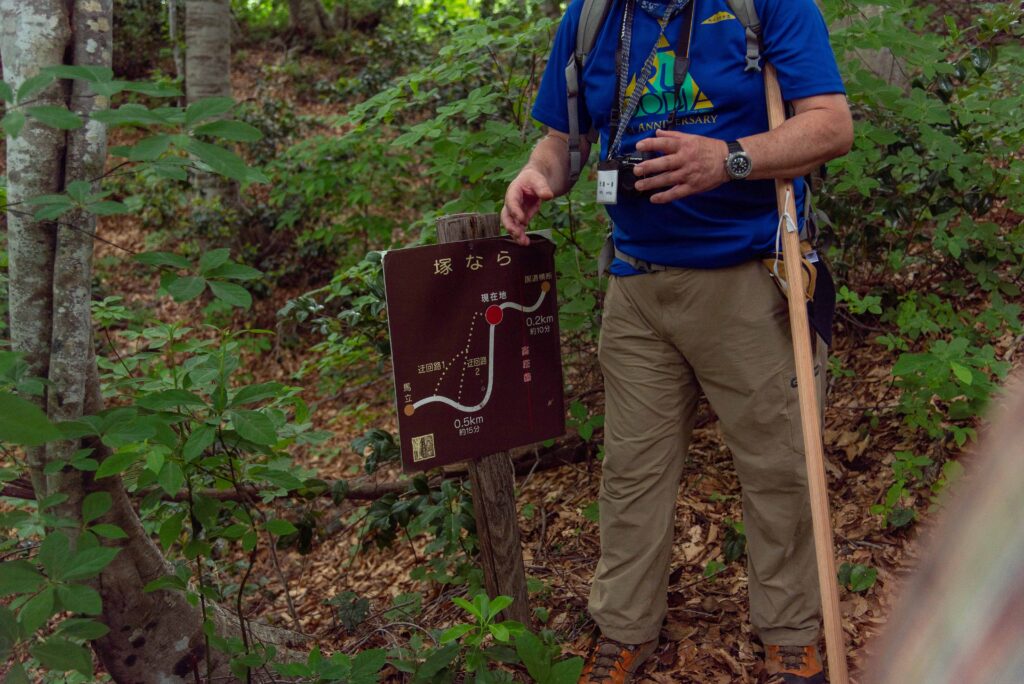
Follow the path called Tsukanara 塚なら.
12. Get out of the forest
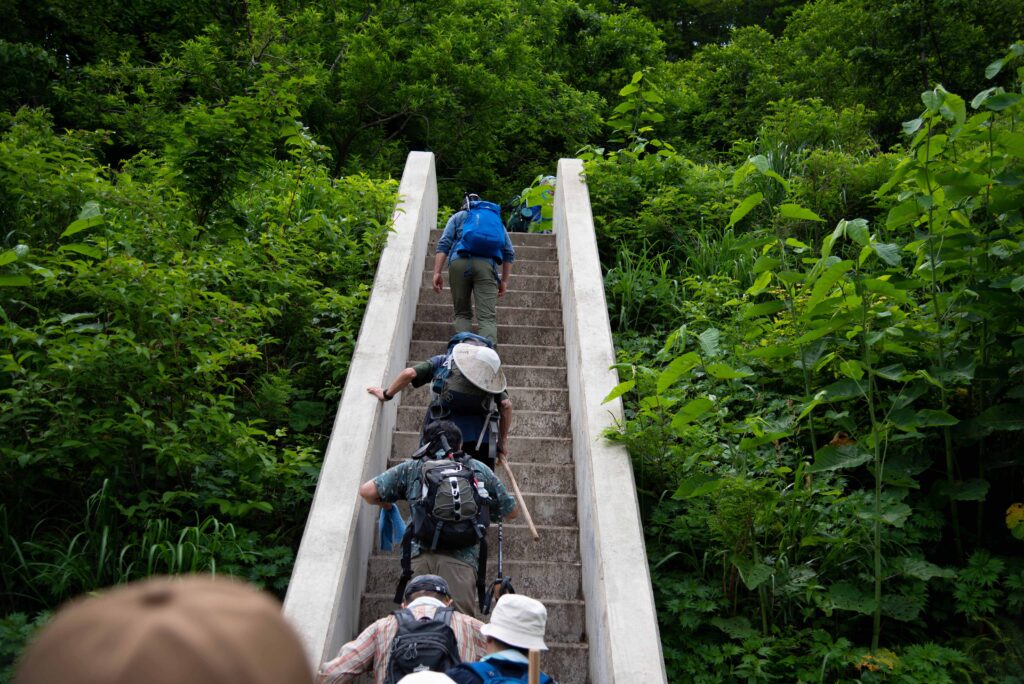
At some point, you will leave the forest to find a paved road. If you feel unwell, do not go further and seek help to return to the city. If you feel well enough, take the elevated bridge to go back to the forest.
13. You come across a detour road

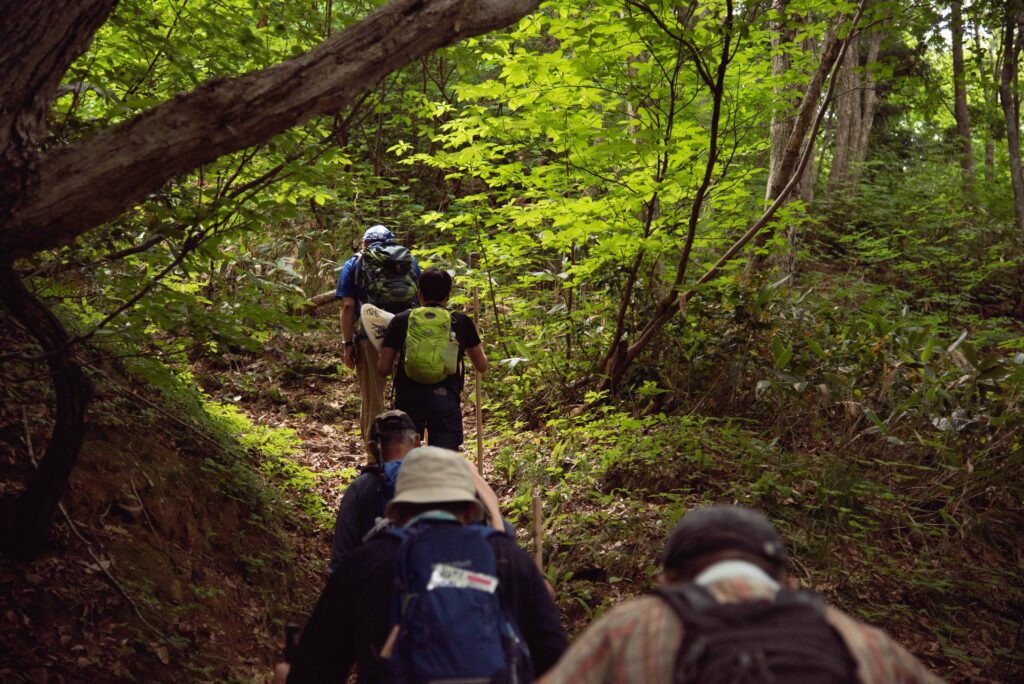
14. Follow the path inside the beech forest
15. There is another detour road
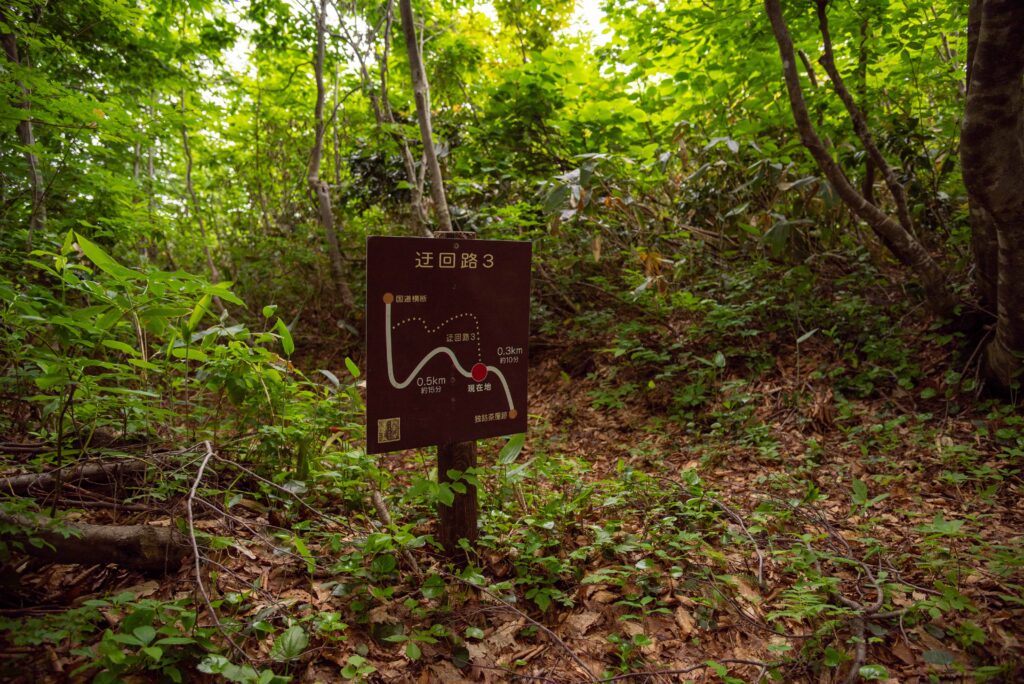
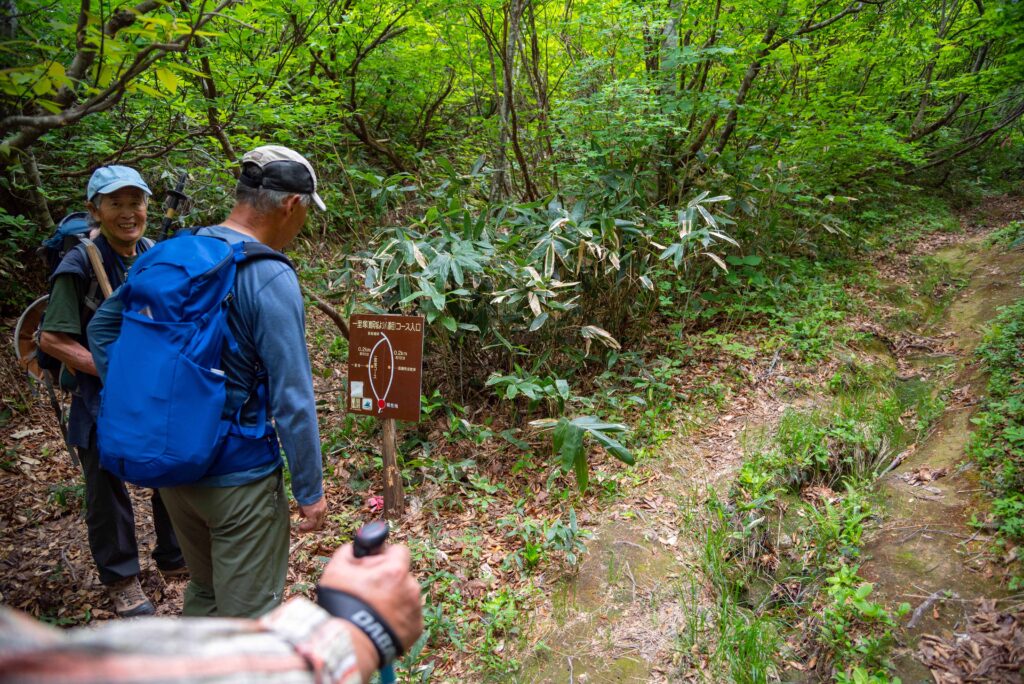
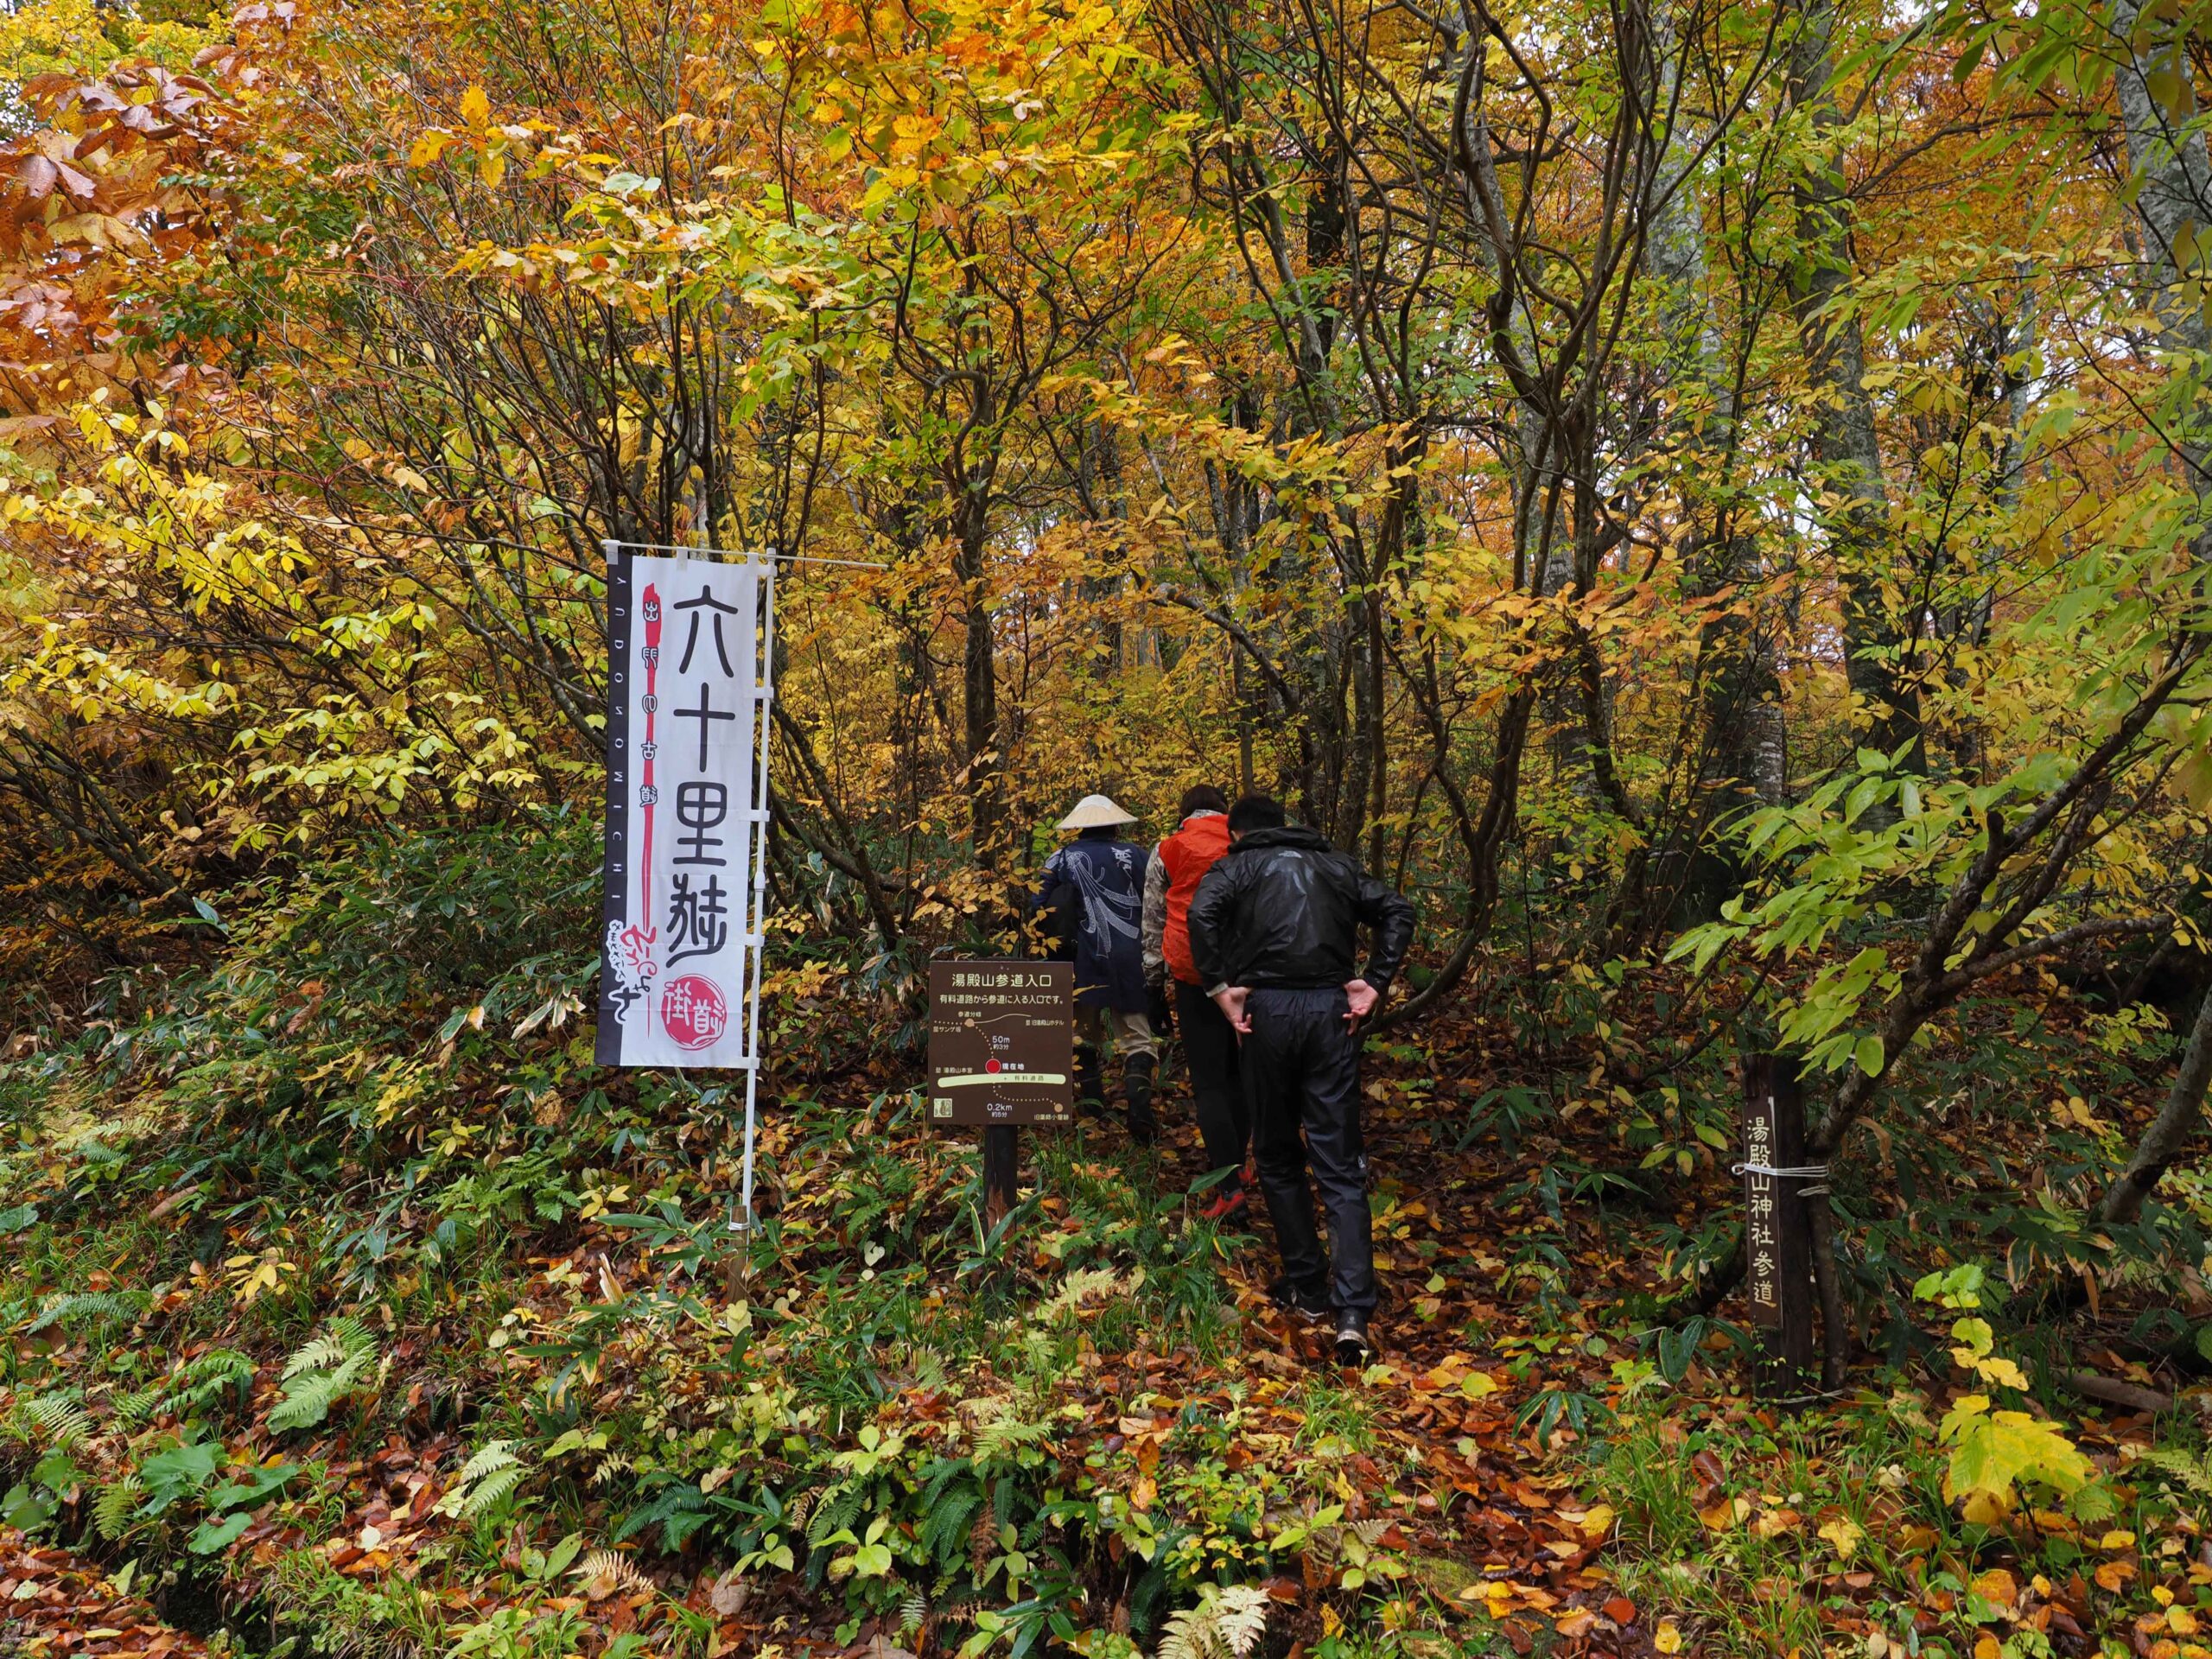
16. You come across this sign
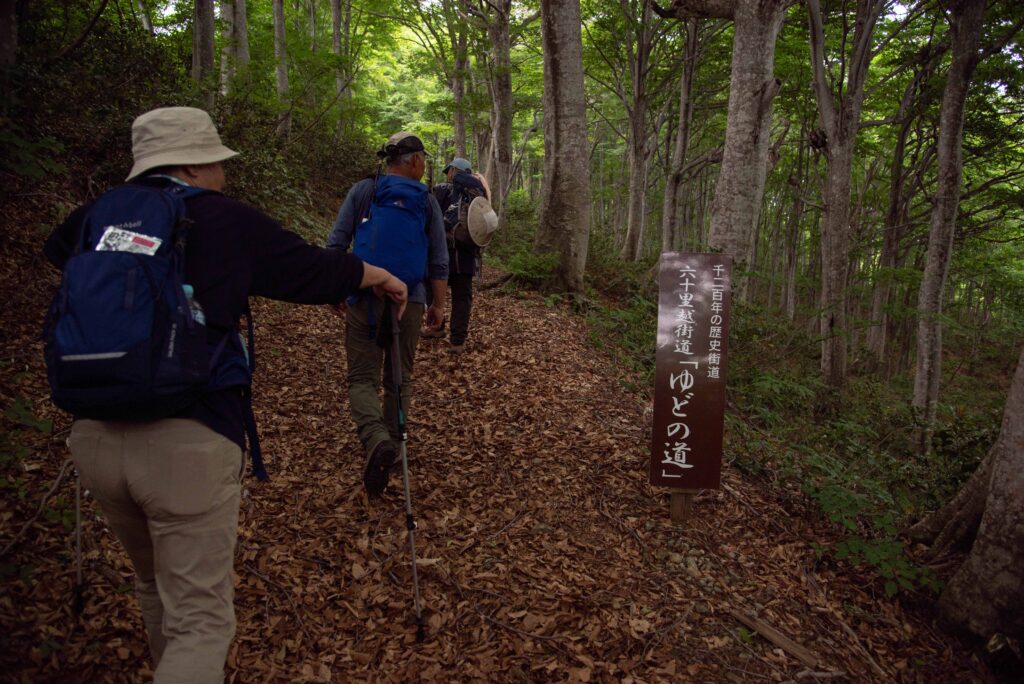
The sign says: “Rokujurigoe Kaido: the pilgrimage to Mt. Yudono” 六十里越街道:「ゆどの道」
17. Spot the “Lovey-dovey beeches”
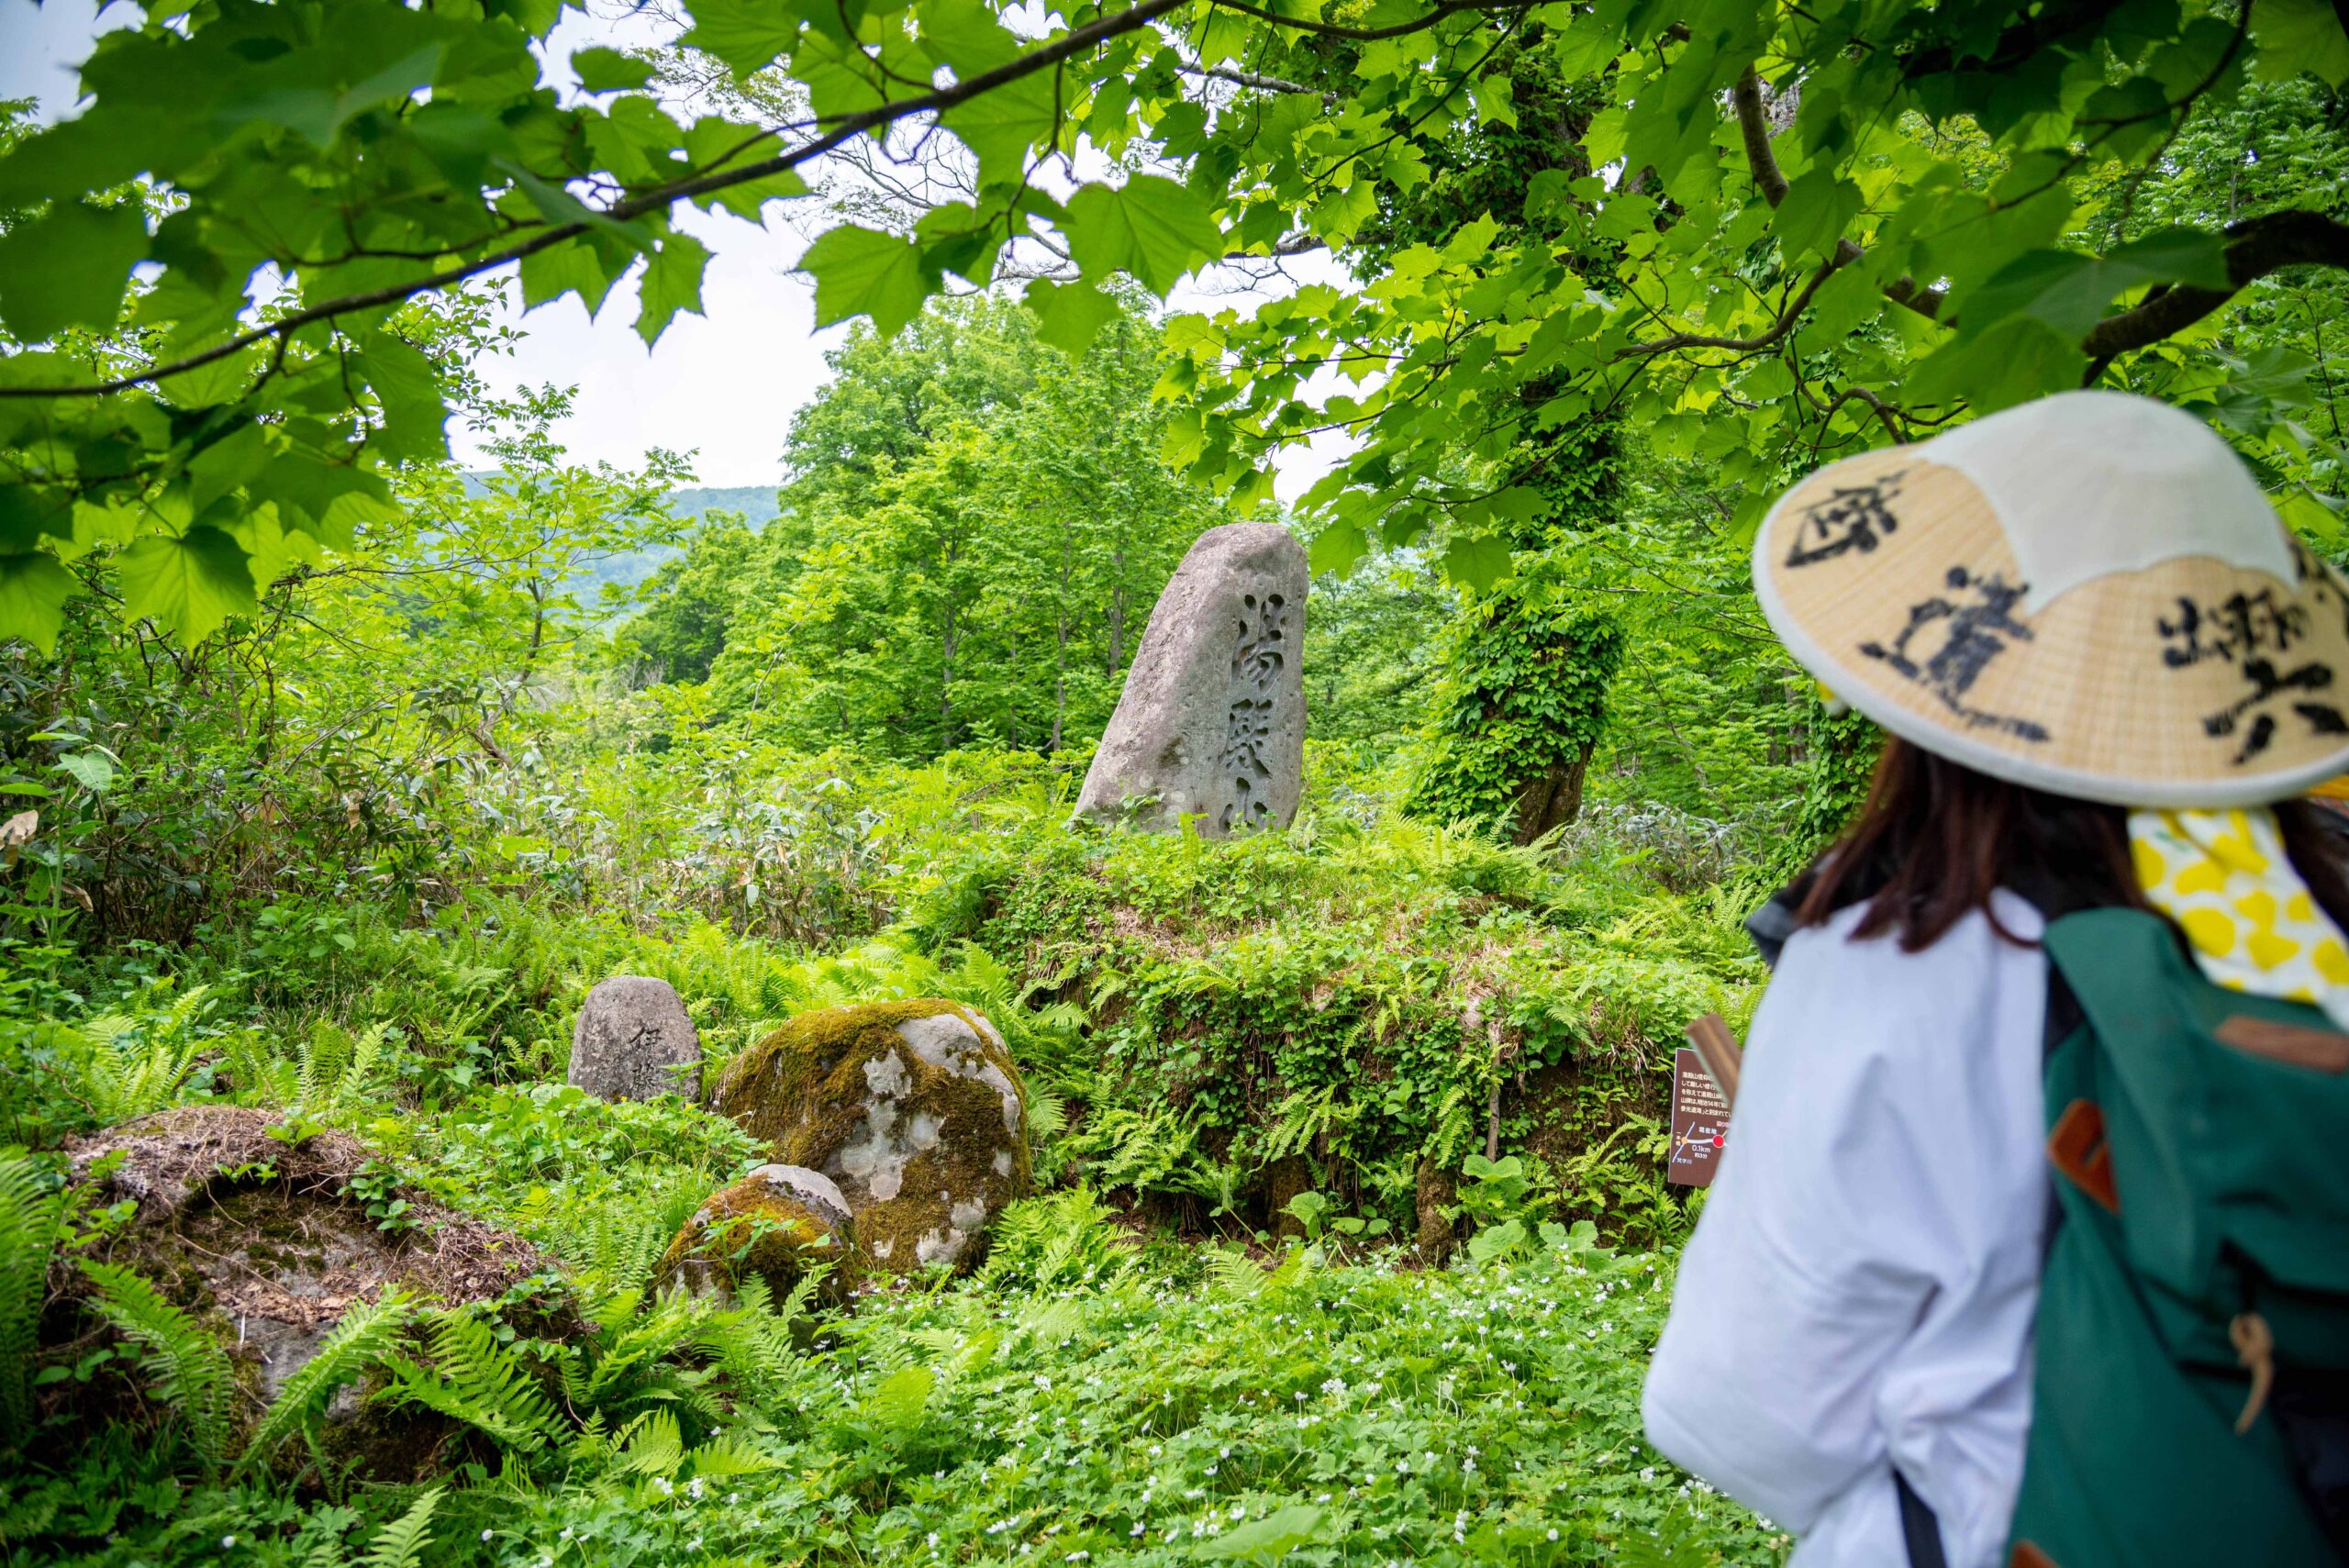
Those trees are connected by one branch, making them look like two lovers holding hands, hence their name: “the Lovey-Dovey Beeches” (Raburabuna ラブラブナ)
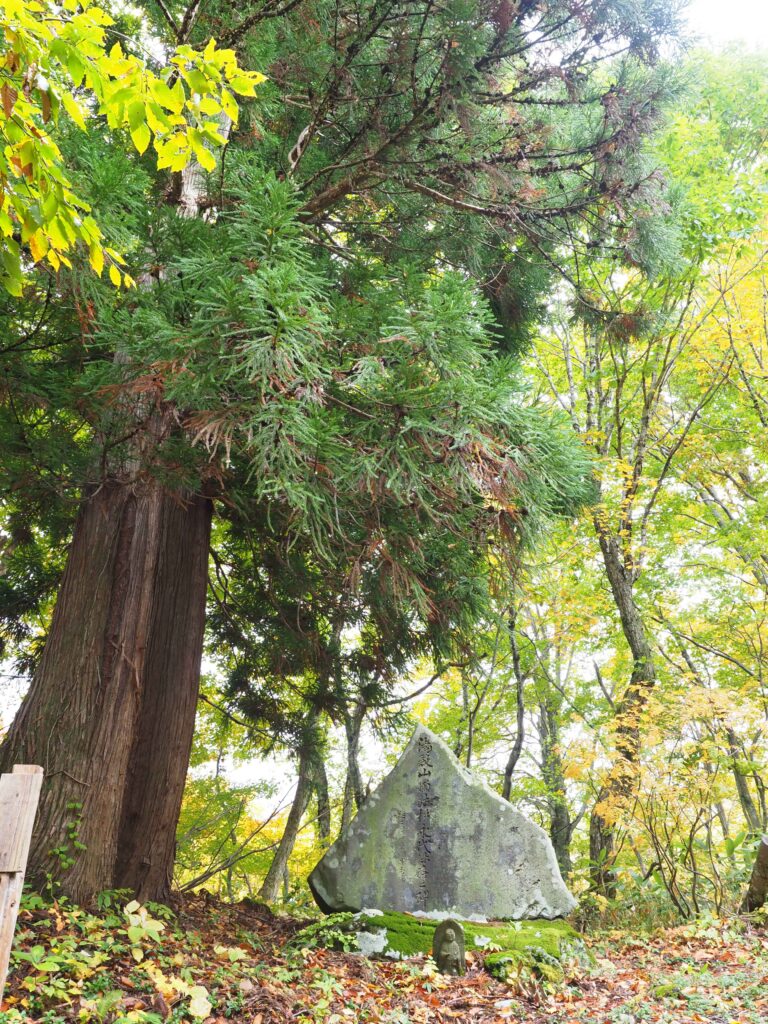
18. You come across this Buddhist stele
19. You arrive to the Dokko Chaya
Use the portable toilet if needed.
20. Use the portable toilet.

21. Buddhist statues next to the
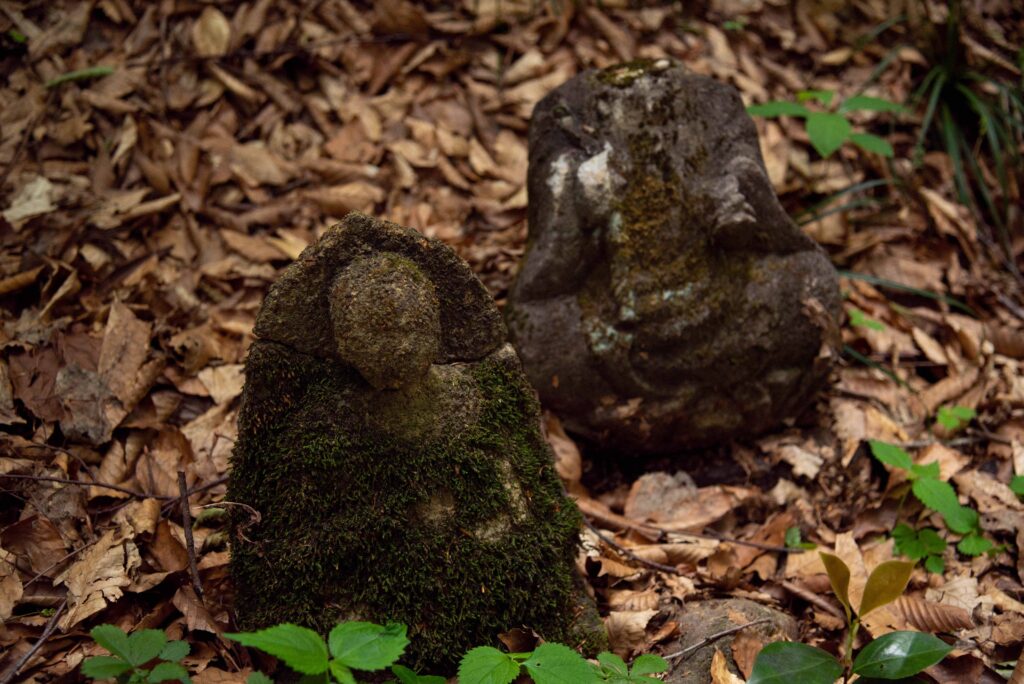
If you follow the path to the Dokko Springs 独鈷清水, you will find these Buddhist statues that got their heads severed during the Buddhist purge in the 19th century.
22. Spot this sign to the Senju Buna tree
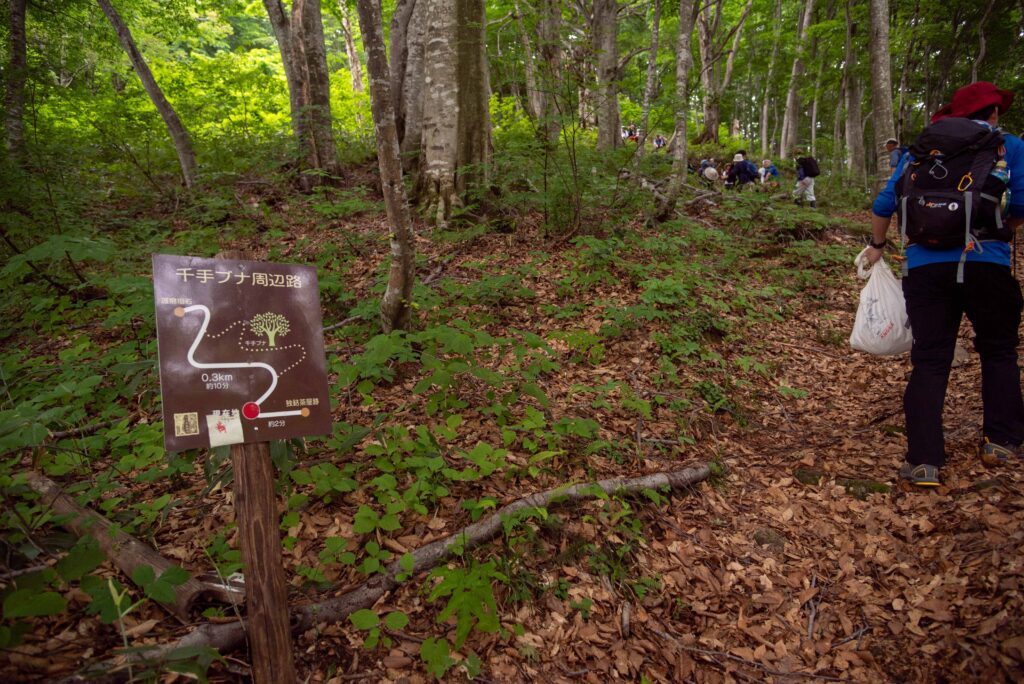
23. Arrive at the Senju Buna Tree
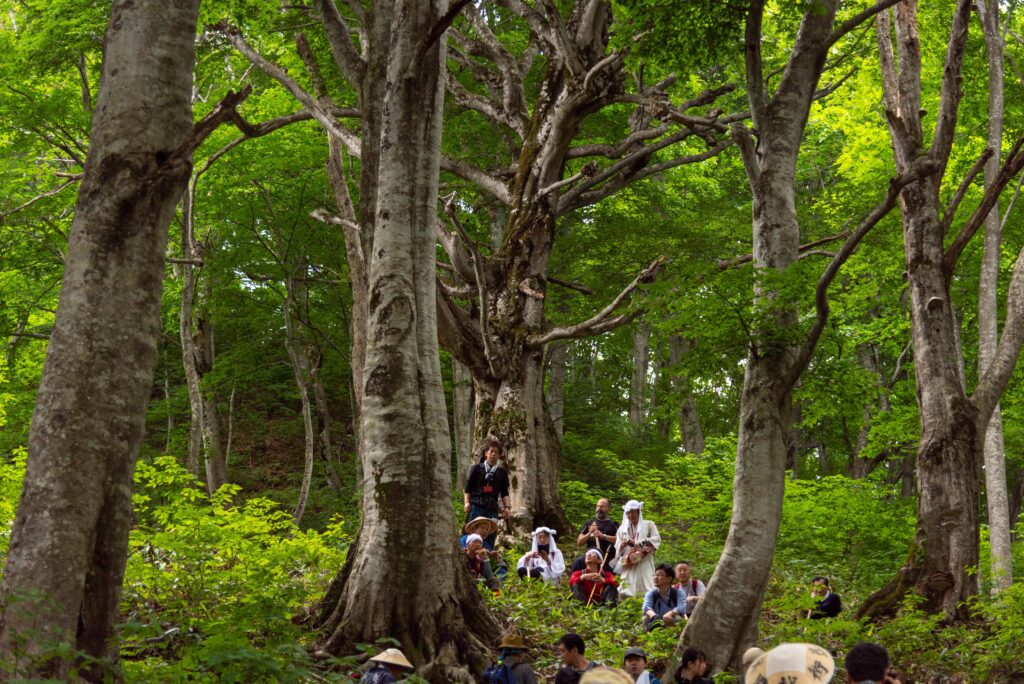
Senju Buna 千手ブナ means: “The Thousand-Handed Beech tree”.
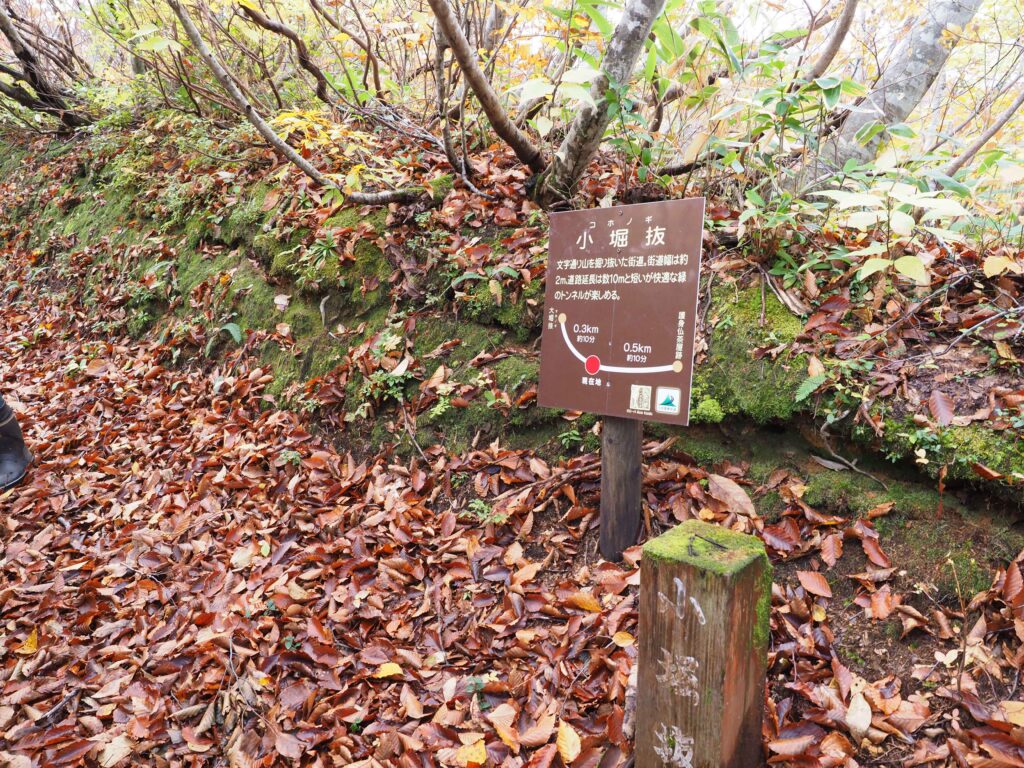
24. Arrive at the Kohonogi Beech Tree Tunnel
You arrive at the Kohonogi 小堀抜: The “Small Beech Tree Tunnel”.
25. Follow the Ohonogi Beech Tree Tunnel
A little further from the Kohonogi is the Ohonogi 大堀抜: the “Big Beech Tree Tunnel”.
26. Follow the path
27. You arrive at an intersection
Both paths lead to the same end.
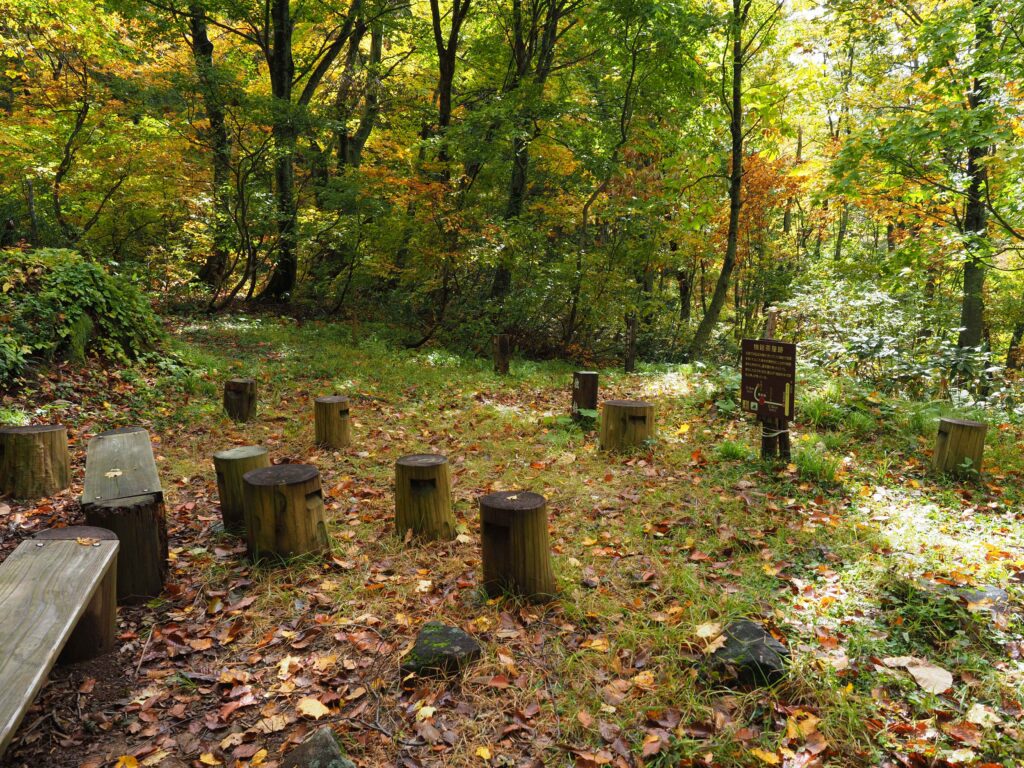
28. You arrive at the Hosogoe rest area
Hosogoe-toge 細越峠 is recognizable by its logs and stela.
29. Have a view on Mt. Yudono
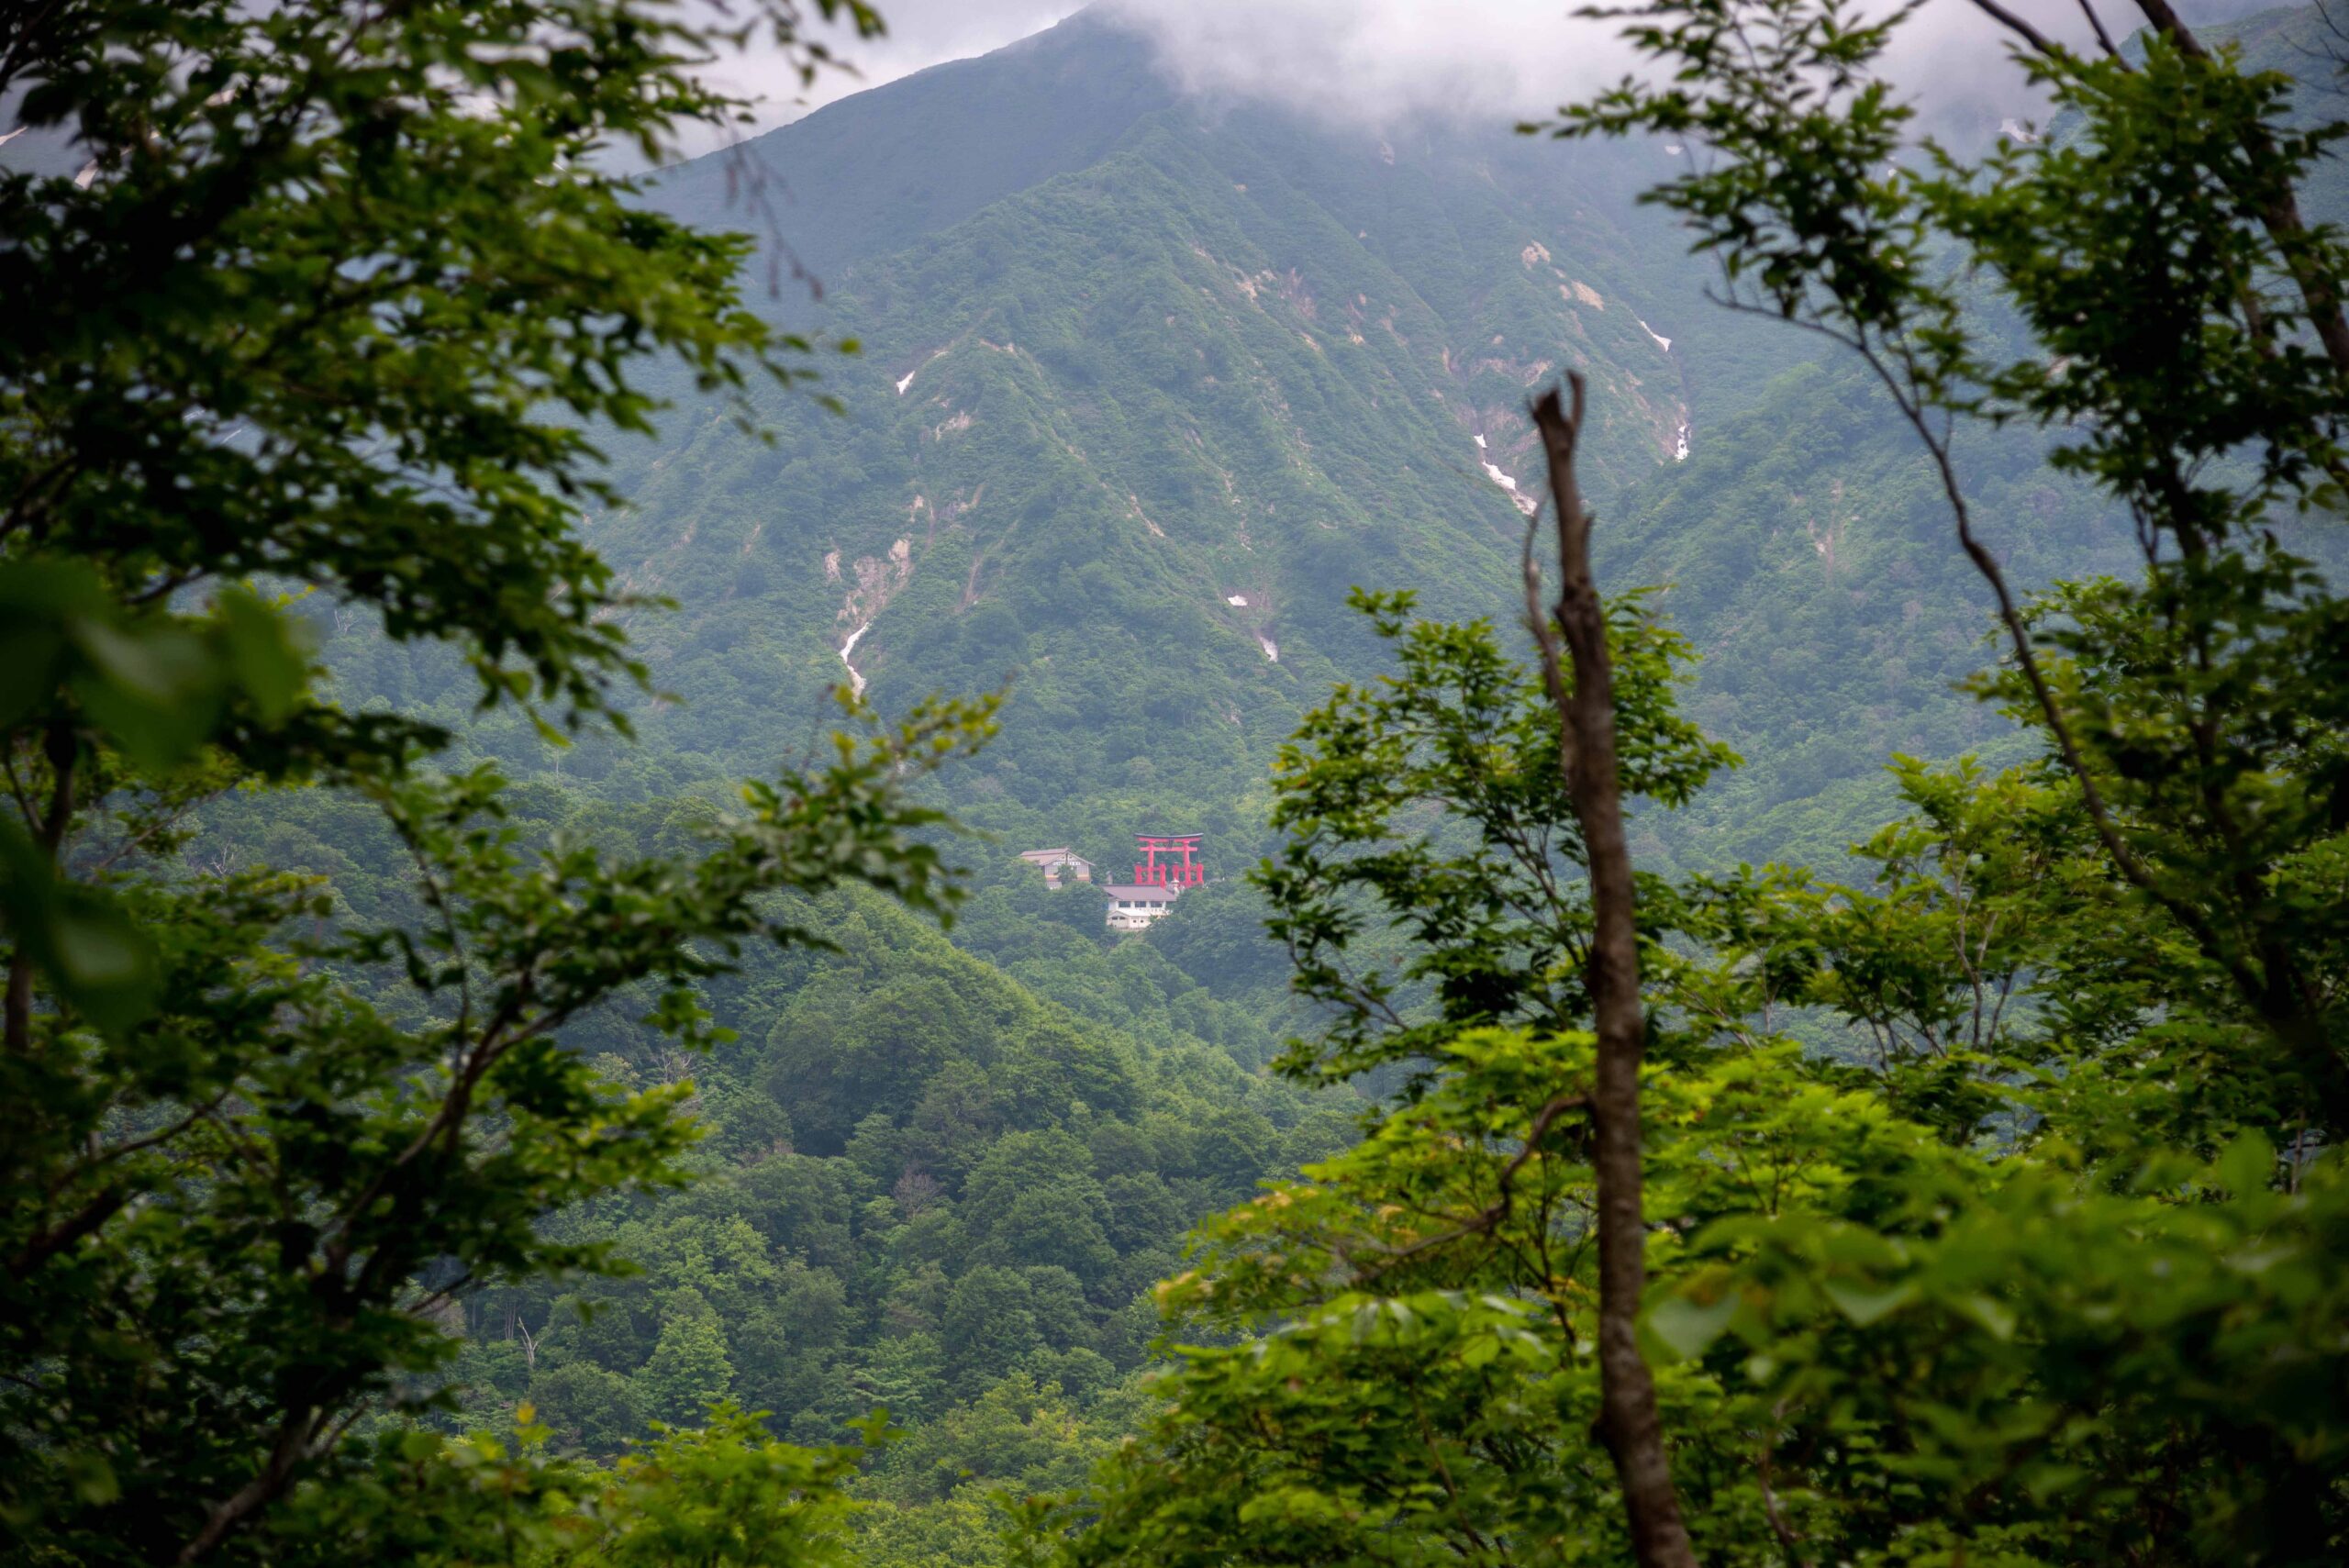
This spot is called Yudonosan Yôhaijo 湯殿山遥拝所
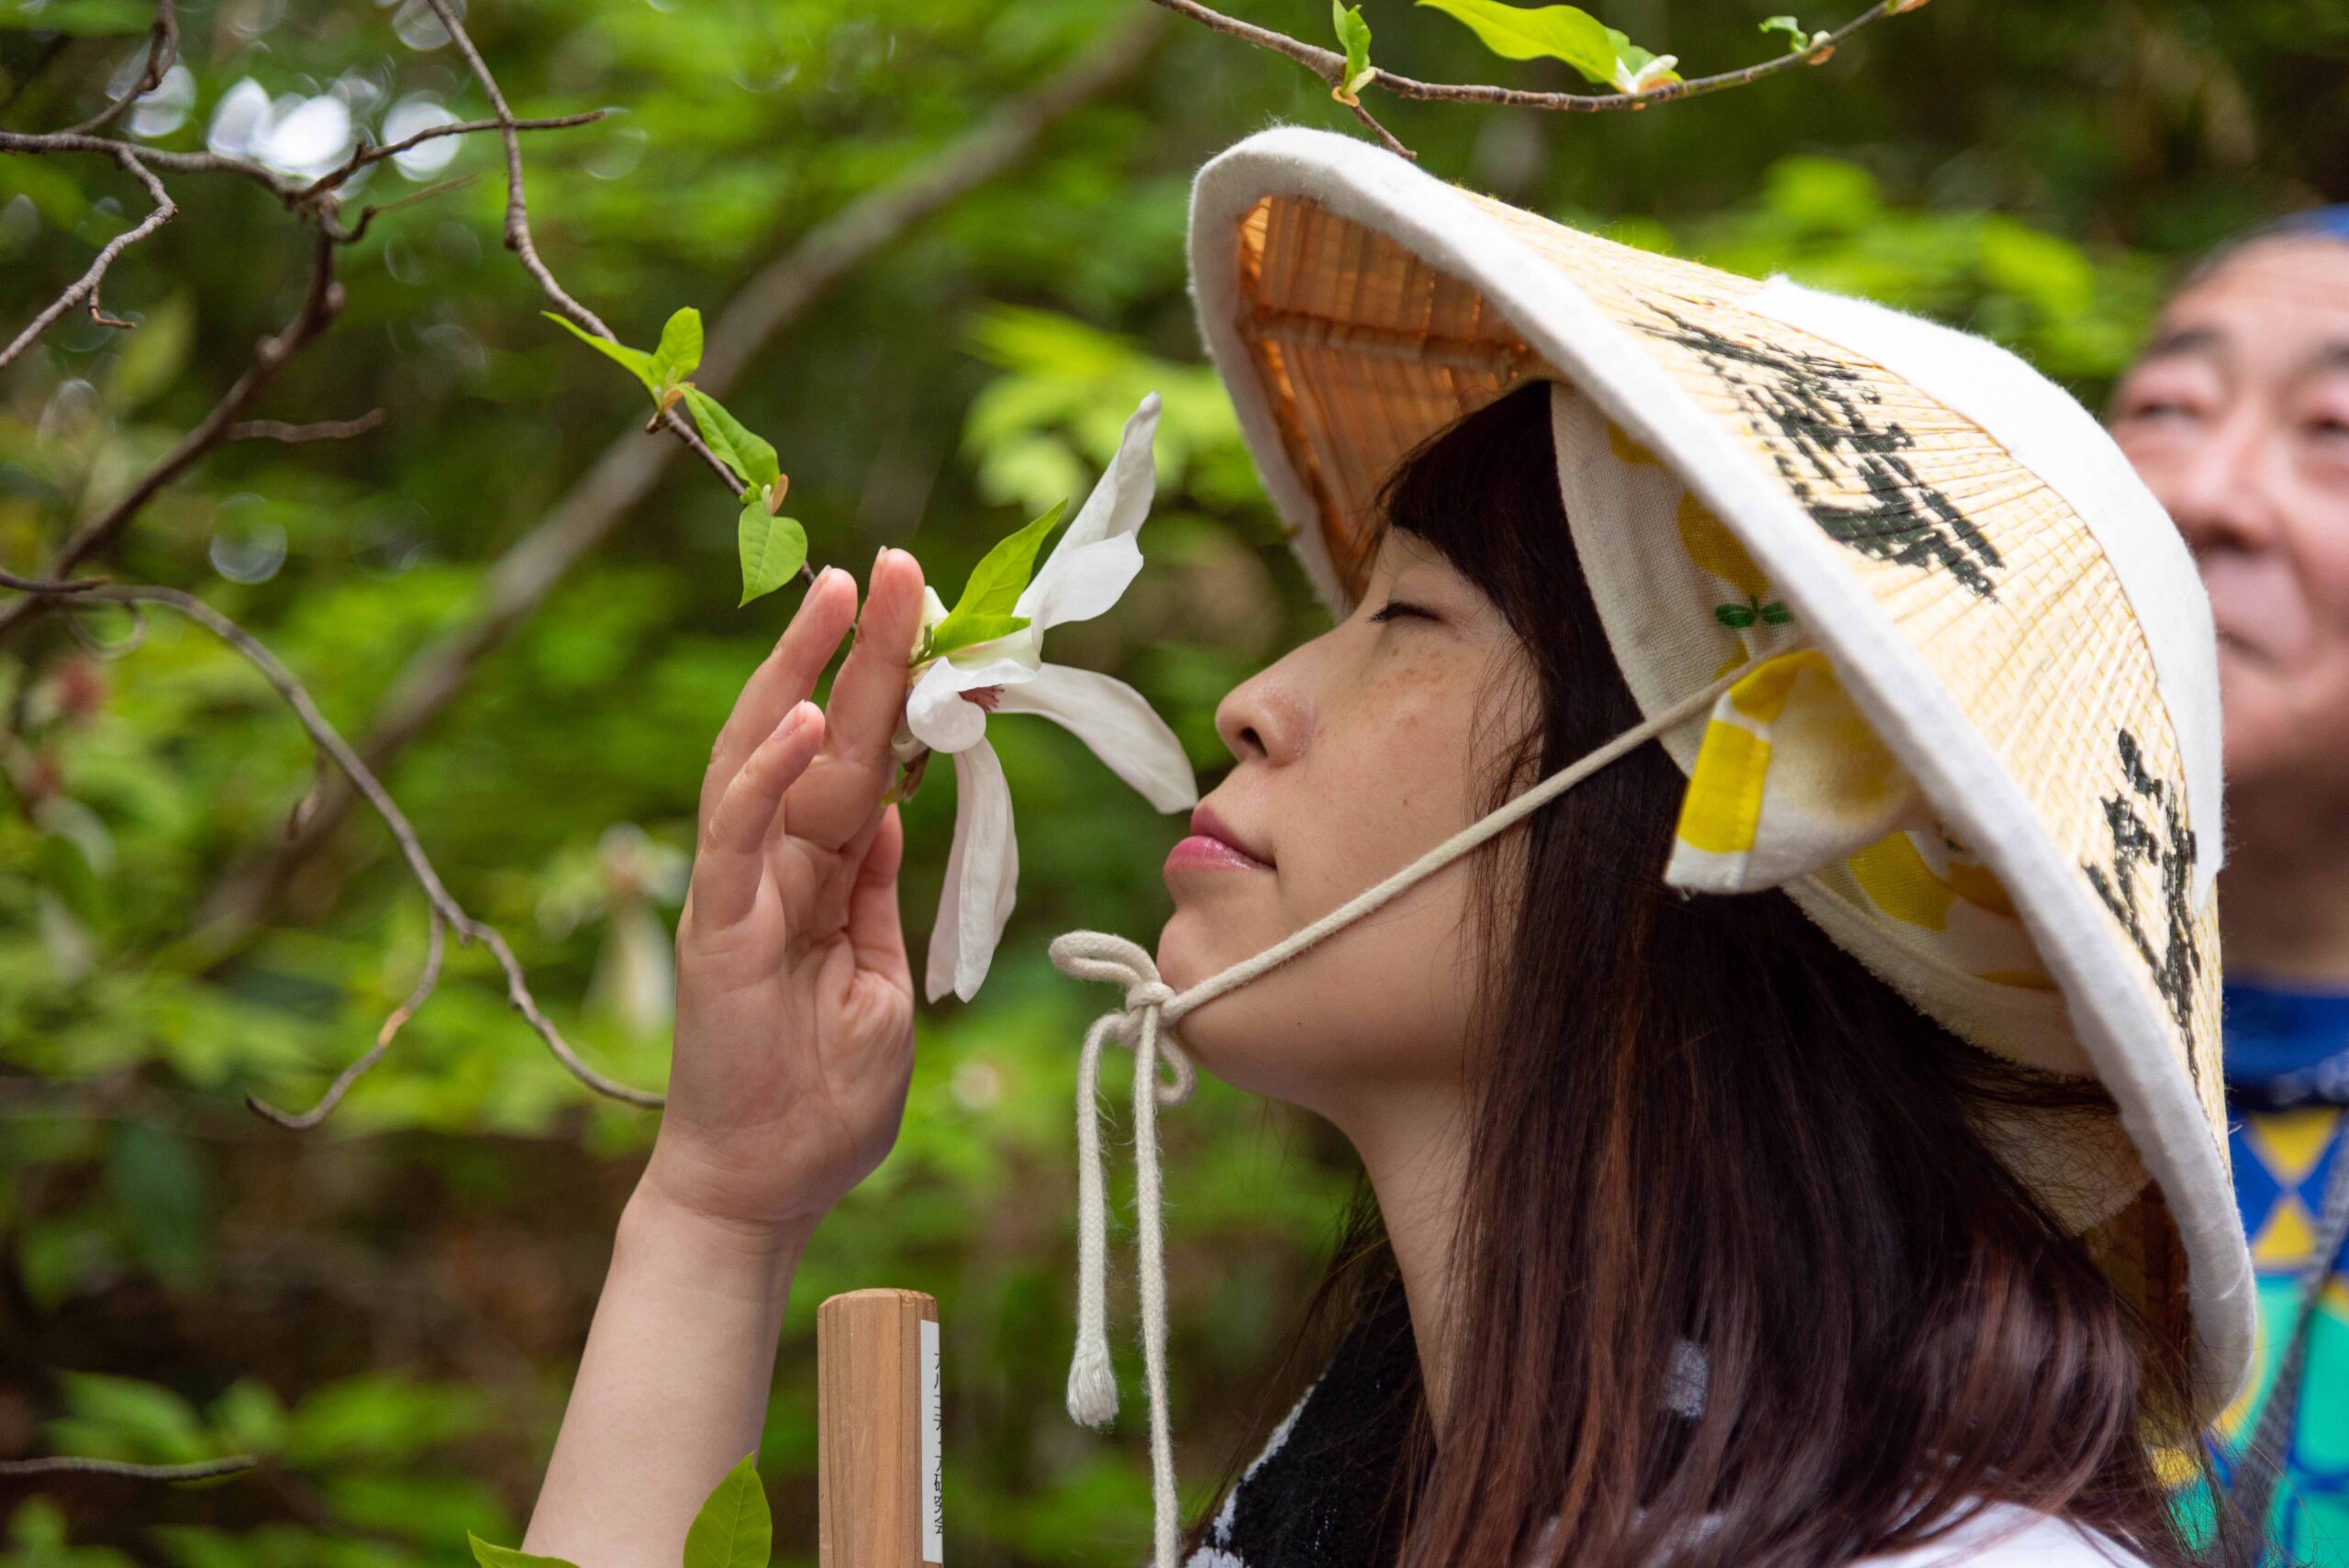
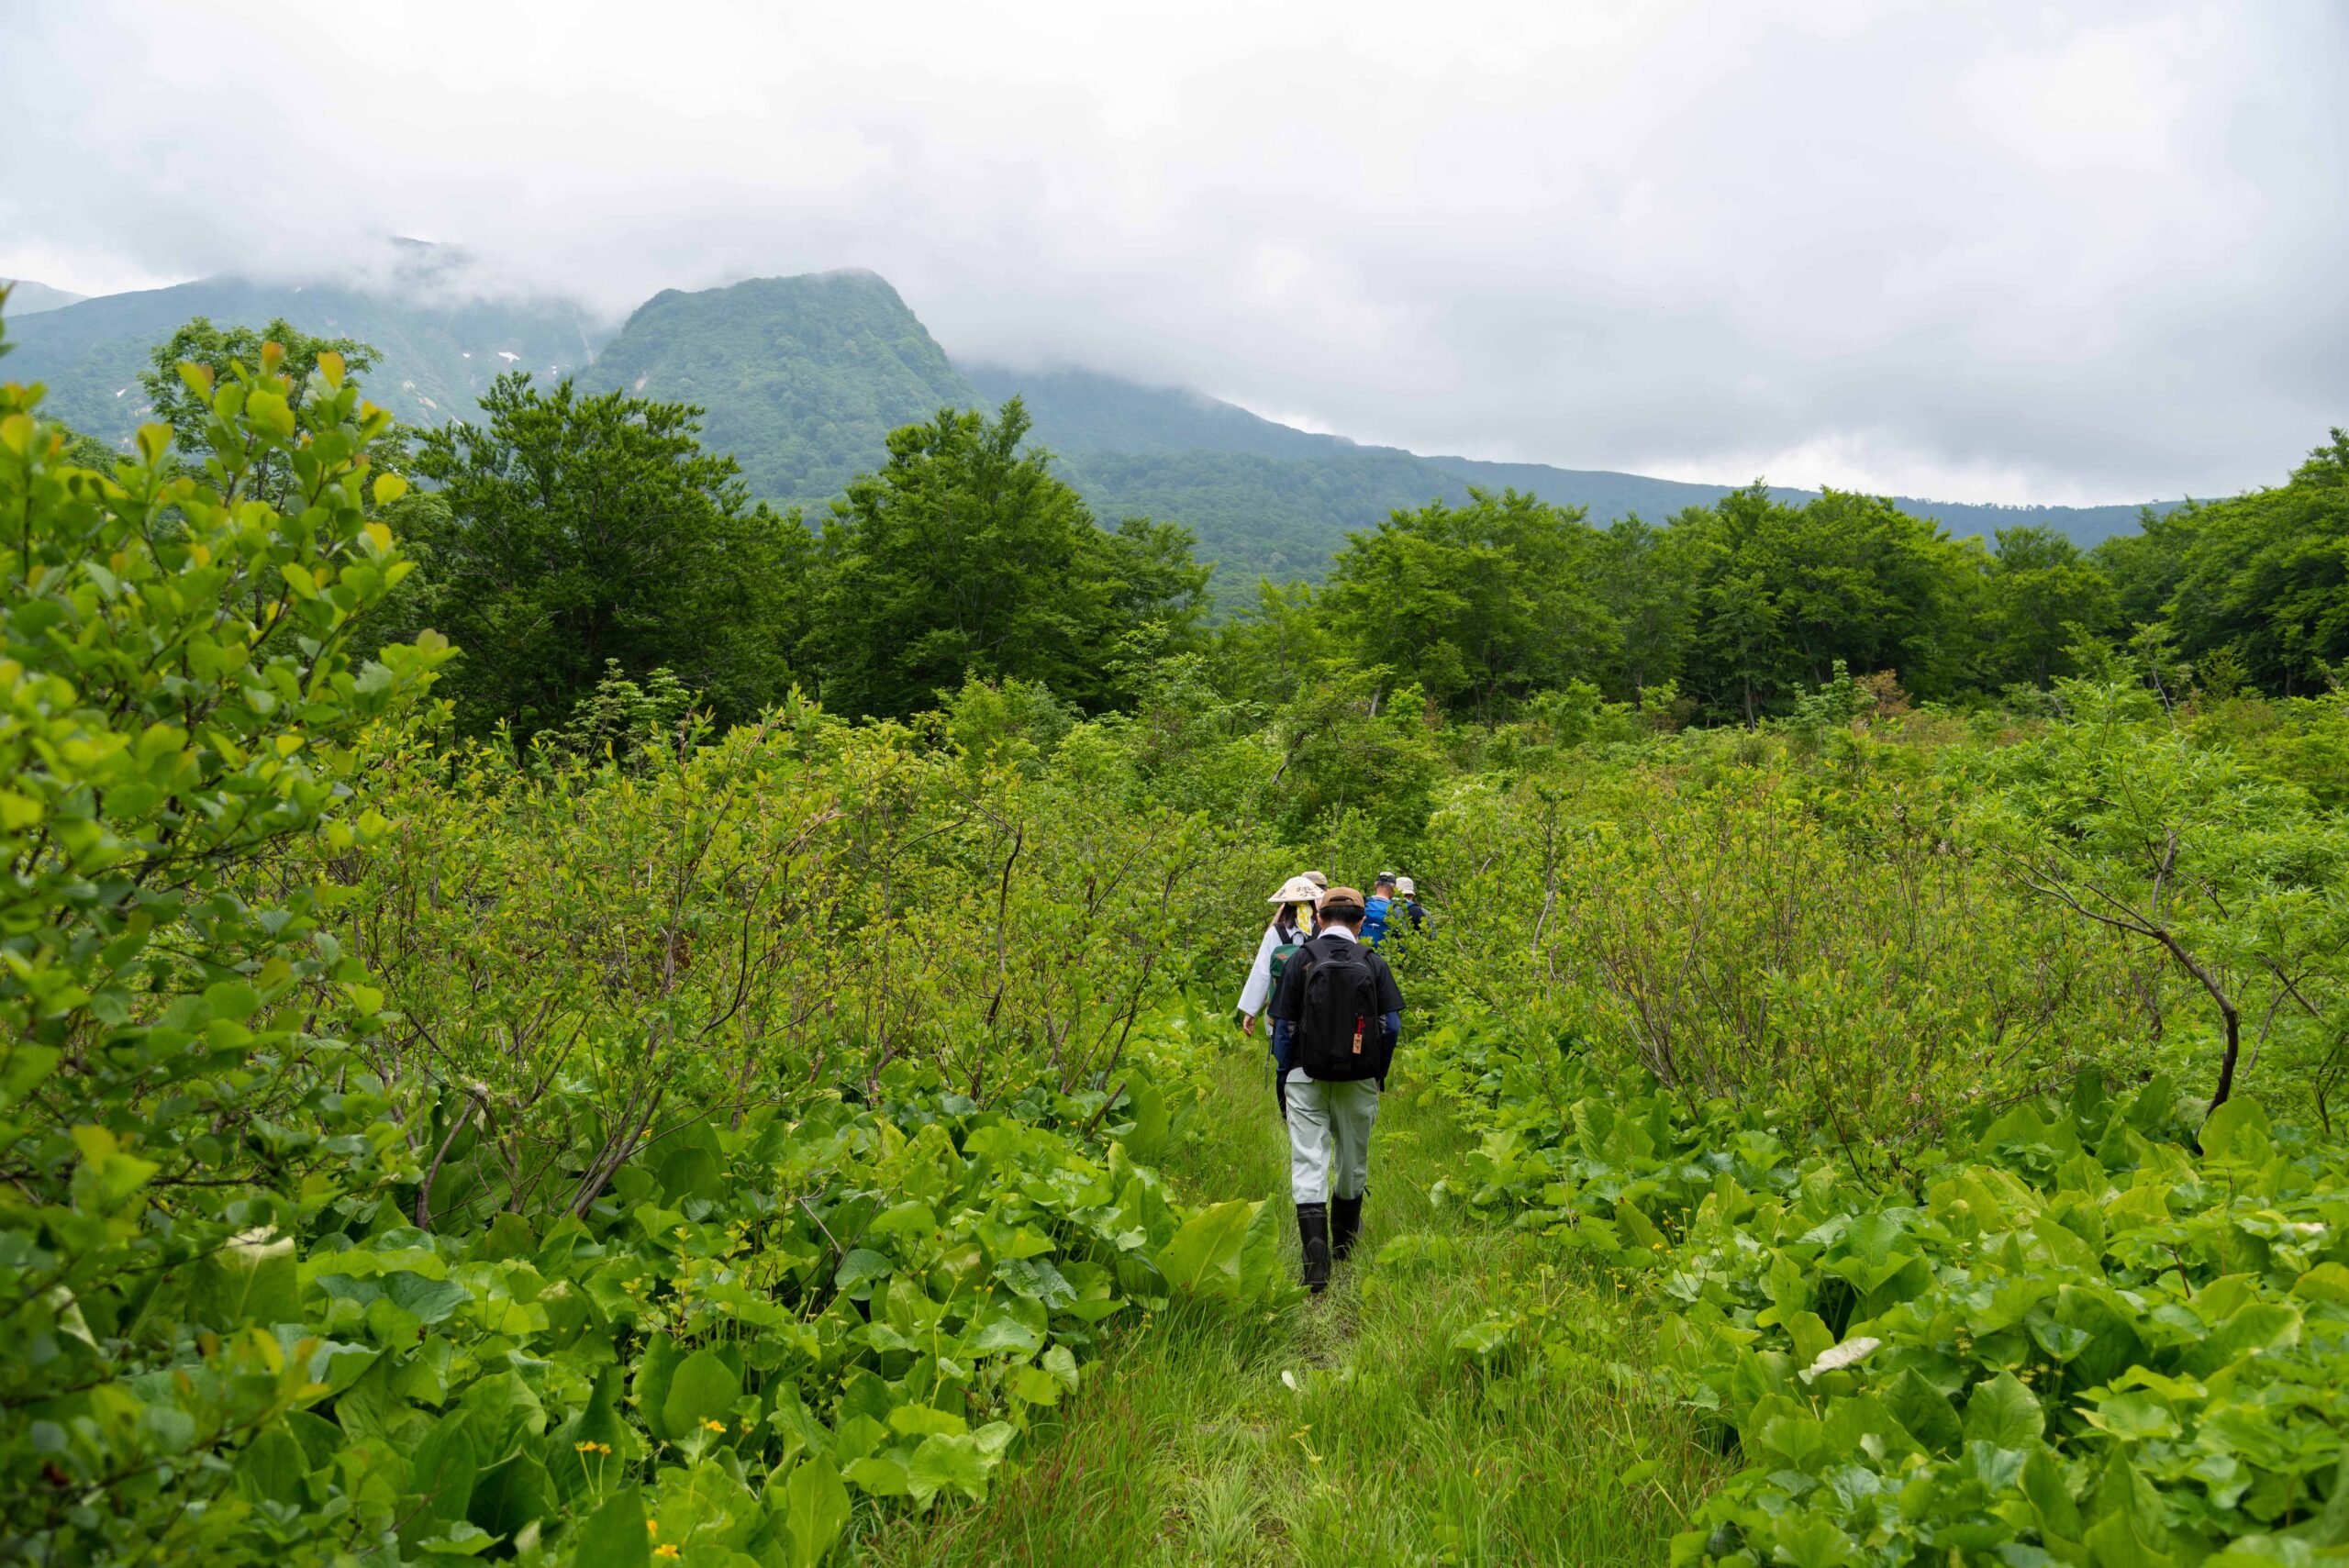
30. Spot the wild flowers on trees
31. Follow the descending slope
32.You exit the forest
33. A sign indicates the Sasagoya Ruins
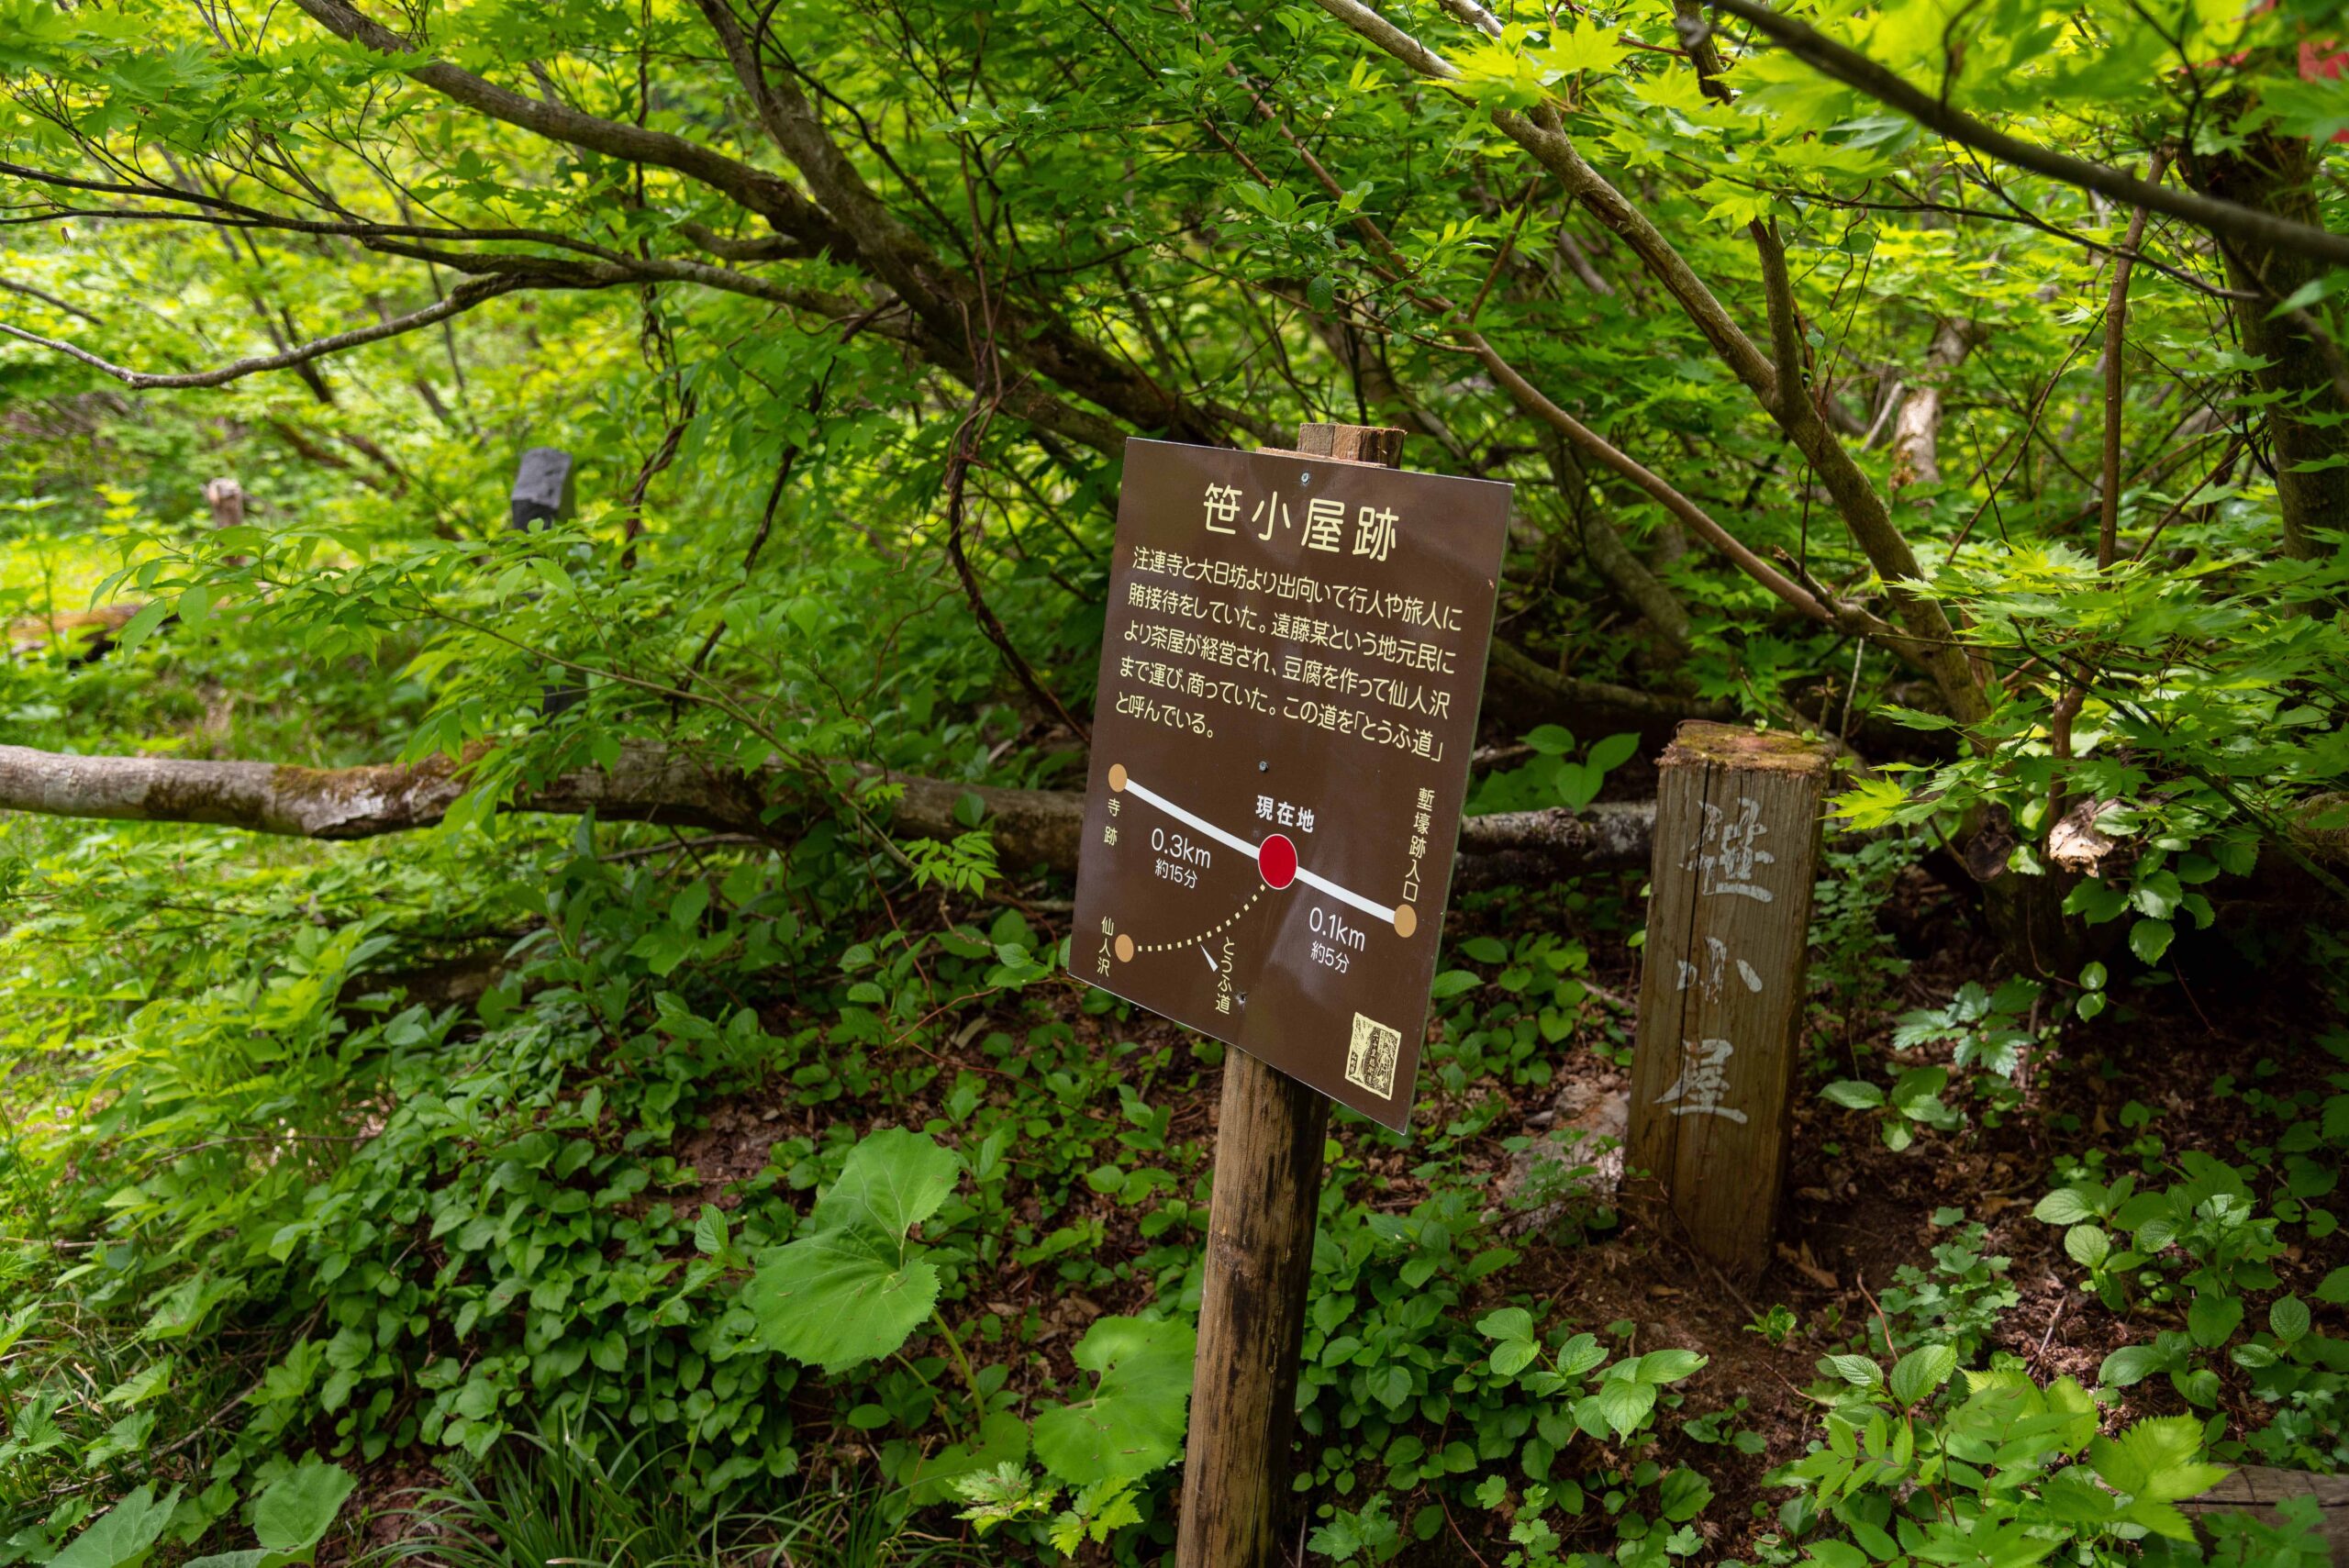
There was once a thatch-roofed teahouse here, but the lack of pilgrims through the years had it close down. Now, only the logs are remaining.
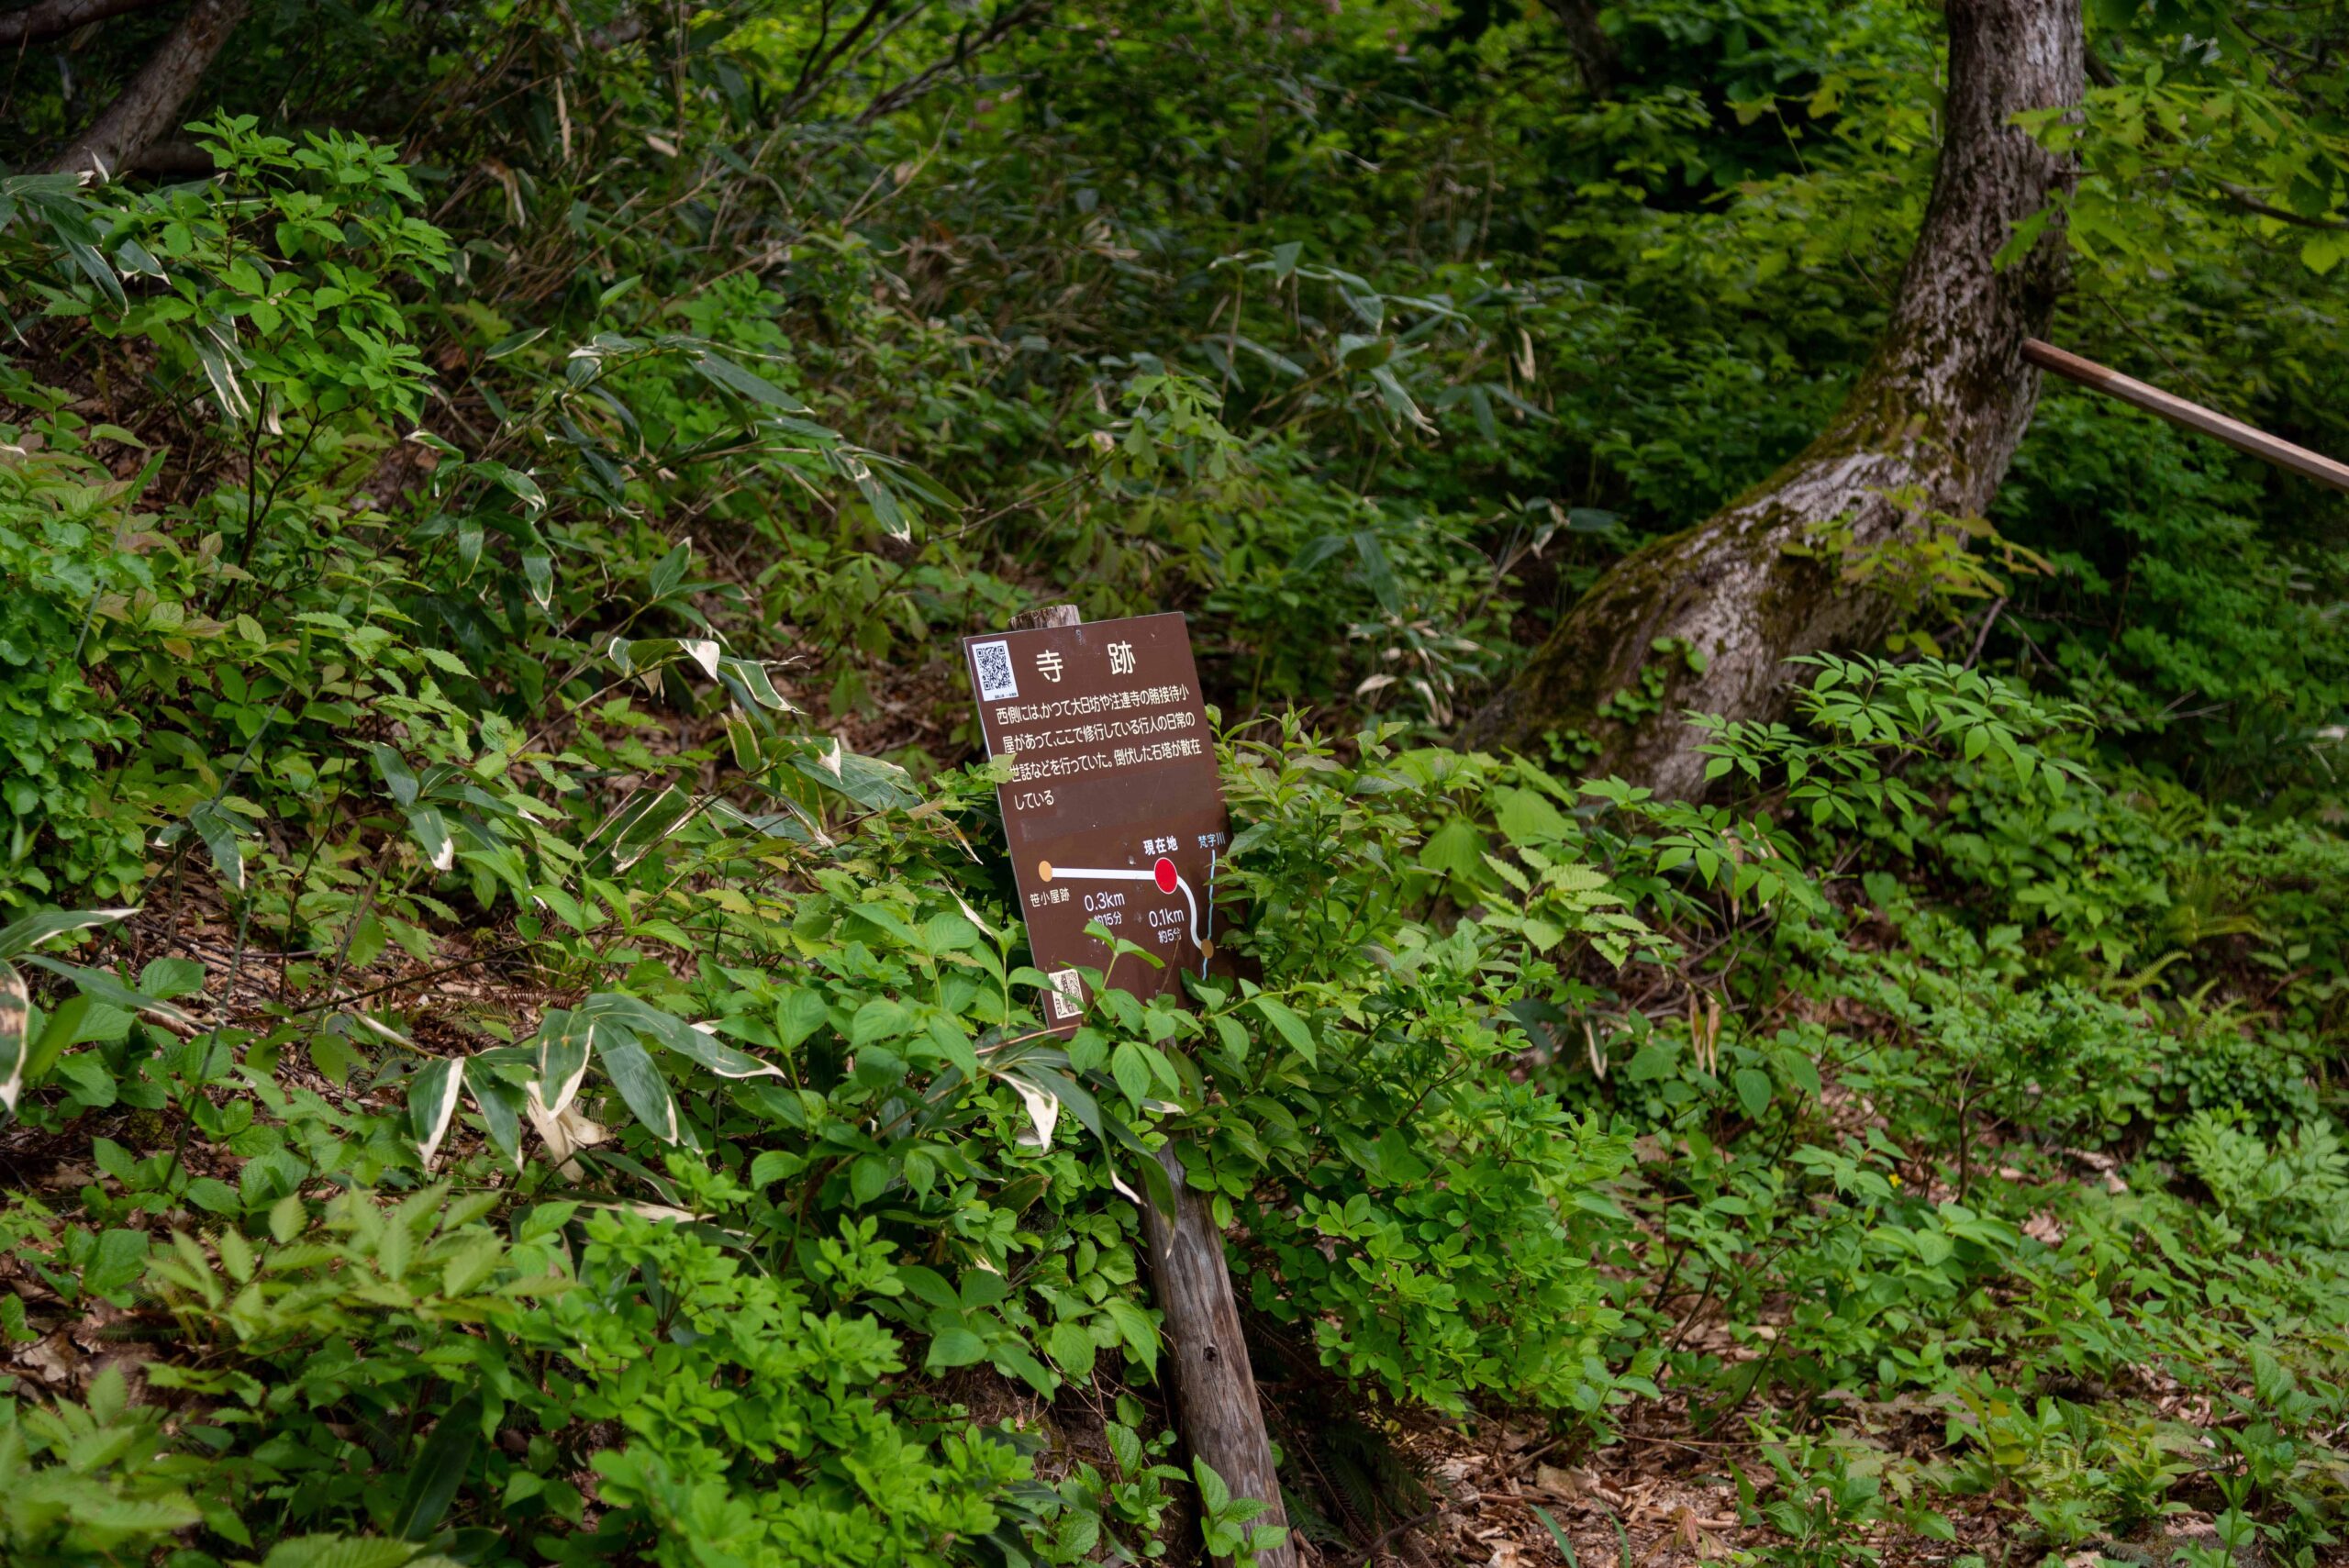
34. A sign indicates the steles of Churenji & Dainichibo temples
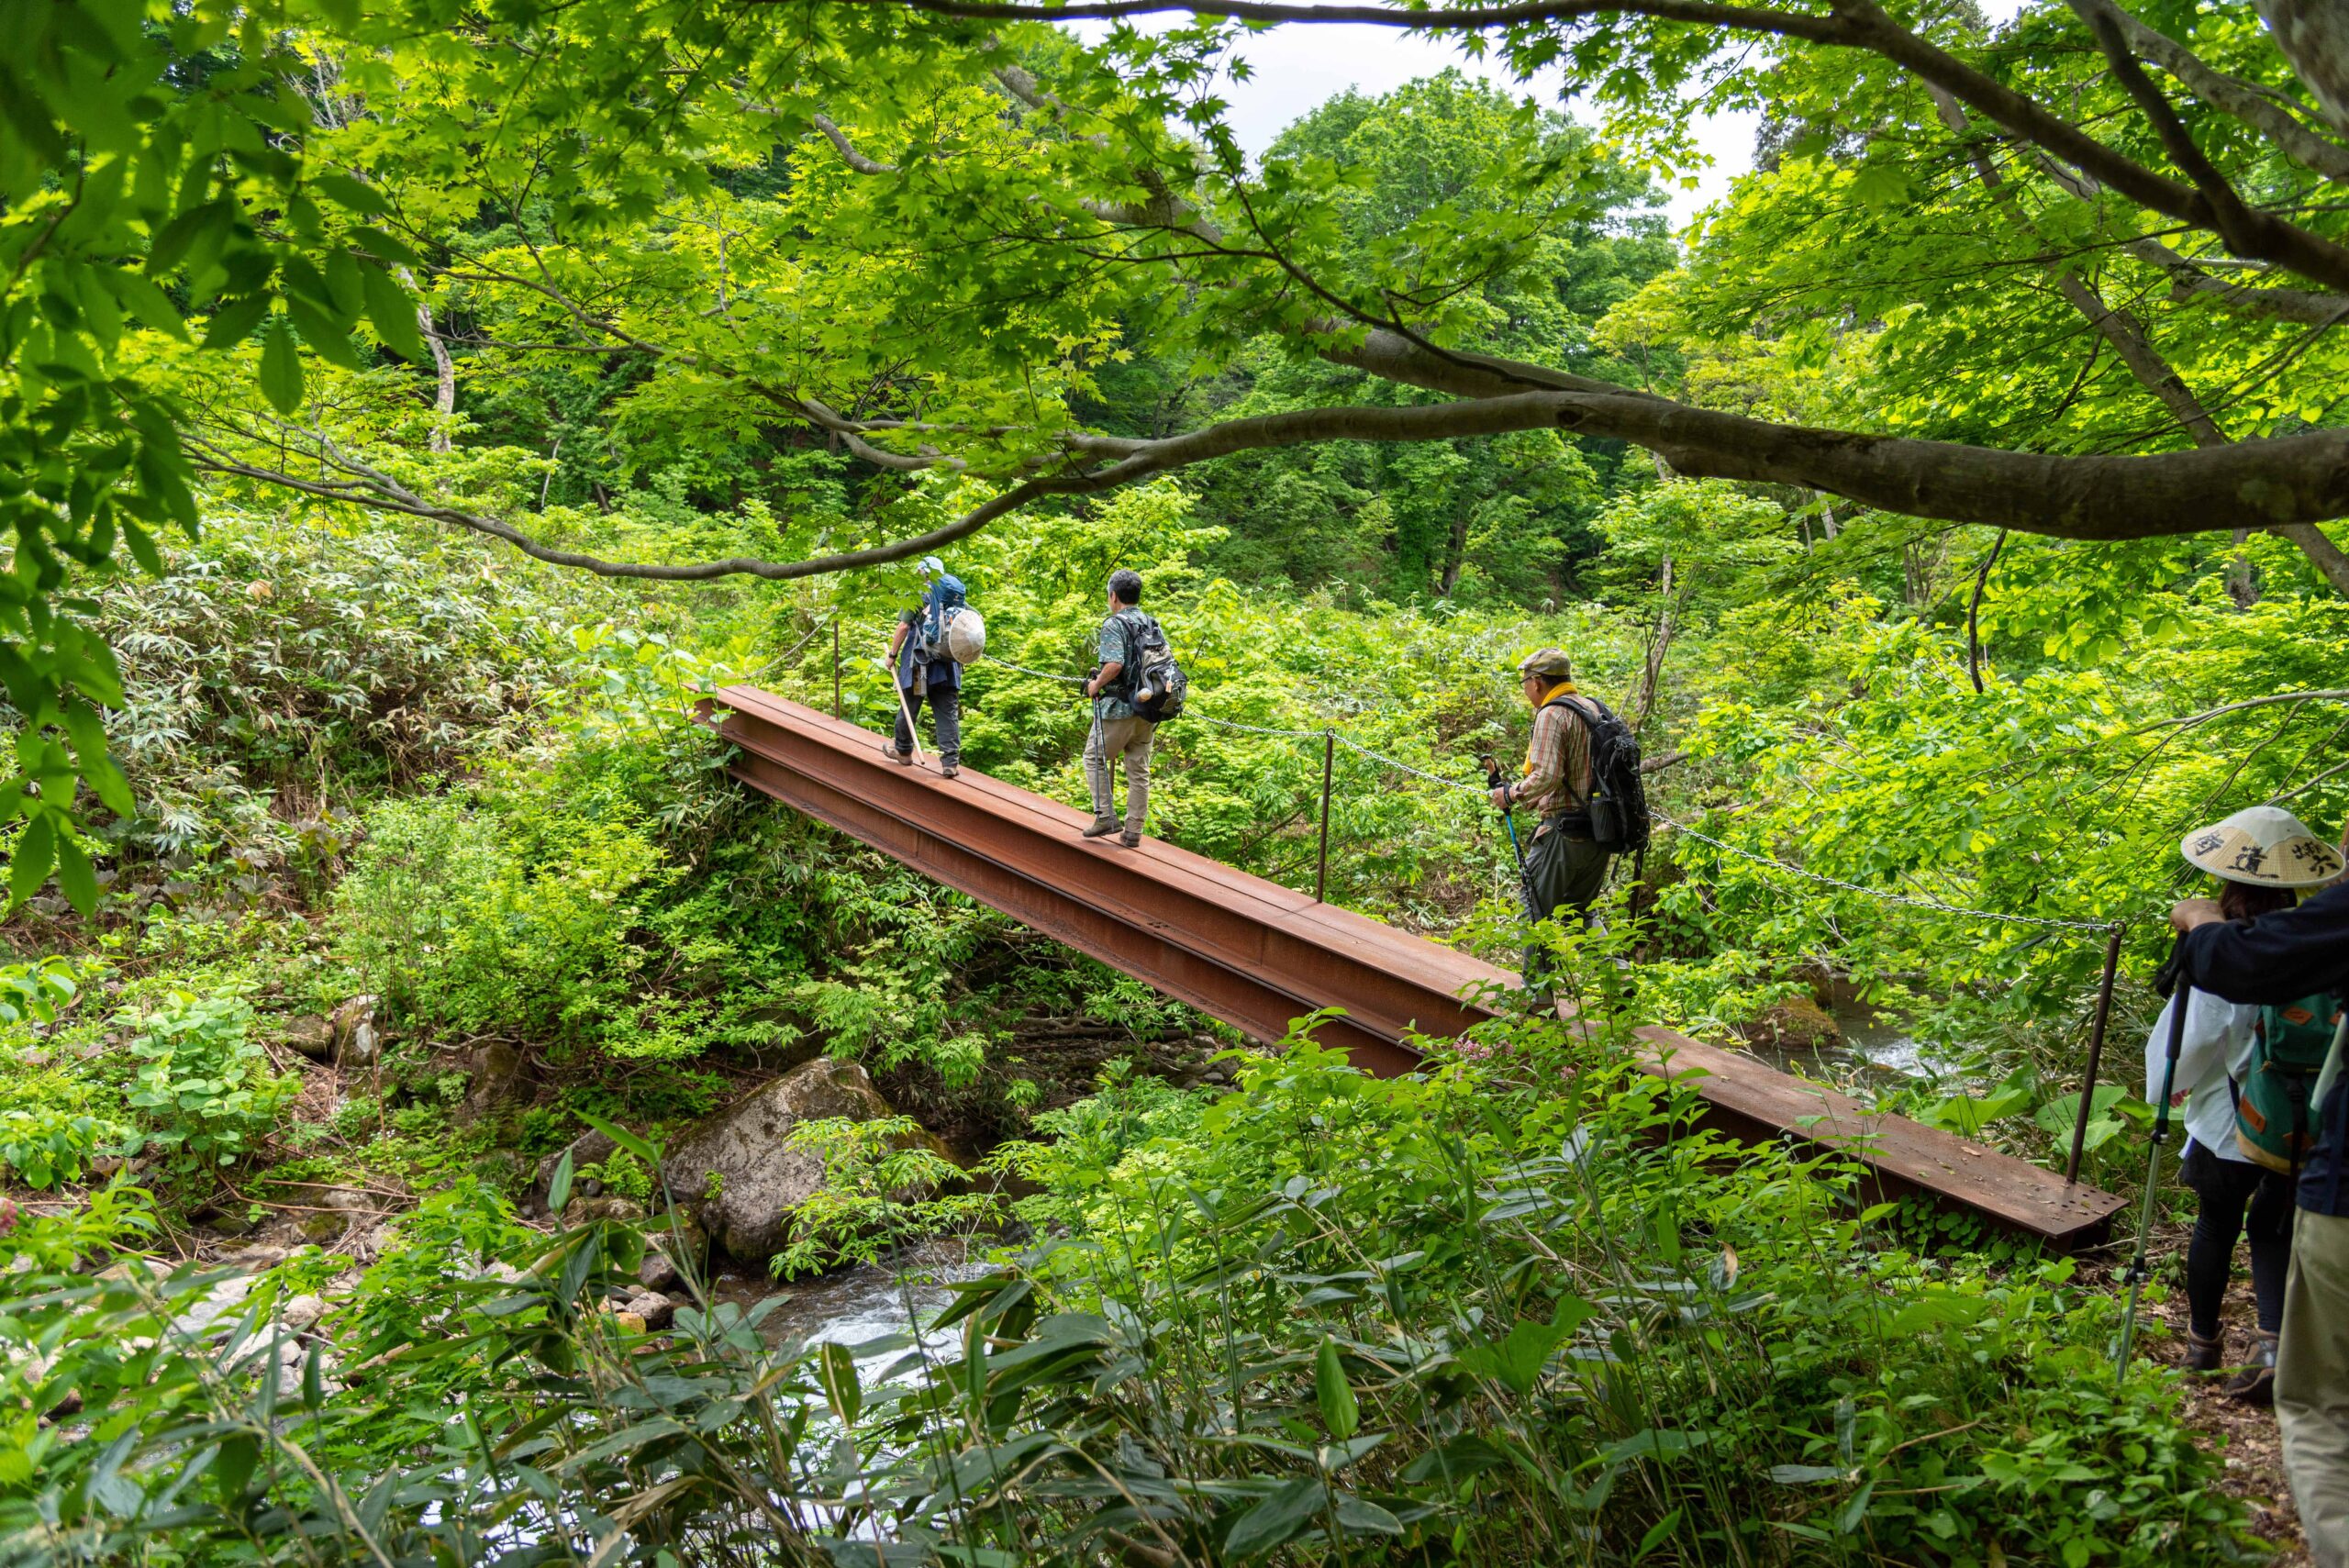
35. Cross the bridge
36. You are getting near Mt. Yudono
This stele worships Mt. Yudono’s gods.
37. Follow the narrow road to Mt. Yudono
38. After this slope, you’ll arrive to a paved road
39. Cross the road to climb the final path to Mt. Yudono
Be careful to approaching cars & buses!!
40. Climb the “Repentance Slope”
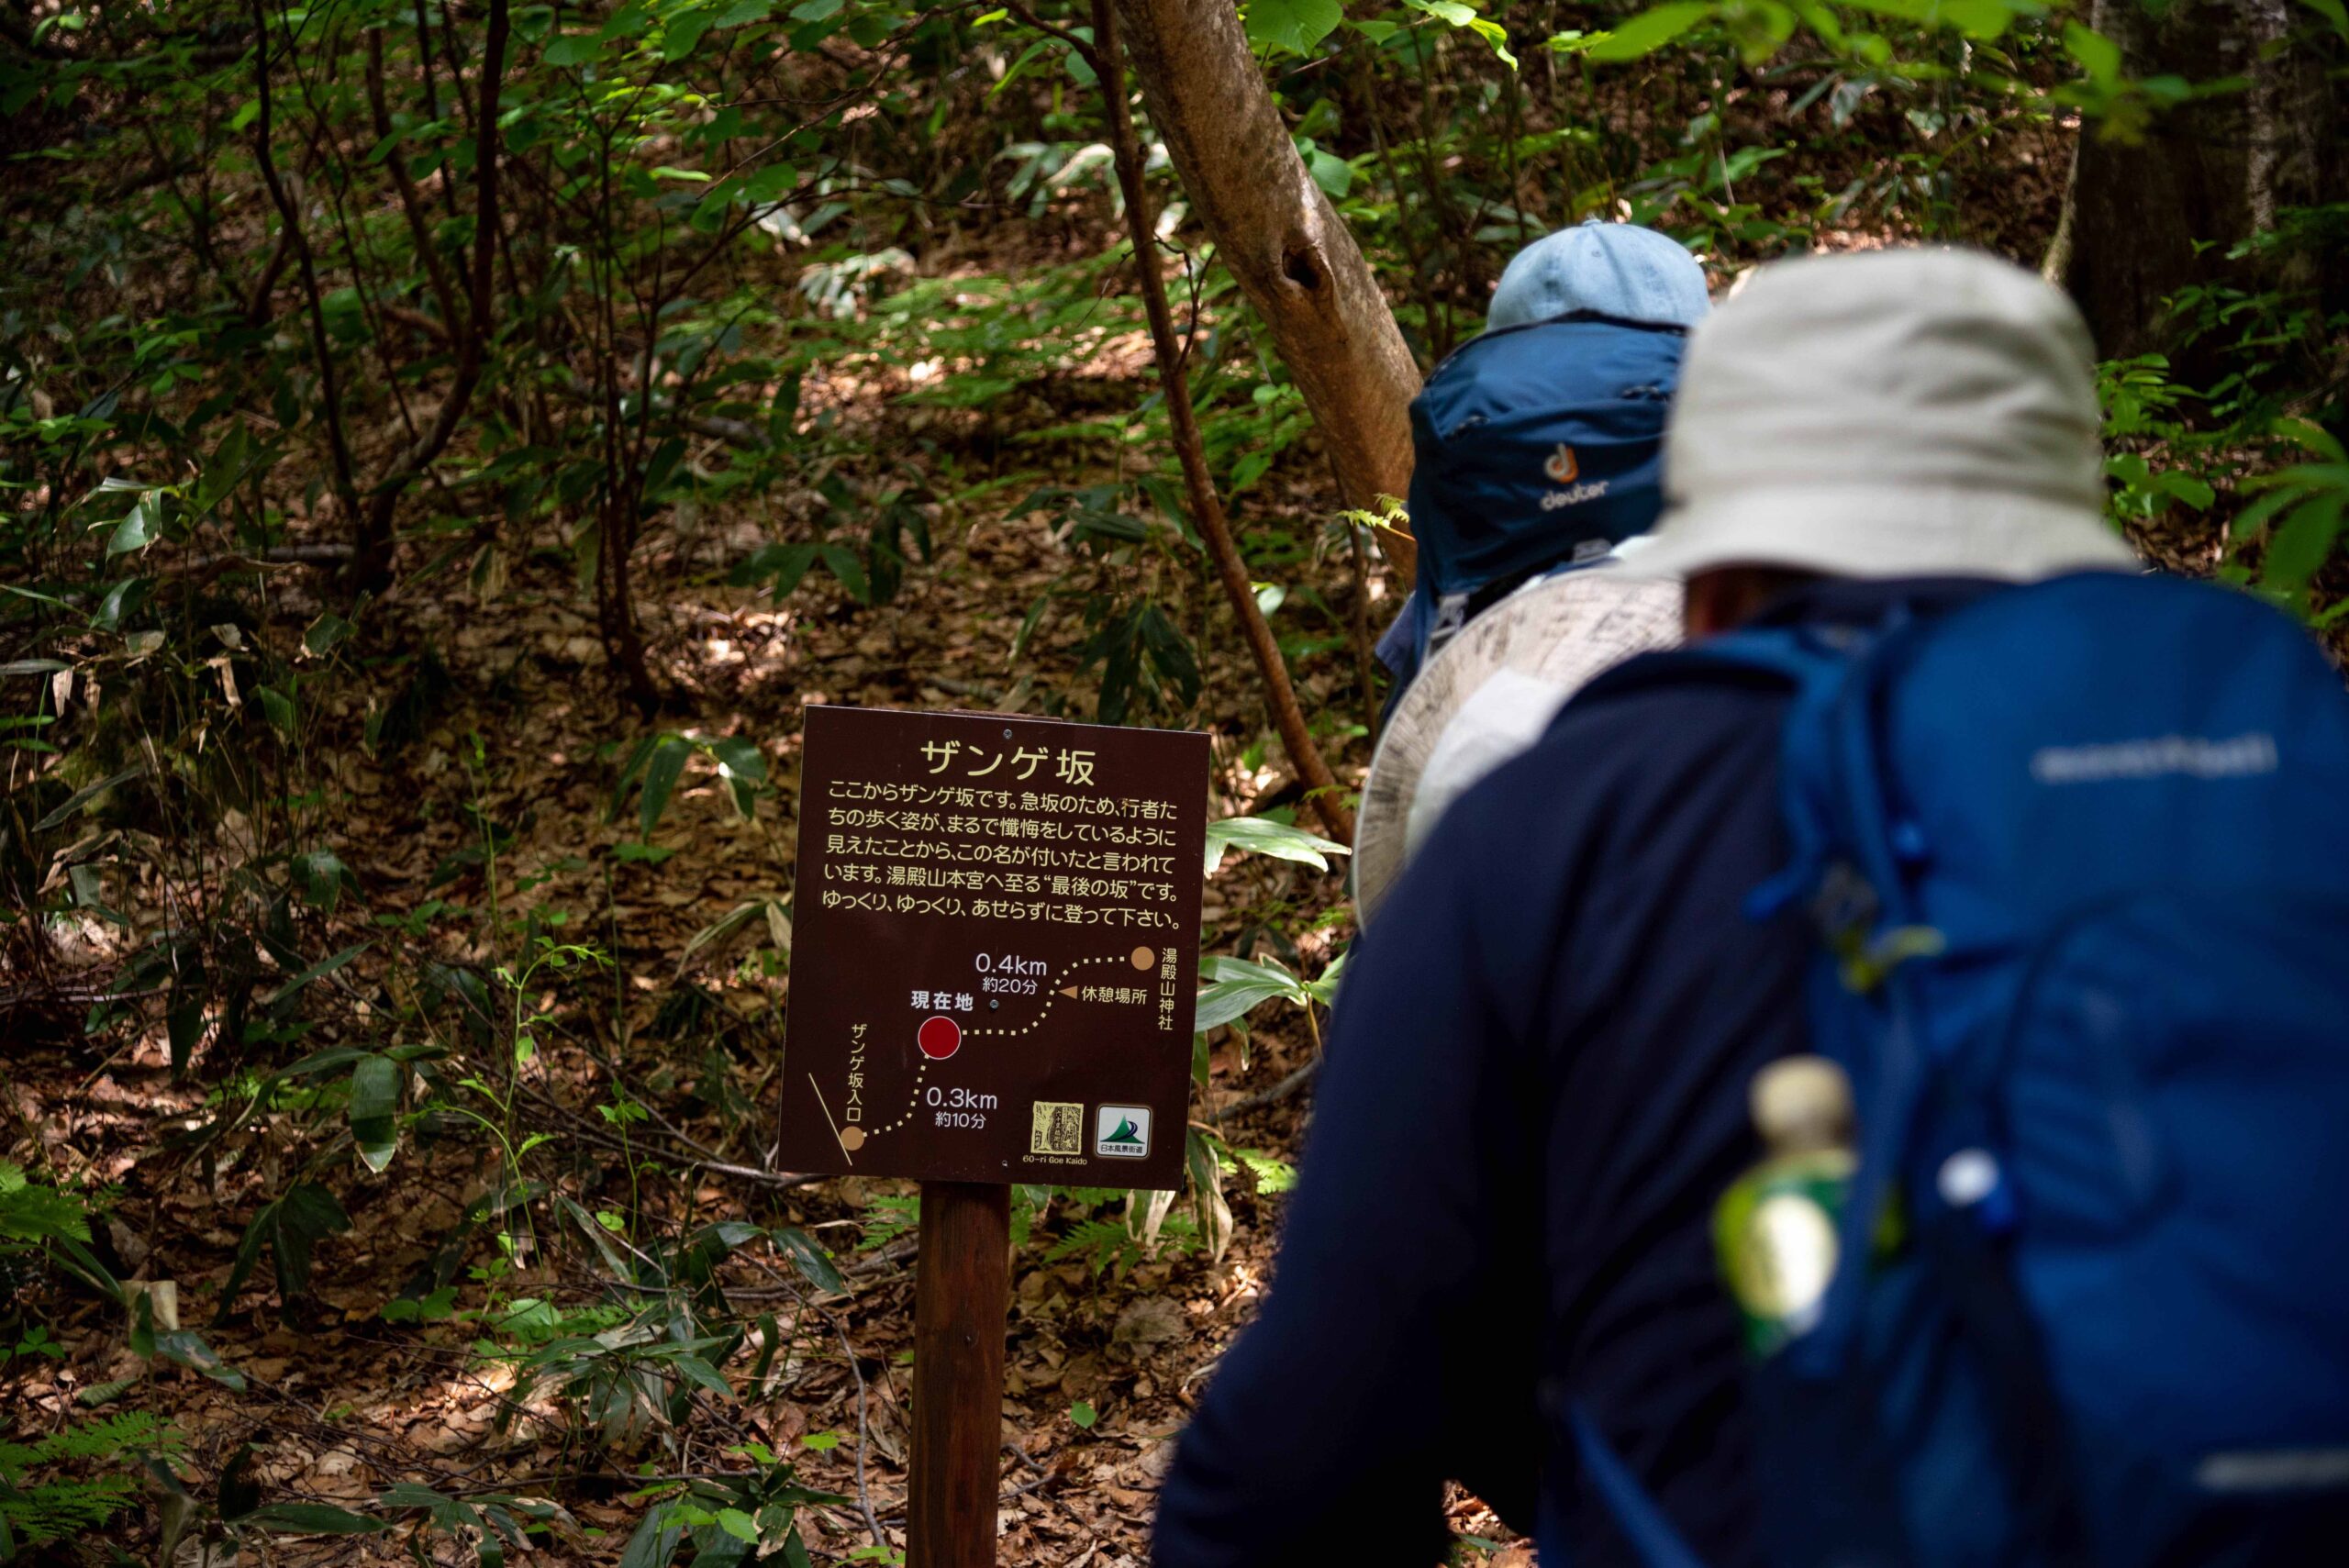
The Zange-zaka ザンゲ坂 (“The Repentance Slope”) is the final step to Mt. Yudono. It is a bit steep, so brace yourselves.
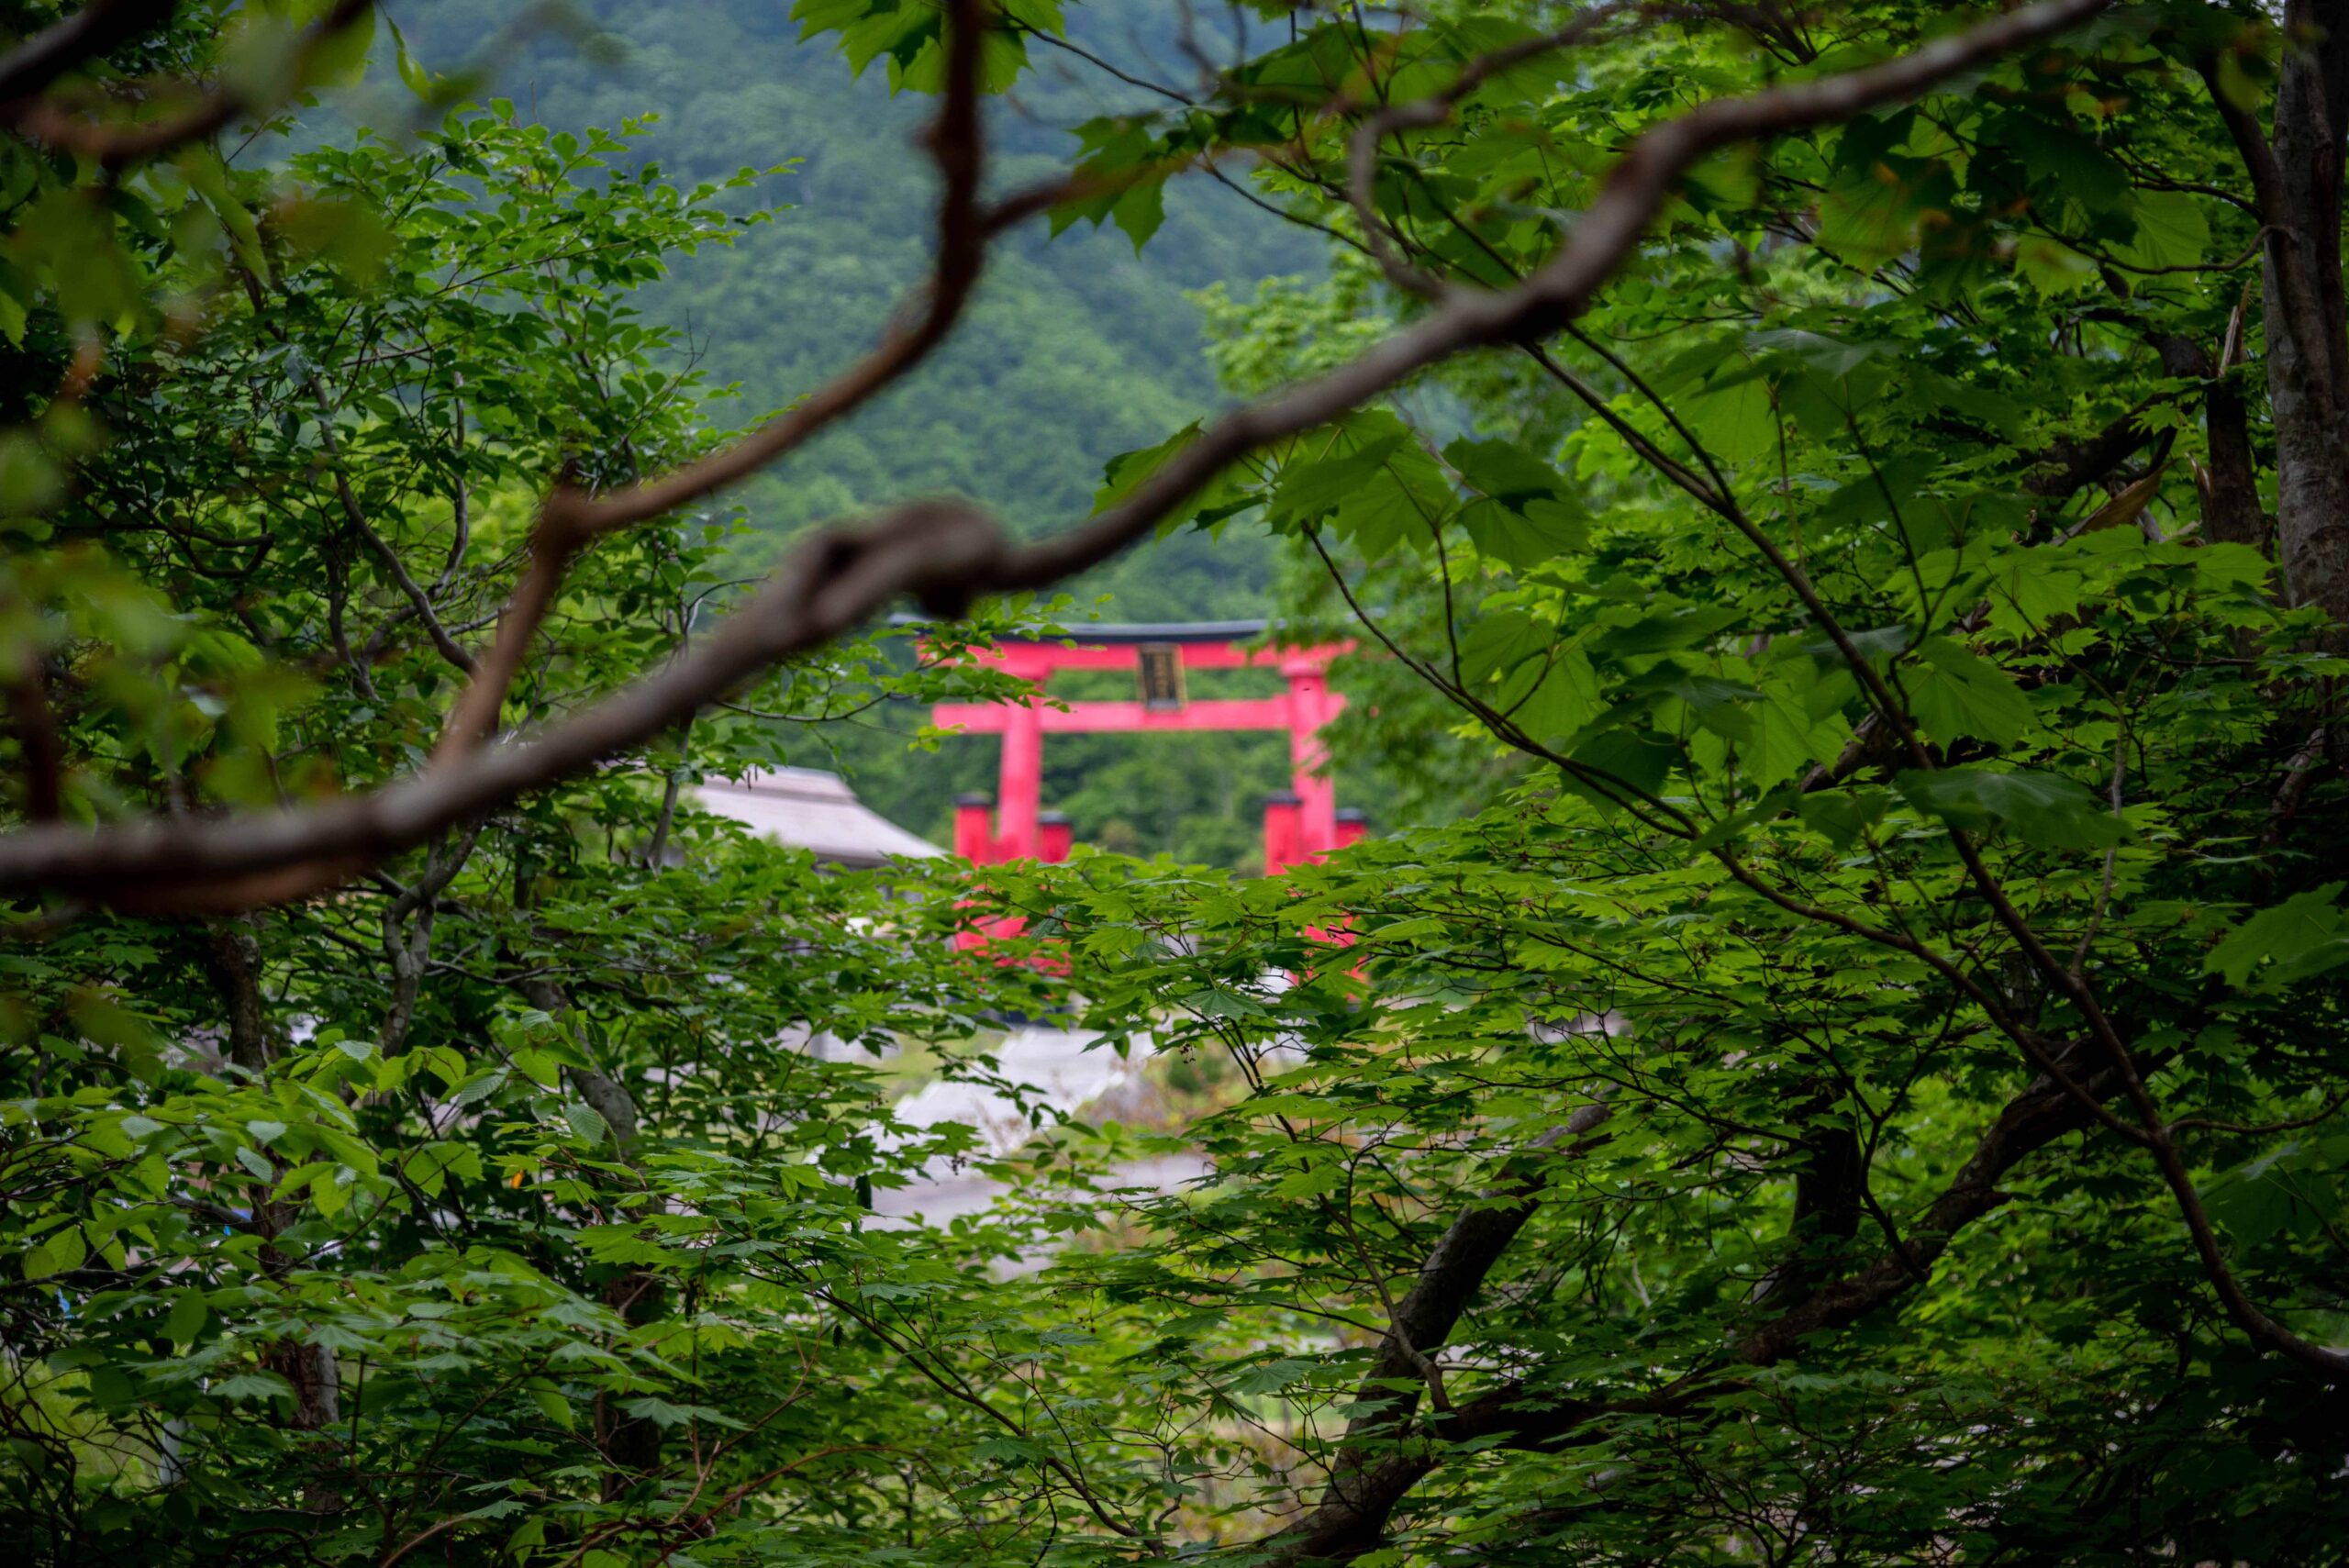
41. You can spot Yudono’s torii gate
42. You arrive at Yudonosan Senninzawa
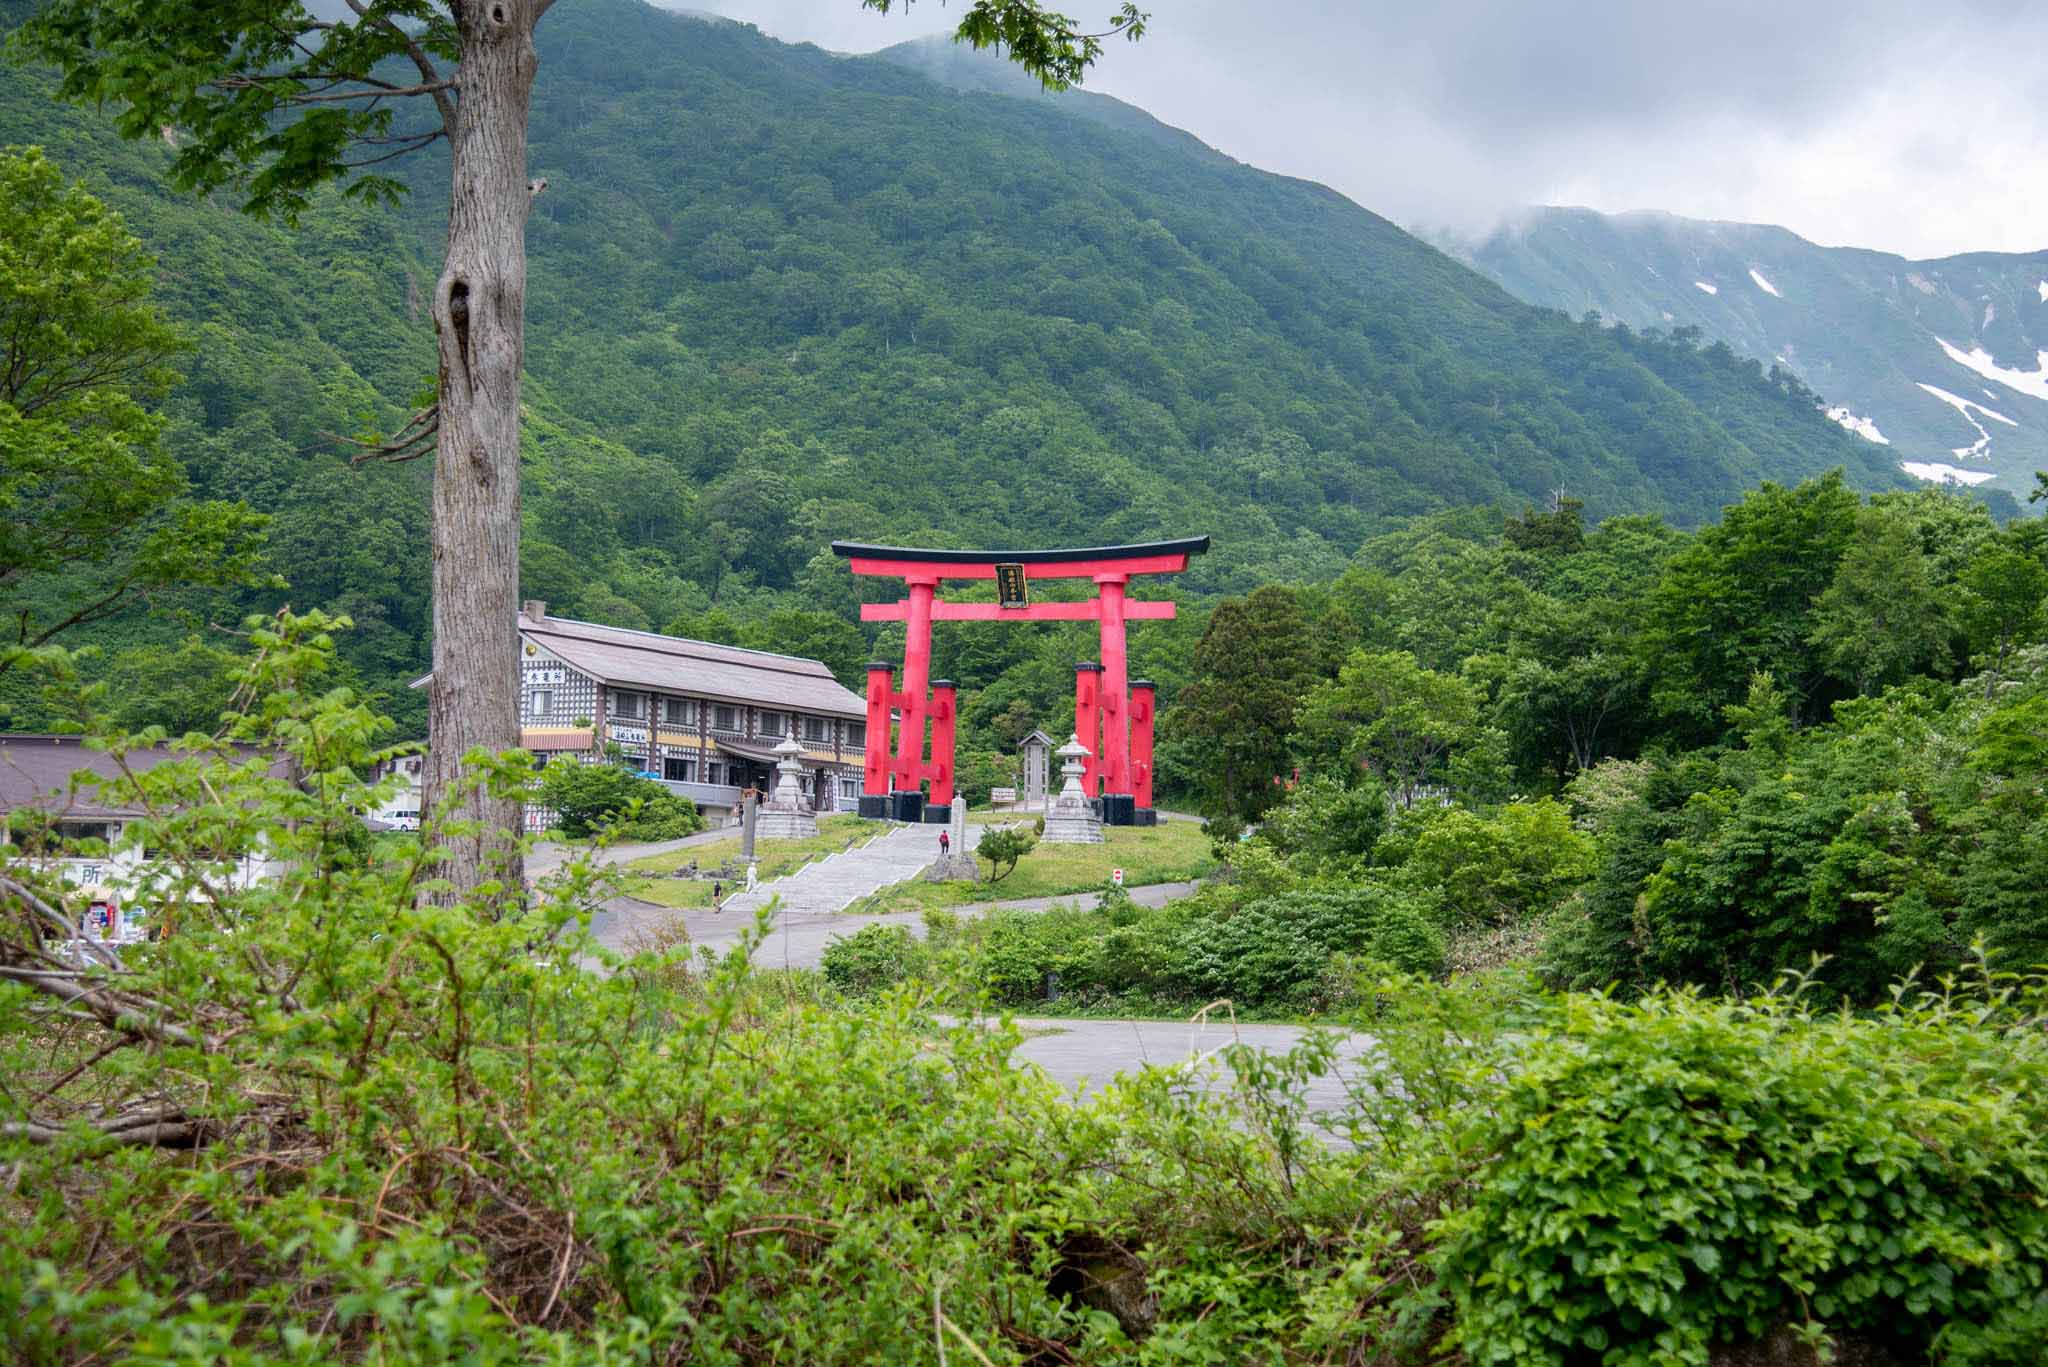
This is the end of your hike to Mt. Yudono. You can take it further by following the Yamabushi path, only if you are guided by a Yamabushi monk/priest.
Information
| Related Pages | Dewa Sanzan |
|---|